For this exercise I used Polyfilla to create the block as recommended and used a variety of materials to mark the block for printing. First impressions were that the range of marks was good and should produce a print with lots of variety and interest. However, I did note that it was much more difficult to shape the Polyfilla than I had anticipated and it had a tendency to pull away from the cardboard base when being applied/shaped. The block was surprisingly heavy and took over 24 hours to dry.
I sealed the block with a good layer of pva and when that was dry applied a generous layer of acrylic paint with a stiff paintbrush.
-
- MMT Assignment 4 – Collatype – Exercise 2 – Polyfilla block
-

- MMT Assignment 4 – Collatype – Exercise 2 – Polyfilla block
-
- MMT Assignment 4 – Collatype – Exercise 2 – Polyfilla block
-
- MMT Assignment 4 – Collatype – Exercise 2 – Polyfilla block
-
- MMT Assignment 4 – Collatype – Exercise 2 – Polyfilla block
-
- MMT Assignment 4 – Collatype – Exercise 2 – Polyfilla block
-
- MMT Assignment 4 – Collatype – Exercise 2 – Polyfilla block
-
- MMT Assignment 4 – Collatype – Exercise 2 – Polyfilla block
-
- MMT Assignment 4 – Collatype – Exercise 2 – Polyfilla block
-
- MMT Assignment 4 – Collatype – Exercise 2 – Polyfilla block
-
- MMT Assignment 4 – Collatype – Exercise 2 – Polyfilla block
-
- MMT Assignment 4 – Collatype – Exercise 2 – Polyfilla block
-
- MMT Assignment 4 – Collatype – Exercise 2 – Polyfilla block
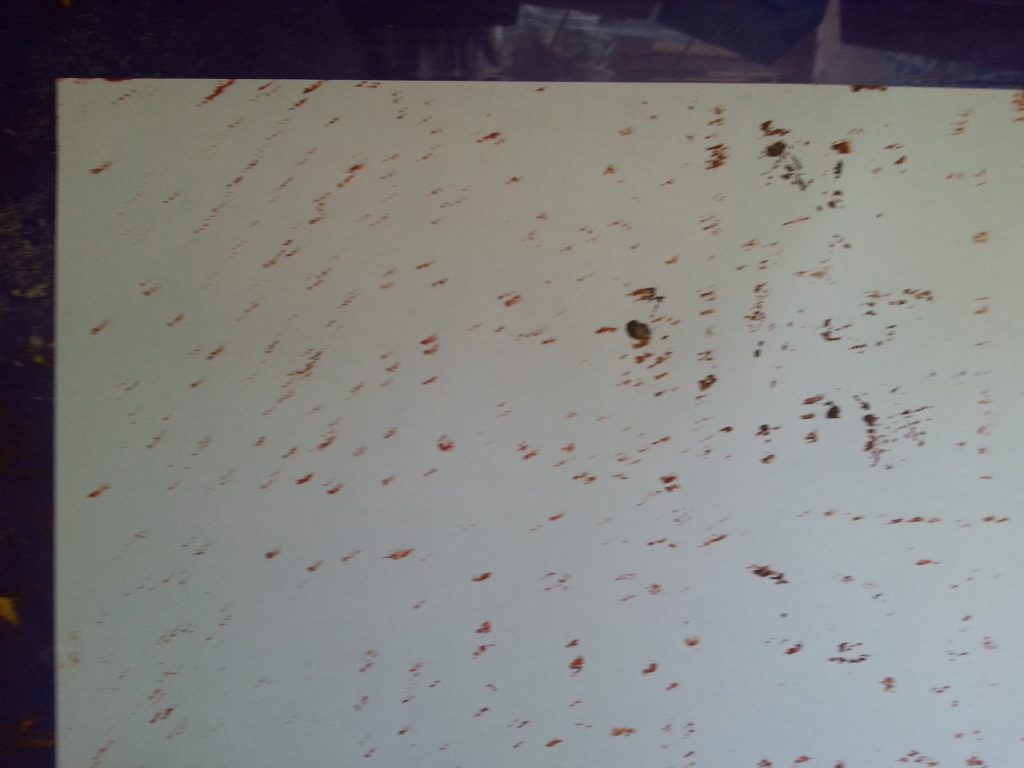
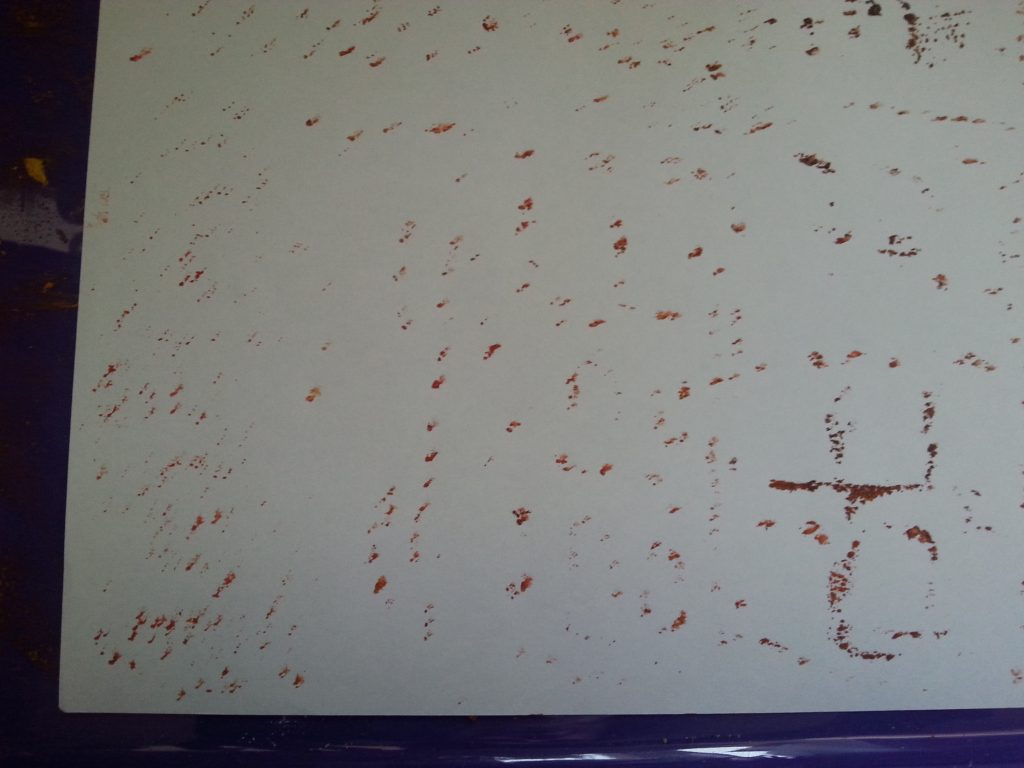
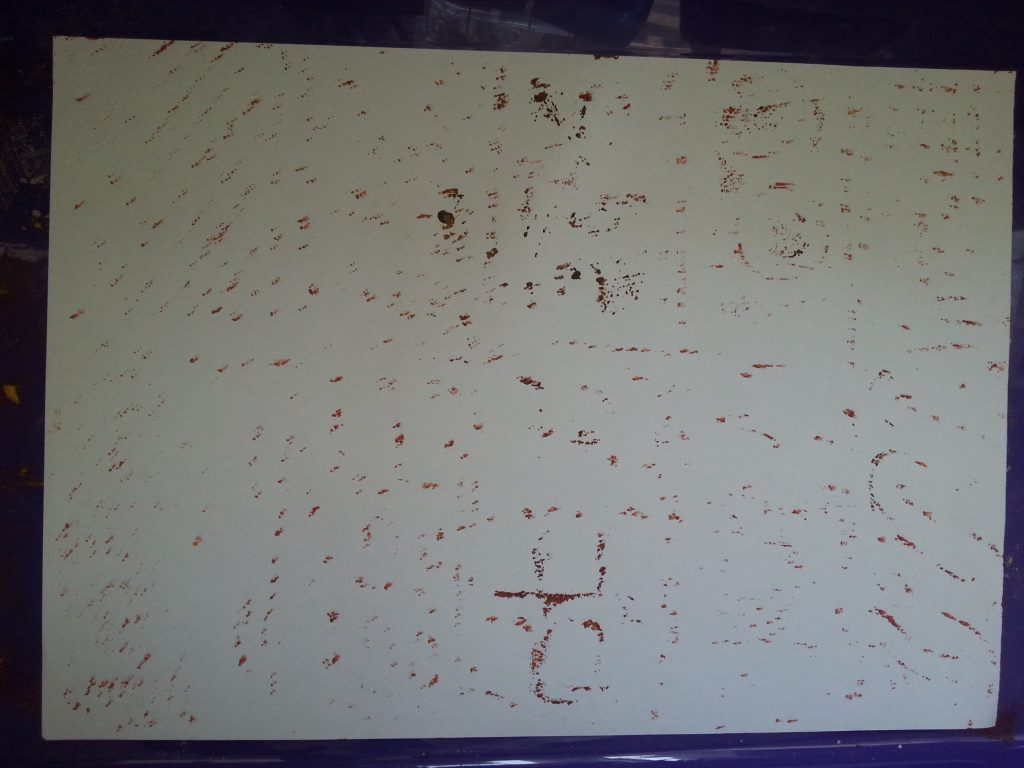
Conclusion
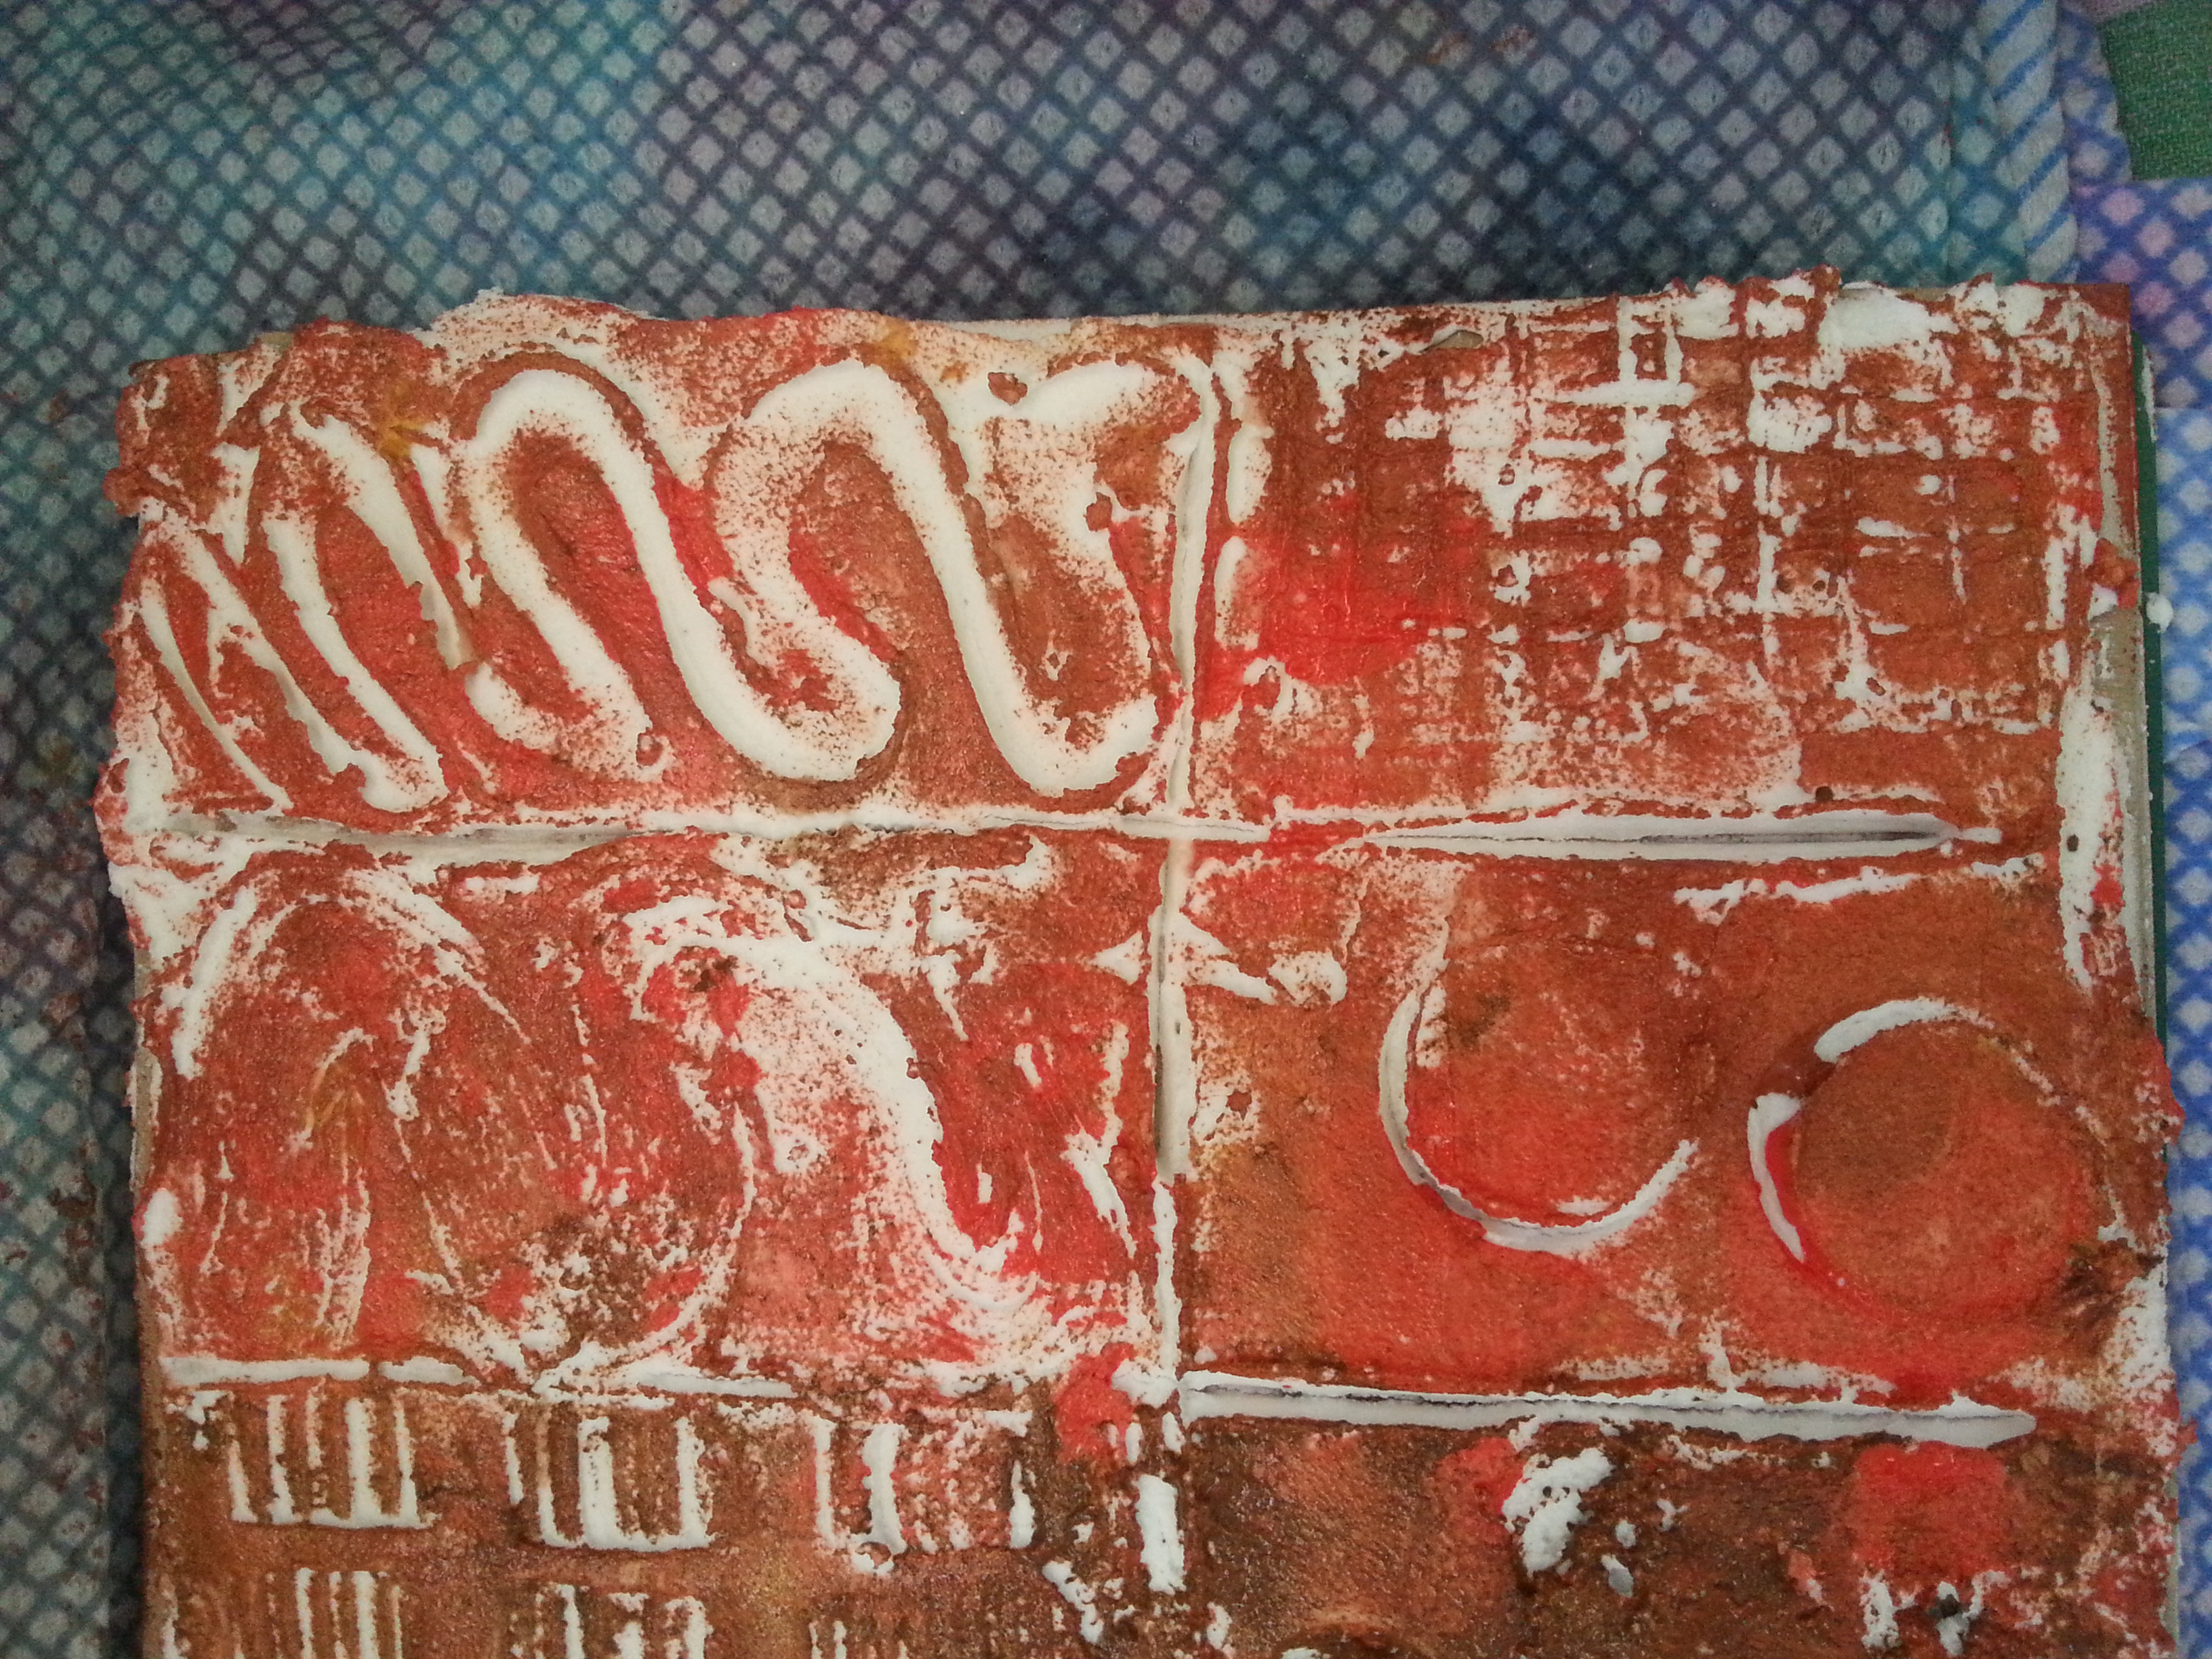
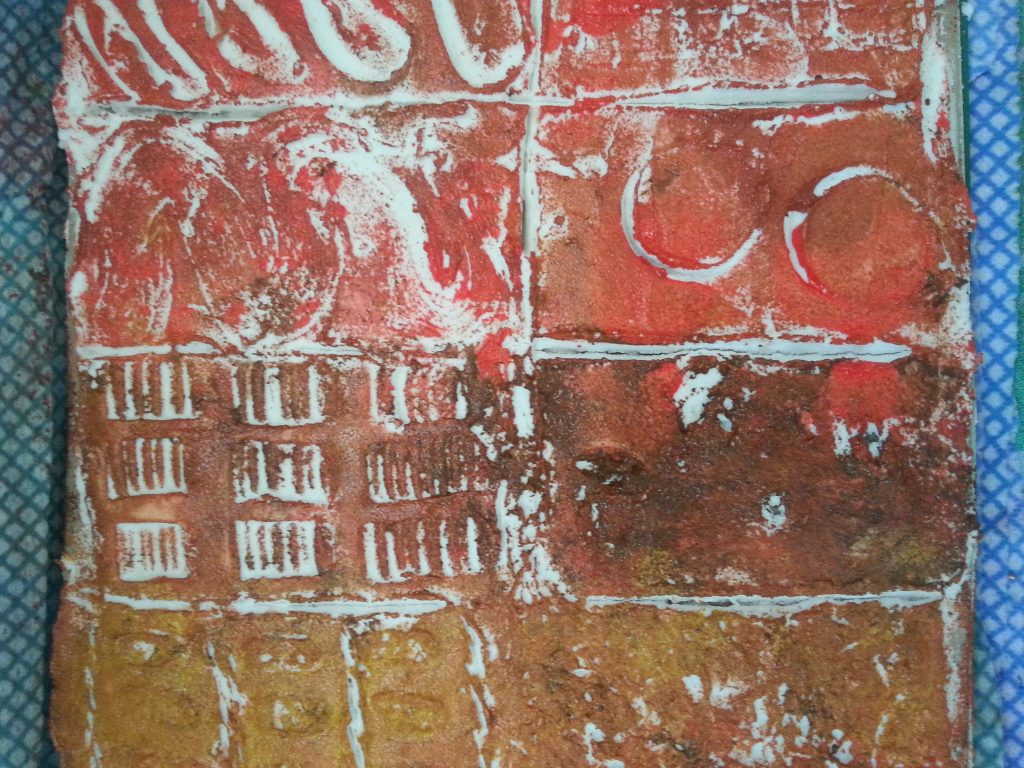
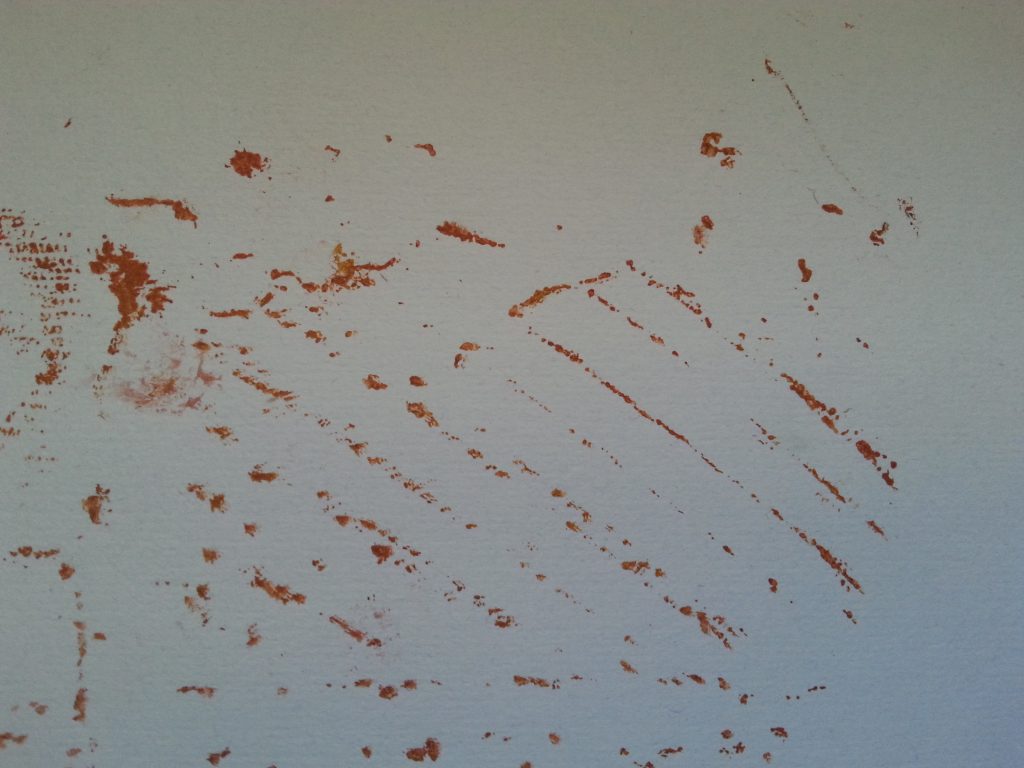
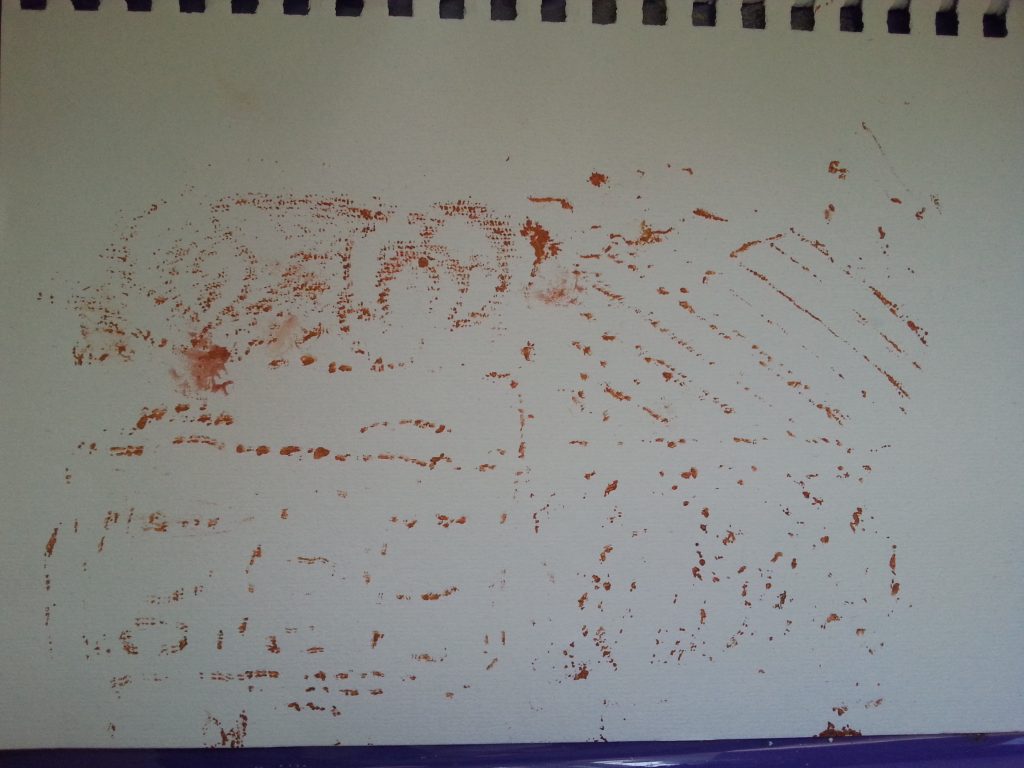
The prints from the block were frankly woeful. On closer inspection it was clear that, whilst the marks in the Polyfilla were good and strong, the Polyfilla had many tiny peaks that were only visible when viewed horizontally. There was some minor success with the piece of lace fabric as this had very few spiky pieces and the toothpicks were vaguely visible.
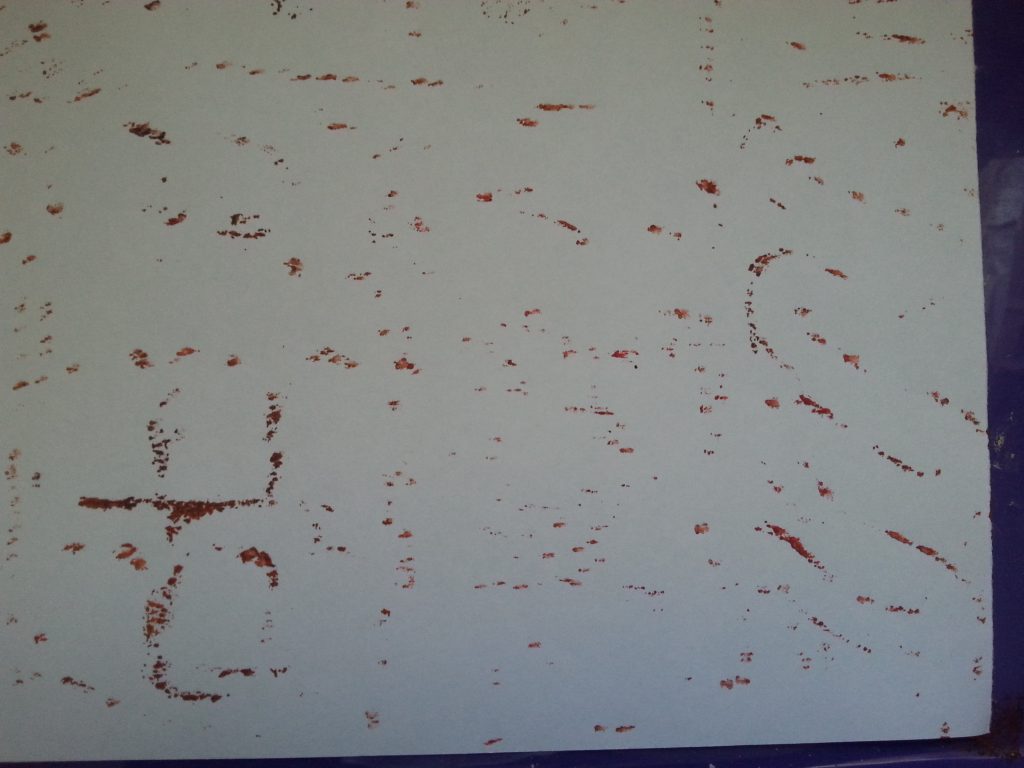
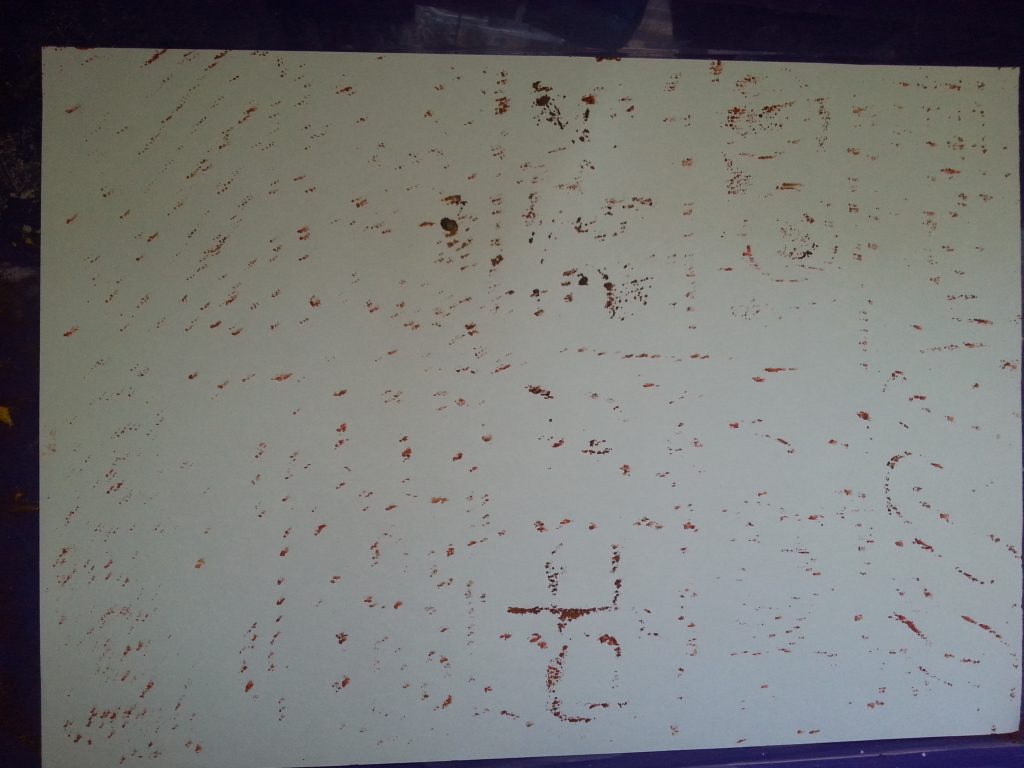
I considered whether using sandpaper to remove the spiky peaks would result in better prints, however, in the meantime, I had reworked the original block from Exercise One. In this block I had achieved much better results using dampened paper, a damp block and layering soft material over the paper before applying pressure.
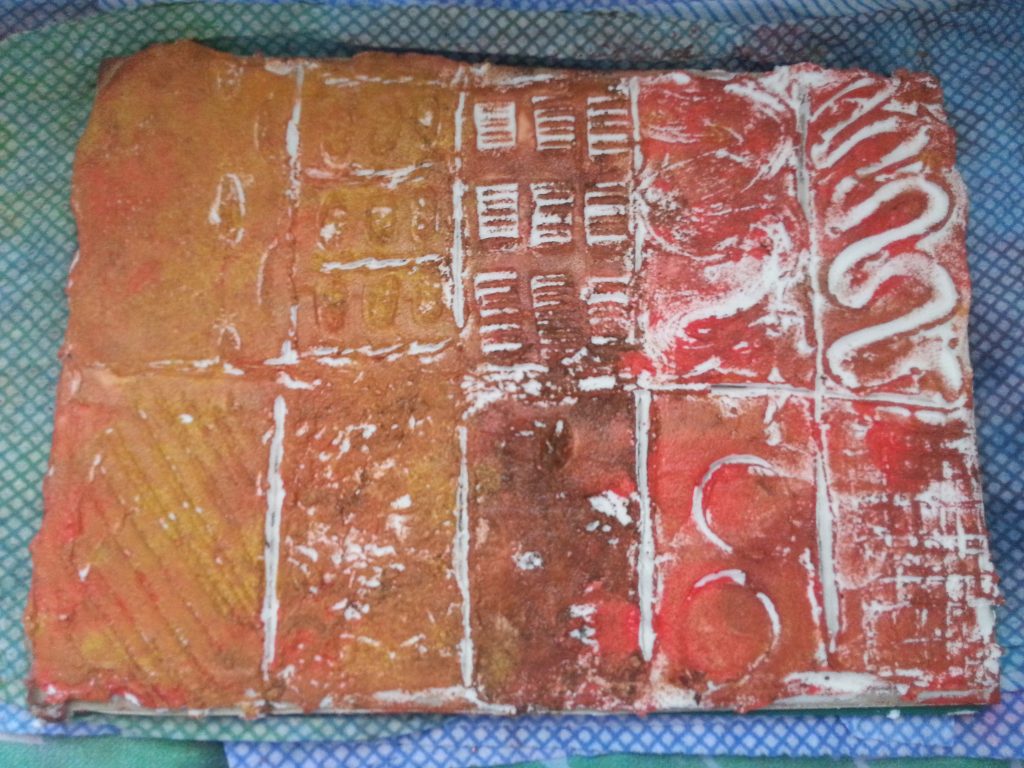
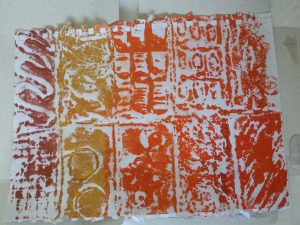
Before getting out the sandpaper I tried the method from Exercise One. I was pleased to note that this was far more successful than the first attempt.
MMT Assignment 4 – Collatype – Exercise 2 – Polyfilla block
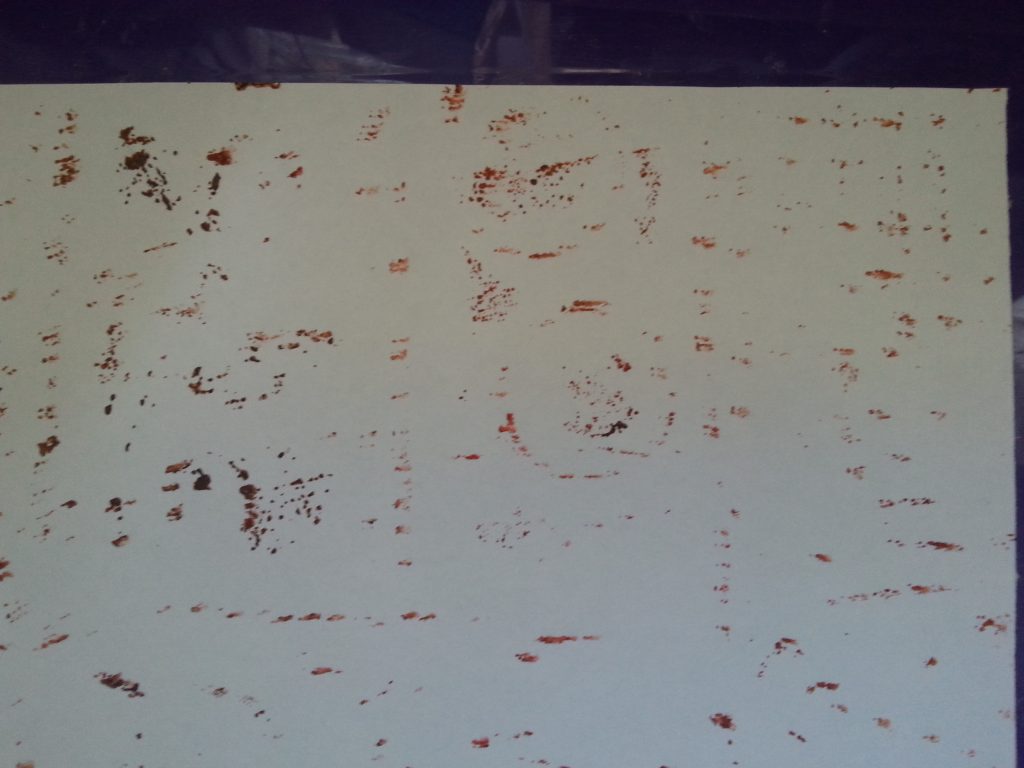
Conclusion
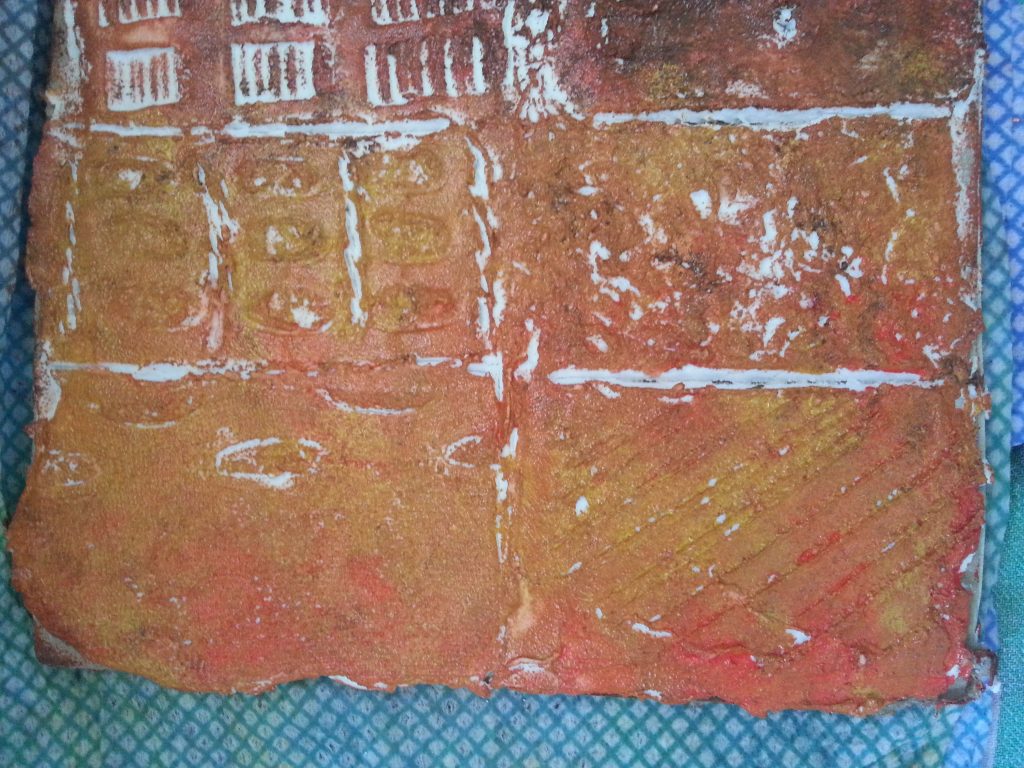
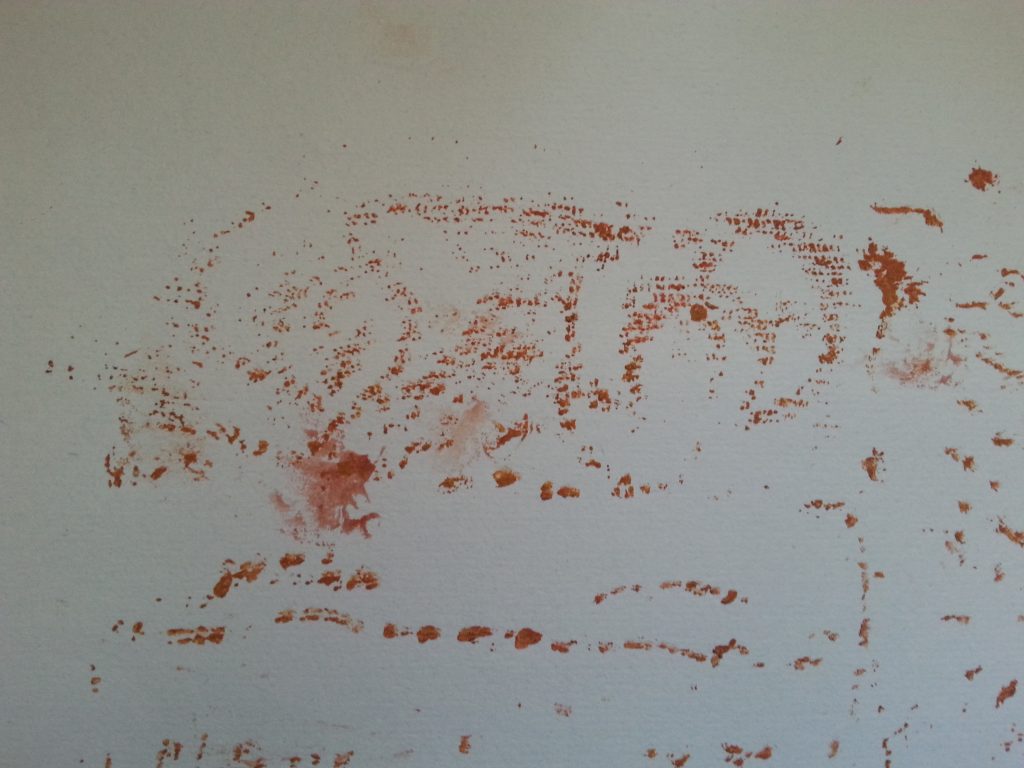
Using the softer paper, applying pressure through layered paper and towel I achieved far better results. For this sample, due to the absolute failure of sample one I also pressed each section carefully with a soft j-cloth after removing the towel as I could see where the unprinted areas were. Each set of marks is much clearer.
Final conclusions, reflection and ideas for future projects
Whilst the second example was more successful this is not a medium I enjoyed working with which was a surprise as I anticipated that it would hold shape and form quite readily. I might consider using this for much smaller pieces and, had the second print not worked, I had considered other media to explore whether similar materials might achieve good results more readily. Other media considered were:
Plaster of Paris – based on experiences from moulding and casting I considered this too fragile and setting too quickly
Plasticine/modelling clay – I have used this successfully before but the colour and bit of the mould tend to stick to the print
Polymer clay – a good option but expensive for anything other than small pieces
Salt dough – a useful alternative to polymer clay but allowance has to be made for softening/blurring of the shapes and marks during cooking. It might be necessary to leave the mark-making items in situ during cooking?
As with Exercise One I did learn some valuable lessons in choice of paper, media, method and technique that I can use in future printing experiments.