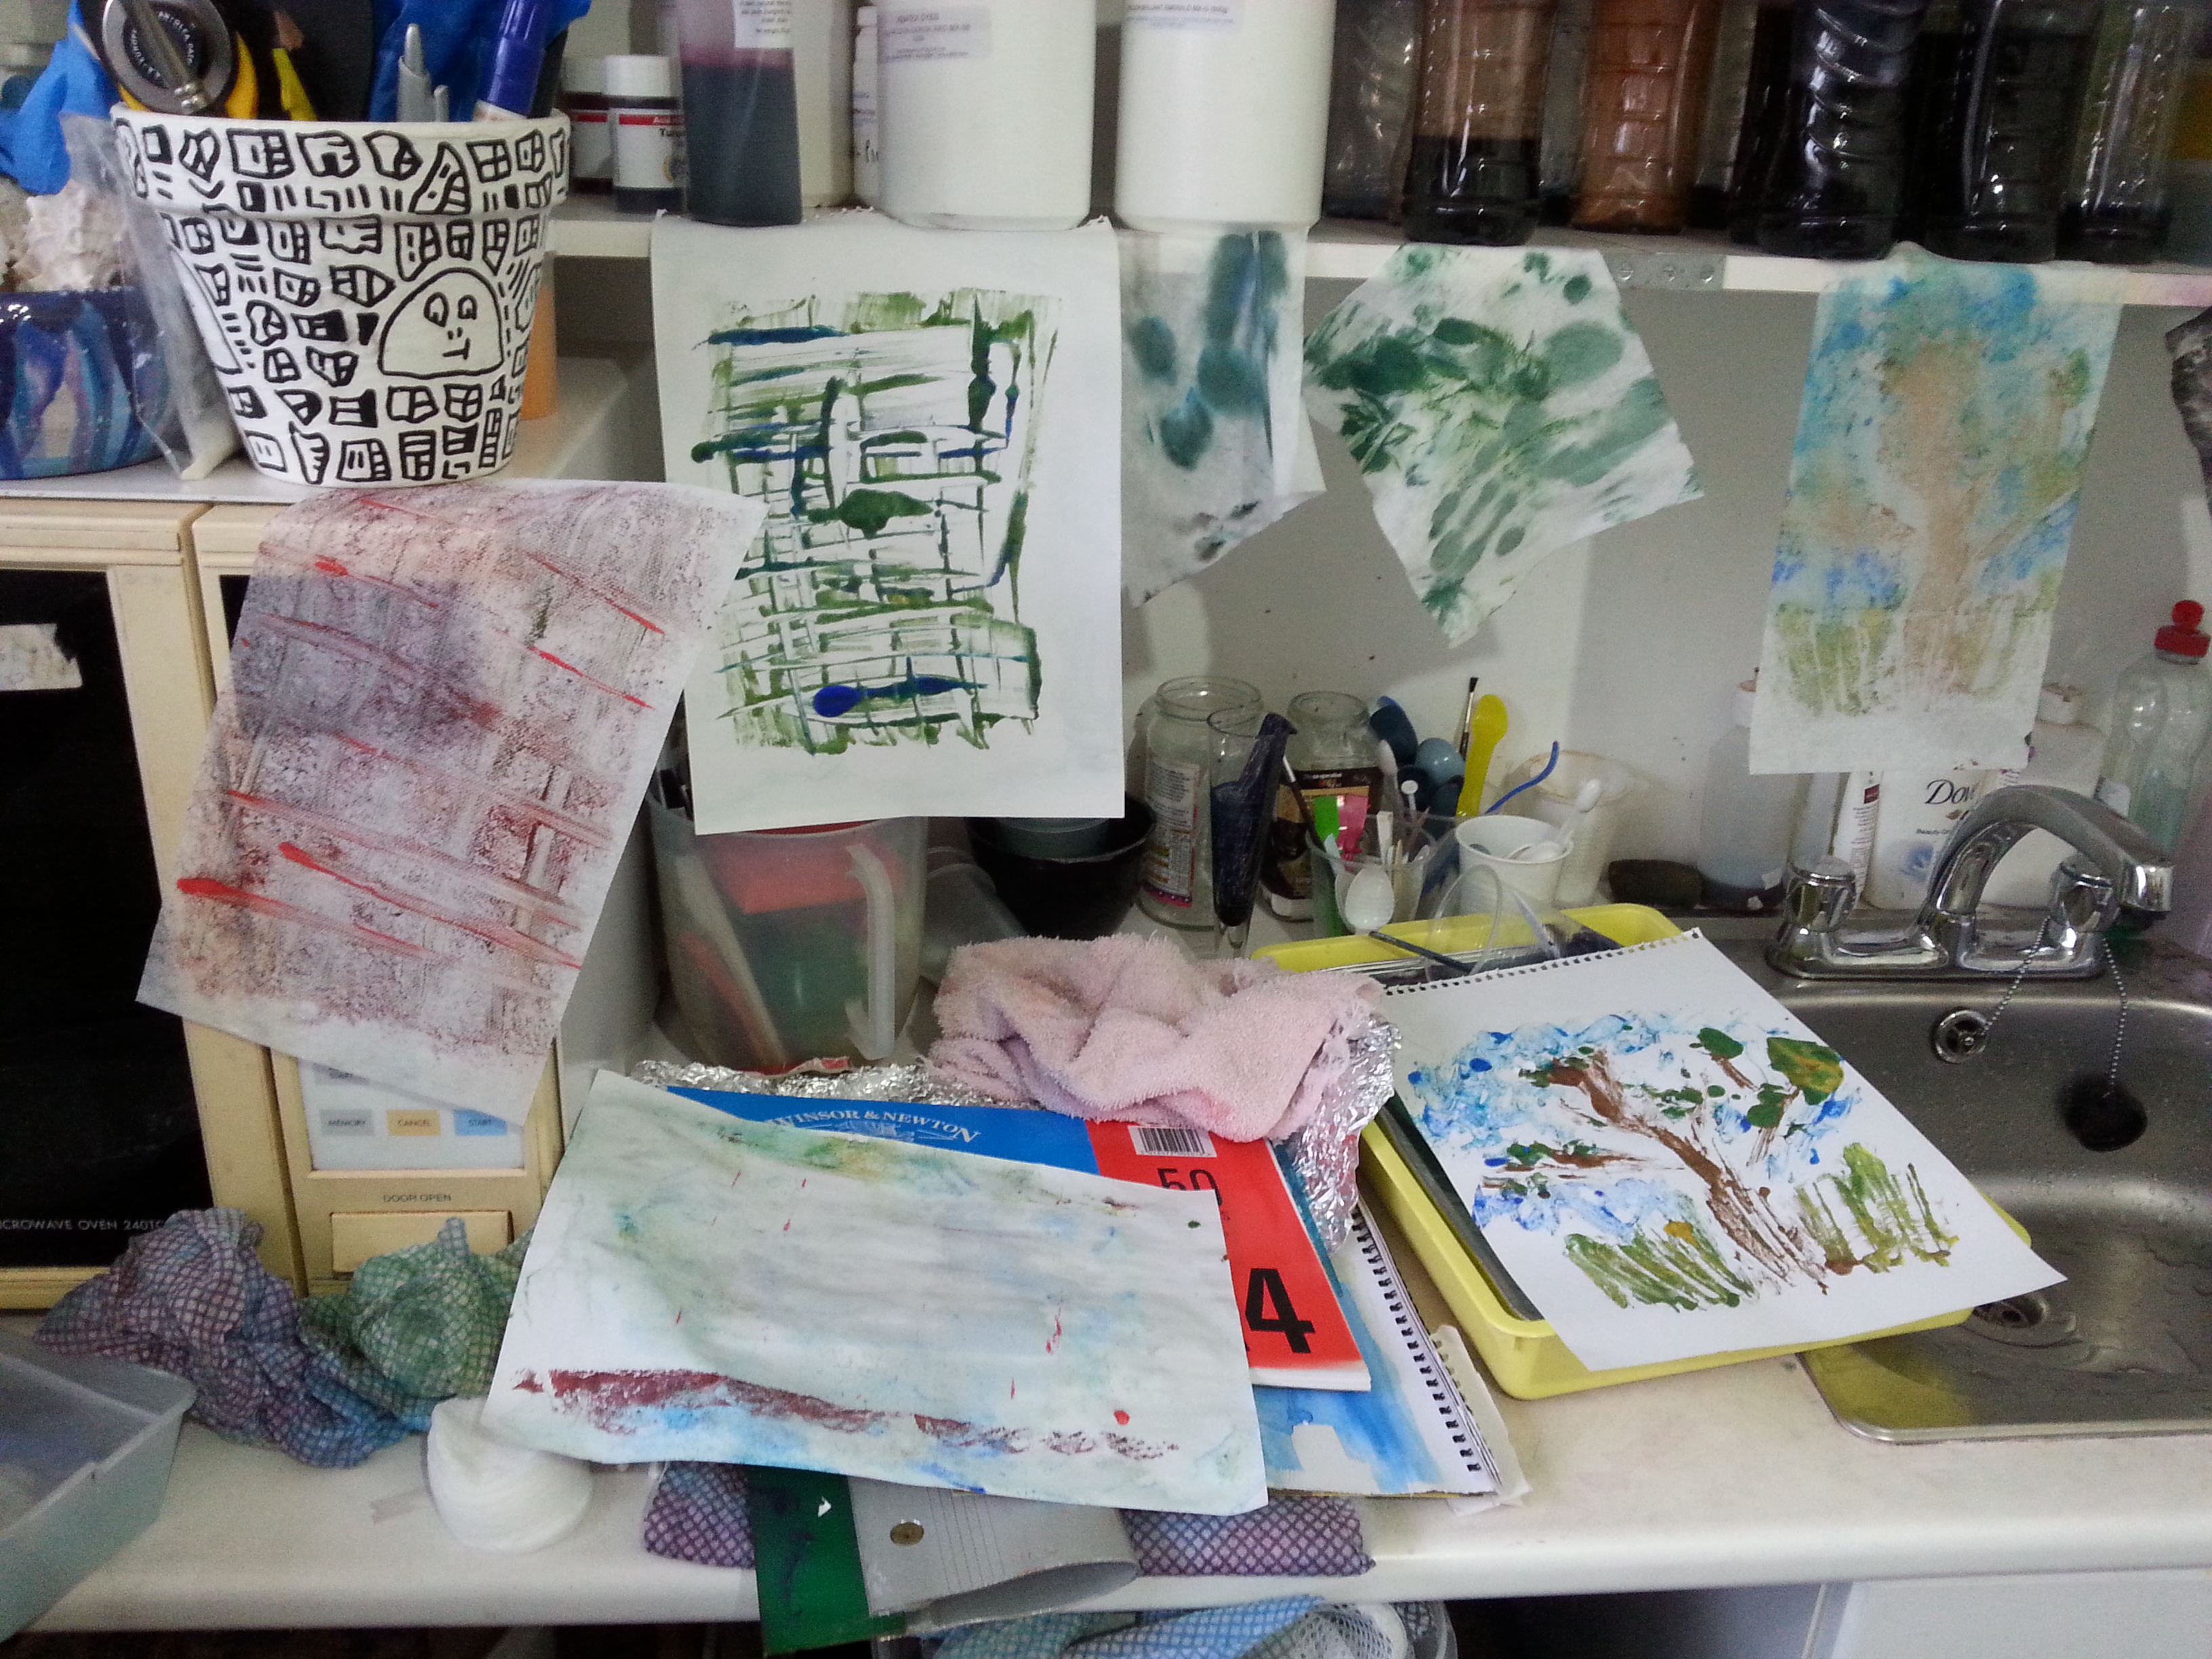
For this exercise I selected a number of images from earlier exercises – the fungi and concertina-folded paper from folding and crumpling, the base of the vase from the casting and moulding project, woven sample from wrapping and two simple drawings from sketchbook work.
Fungi
-
- MMT Assignment 4 – Monoprinting – Exercise Three – Drawing on the plate – credit card
-
- MMT Assignment 4 – Monoprinting – Exercise Three – Drawing on the plate – credit card
-
- MMT Assignment 4 – Monoprinting – Exercise Three – Drawing on the plate – credit card
-
- MMT Assignment 4 – Monoprinting – Exercise One – Mark-making – Scrumpled plastic
-
- MMT Assignment 4 – Monoprinting – Exercise Three – Drawing on the plate – credit card
-

- MMT Assignment 4 – Monoprinting – Exercise Three – Drawing on the plate – credit card
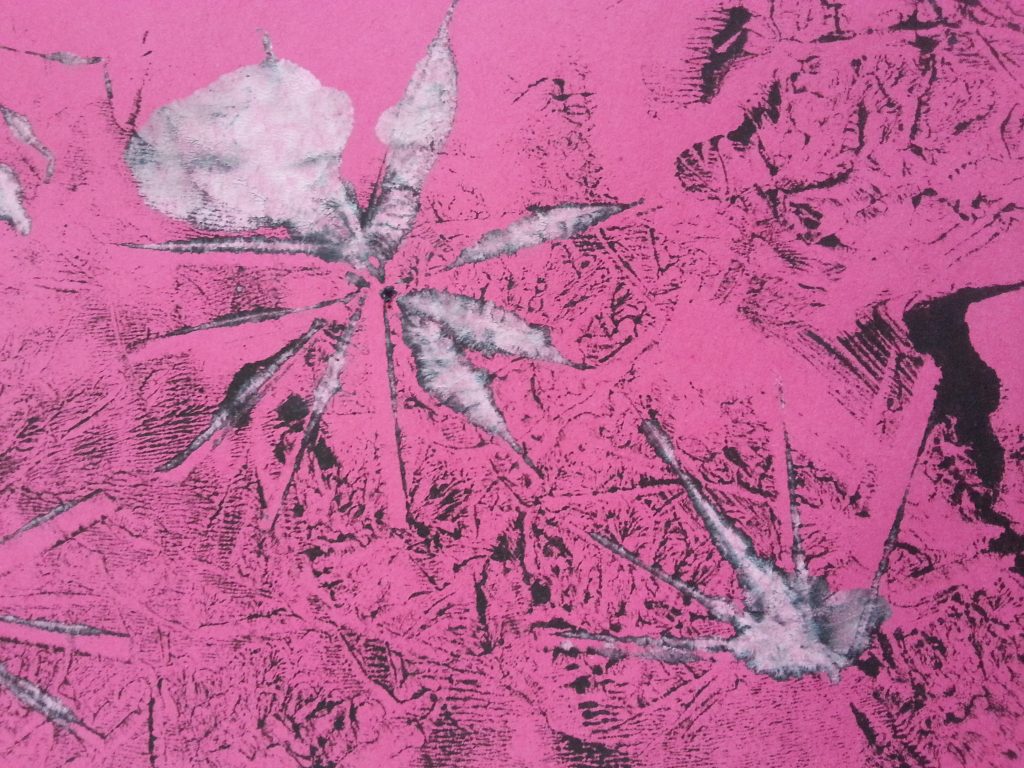
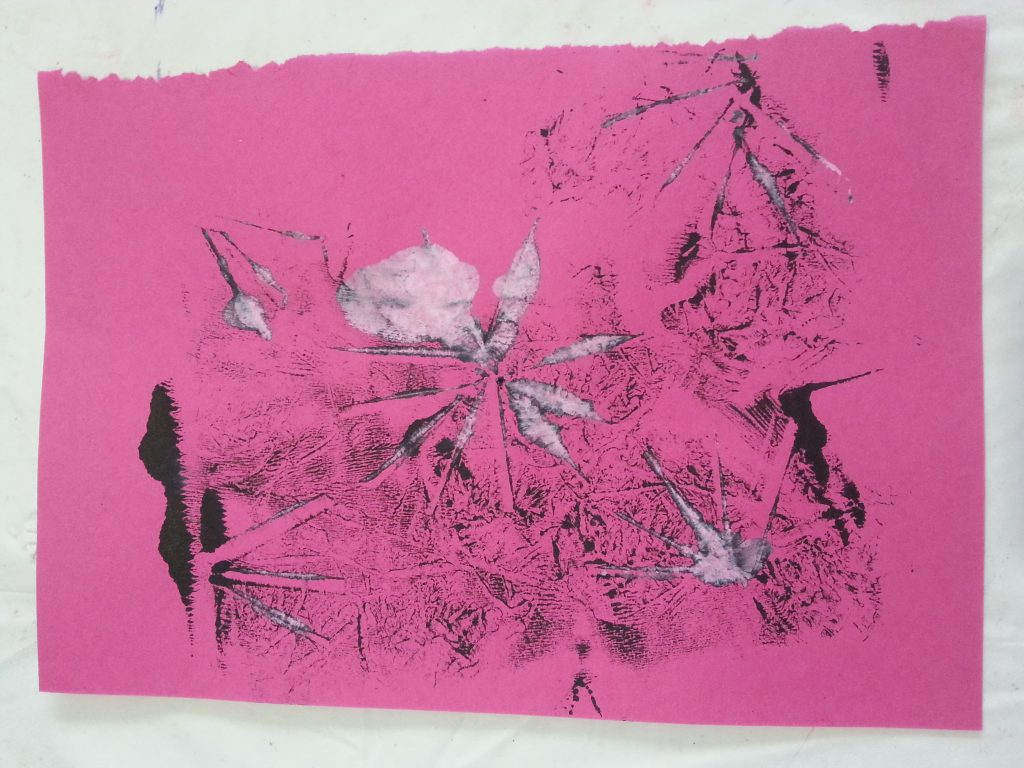
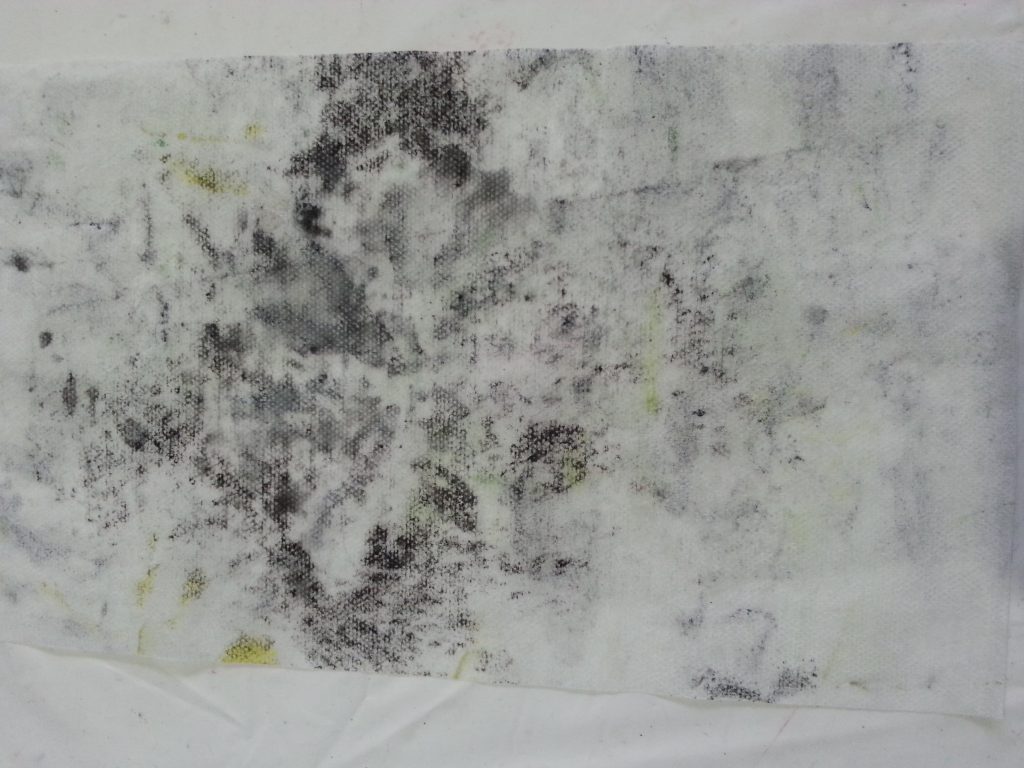
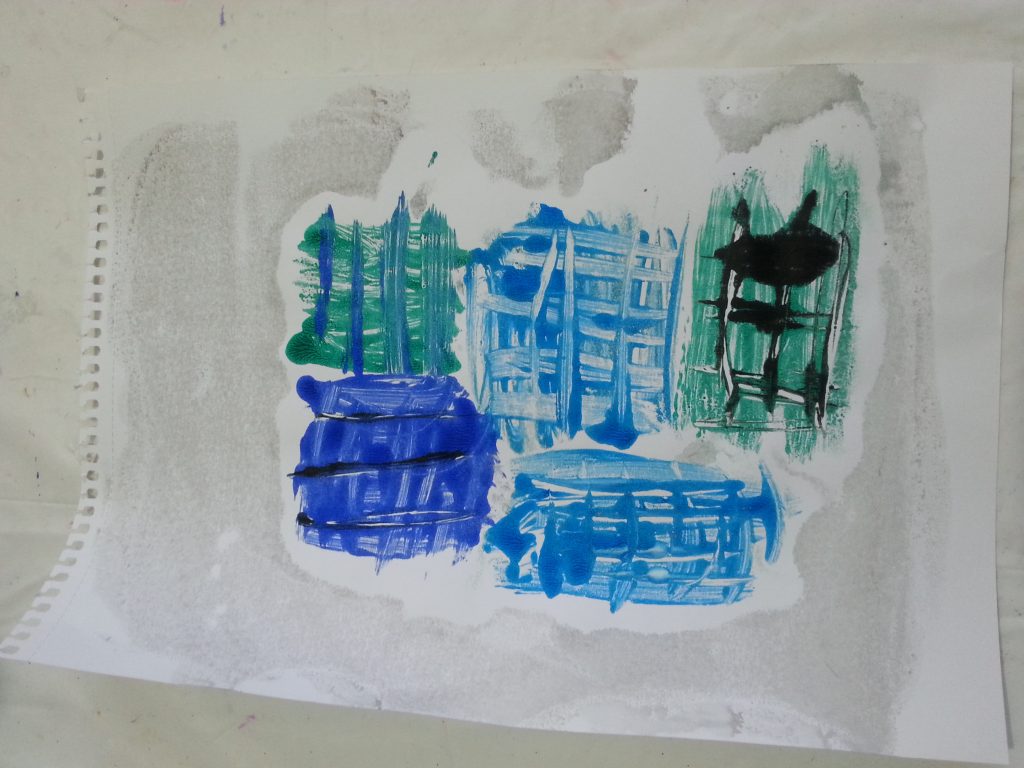
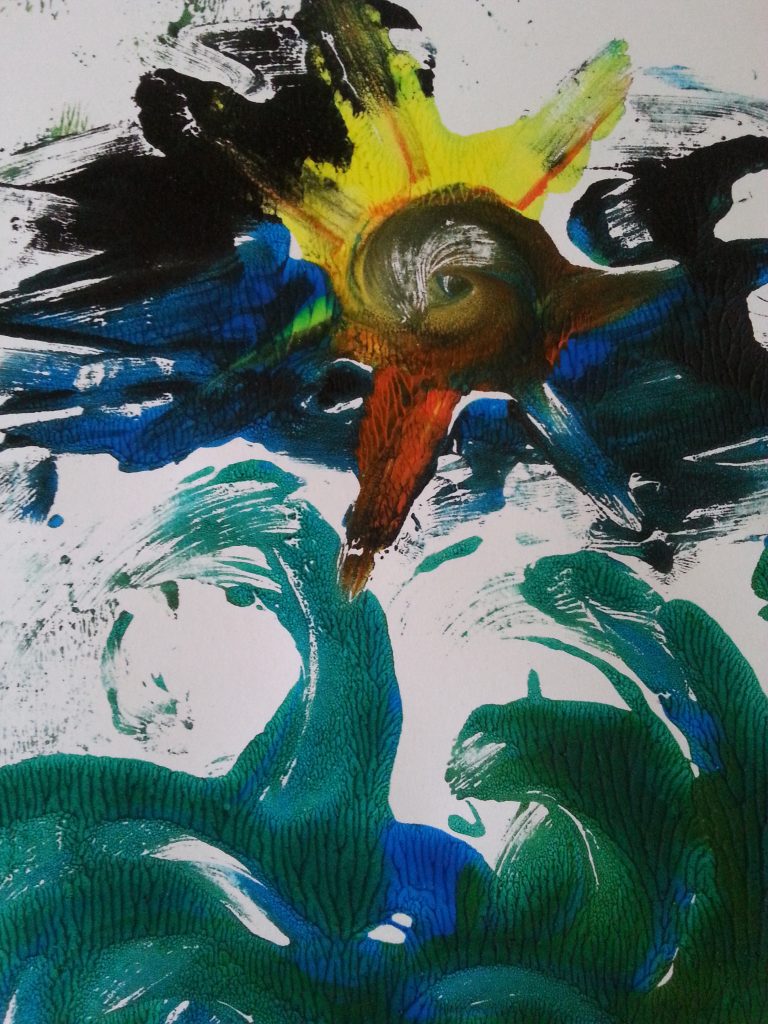
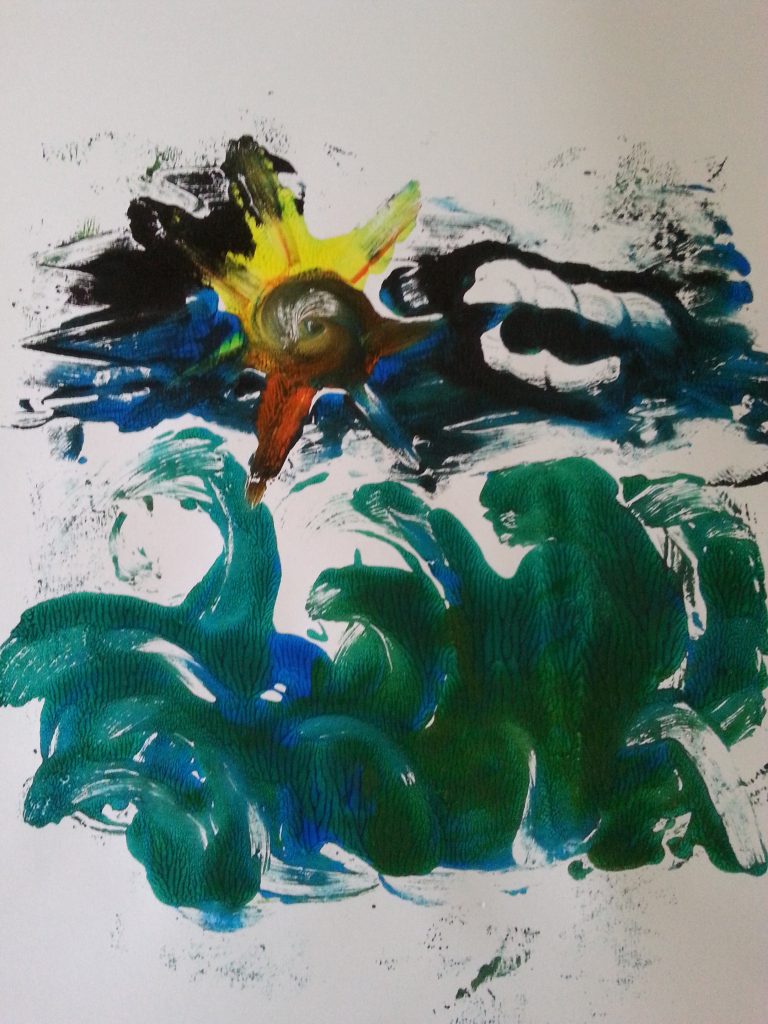
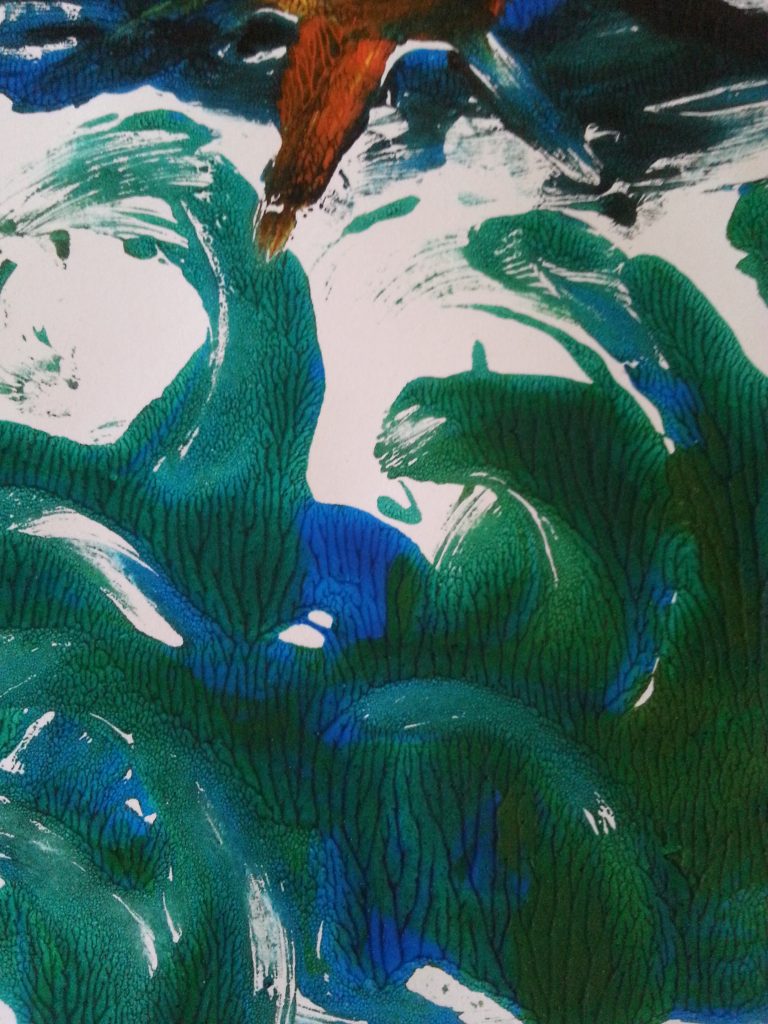
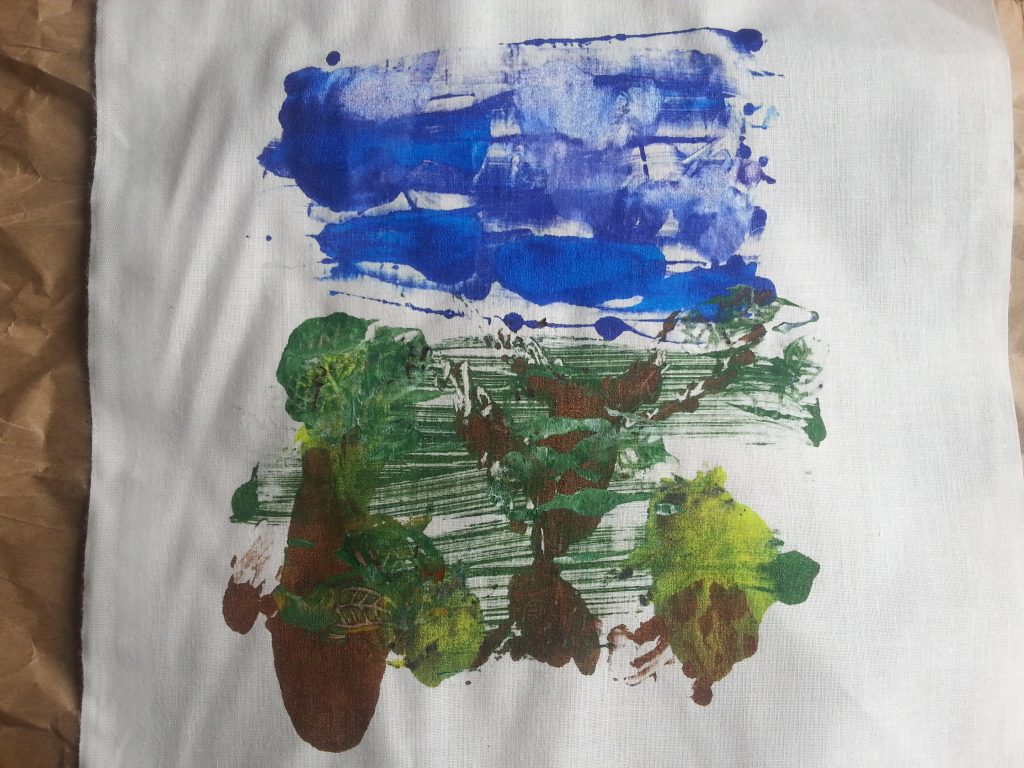
I used a credit card to create the ridges of the underside of the fungus/vase, acrylic paint for the medium and paper/coloured sugar paper as the substrate. I then painted into the etched lines and took prints.
Conclusion
The images are reasonable and a fair reflection of the vase base. However, the nature of the process didn’t lend itself to capturing the delicate underside of the fungi.
Concertina-folded paper
MMT Assignment 4 – Monoprinting – Exercise Three – Drawing on the plate – Painting
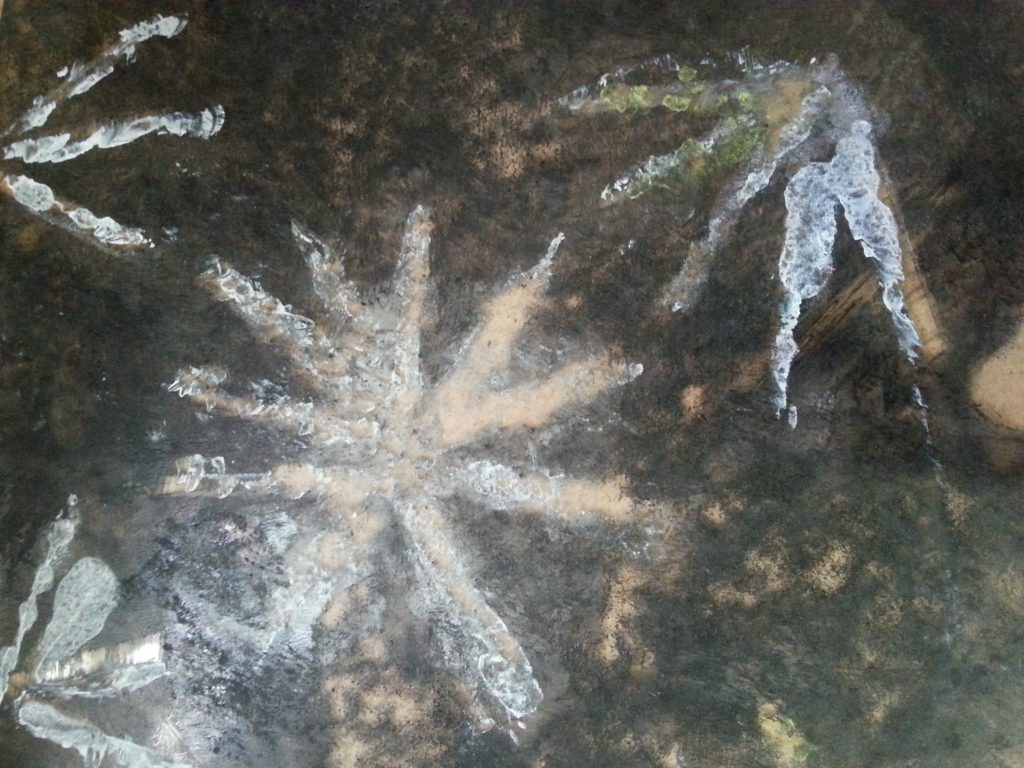
This image was handpainted onto the plate with acrylics and a print taken onto paper.
Conclusion
Not a very successful print. This could be improved with more subtly mixed colours as the print is very flat and has no sense of three-dimensions.
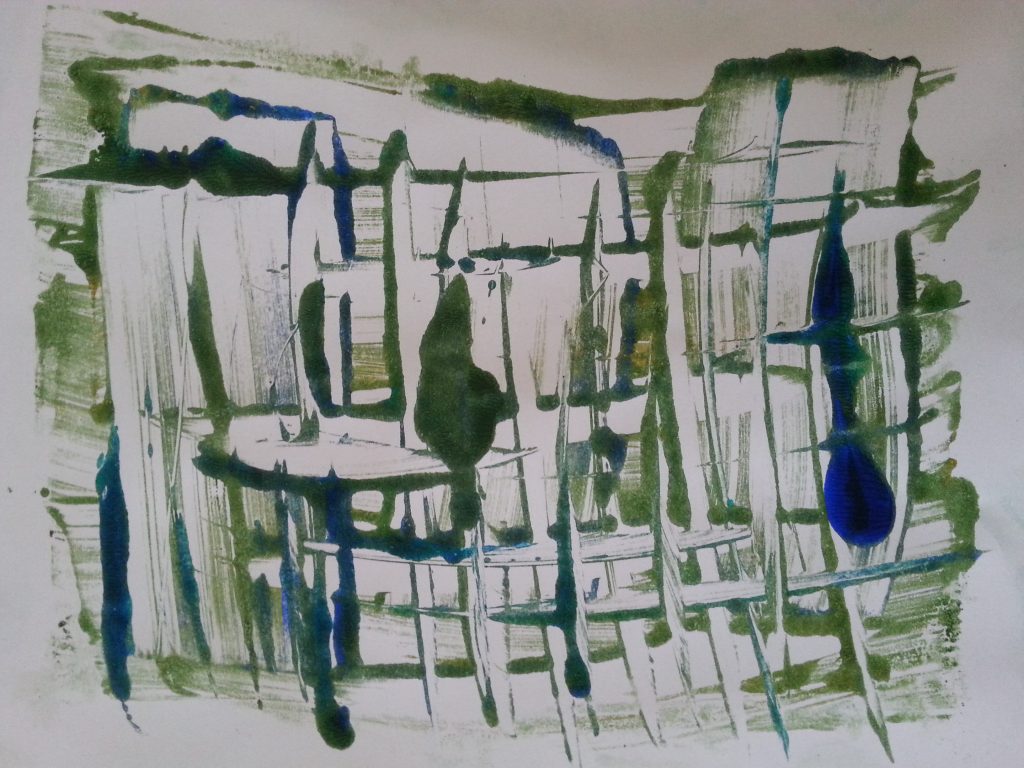
Woven sample
-
- MMT Assignment 4 – Monoprinting – Exercise Three – Drawing on the plate – Credit card
-
- MMT Assignment 4 – Monoprinting – Exercise Three – Drawing on the plate – Credit card
-
- MMT Assignment 4 – Monoprinting – Exercise Three – Drawing on the plate – credit card
-
- MMT Assignment 4 – Monoprinting – Exercise Three – Drawing on the plate – credit card
-
- MMT Assignment 4 – Monoprinting – Exercise Three – Drawing on the plate – Lollipop stick
-
- MMT Assignment 4 – Monoprinting – Exercise Three – Drawing on the plate – credit card
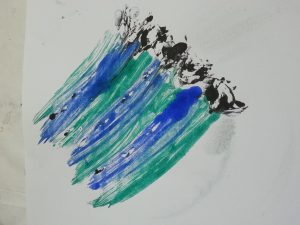
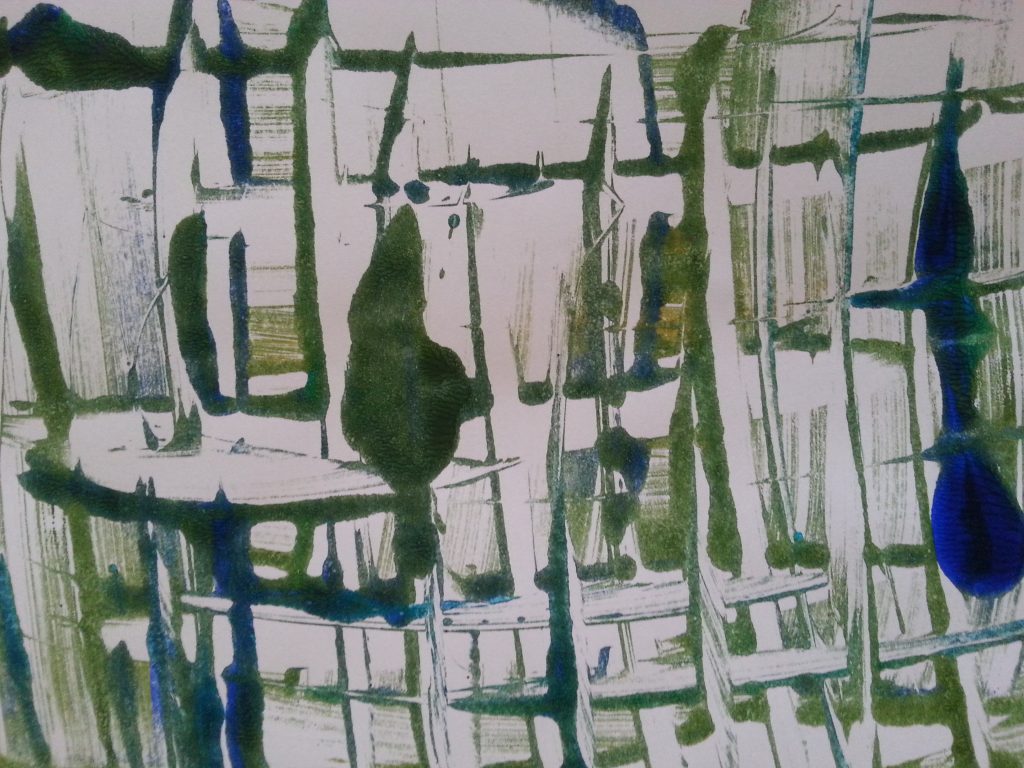
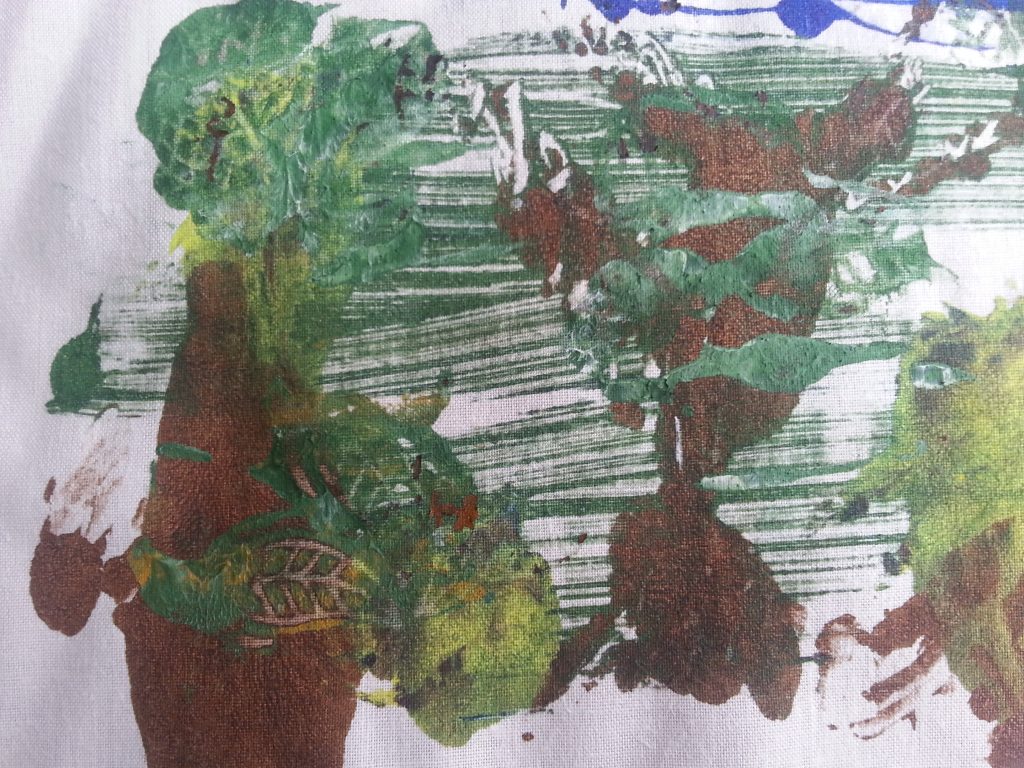
For these samples I used a credit card or lollipop stick to create an image of the weavette woven fabrics, with intersecting lines to represent the warp and weft. I used different colour combinations, varied the amount of paint and method of application.
Conclusion
The first two images, where the lines are sparse and finer, with more overlapping and more detail are more successful. They better reflect the softness and delicate nature of the woven fabric. The weaving is also quite open which makes the sparing use of paint more effective. The grouped samples are rather too bold and don’t really create a feeling of woven fabric.
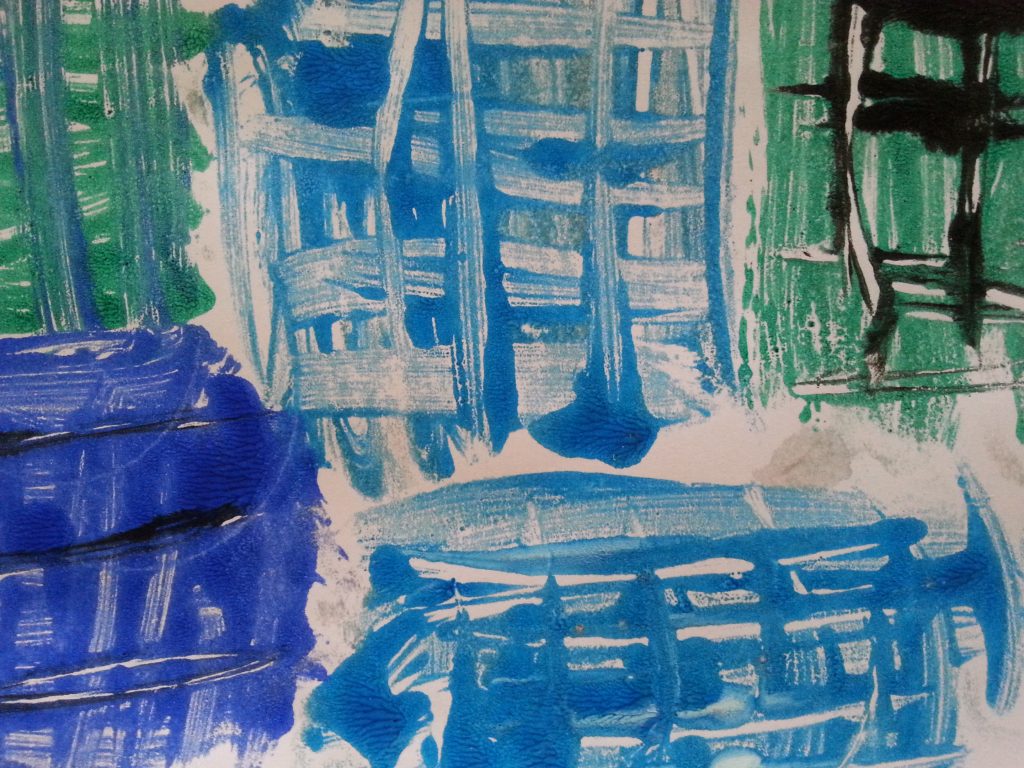
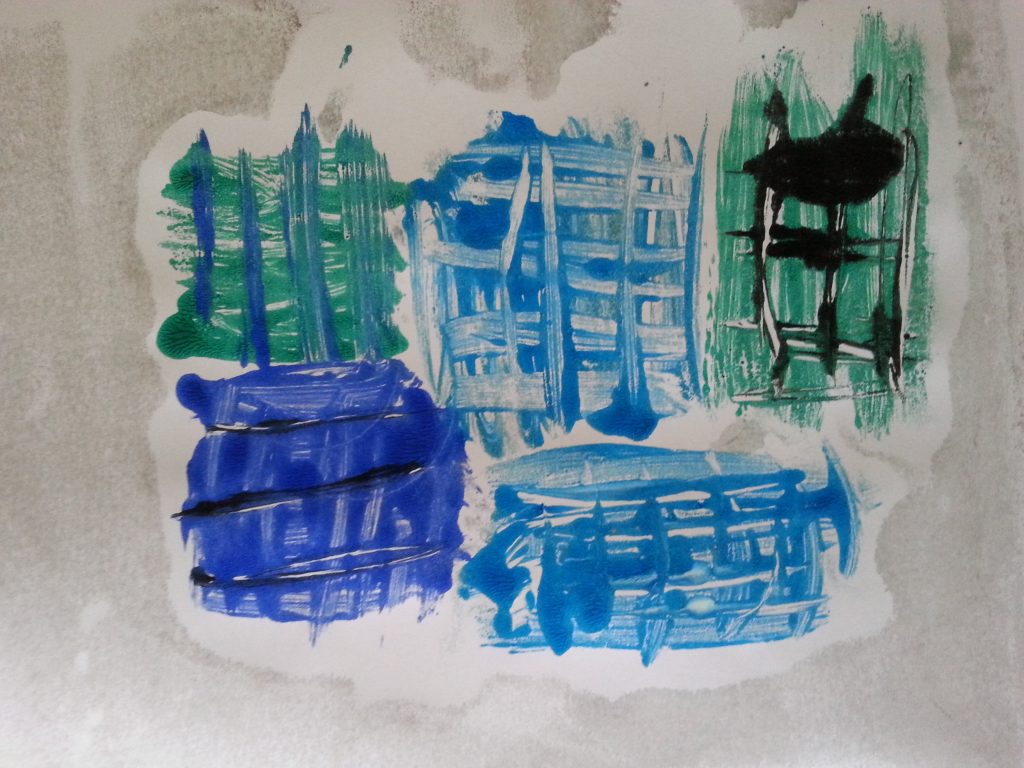
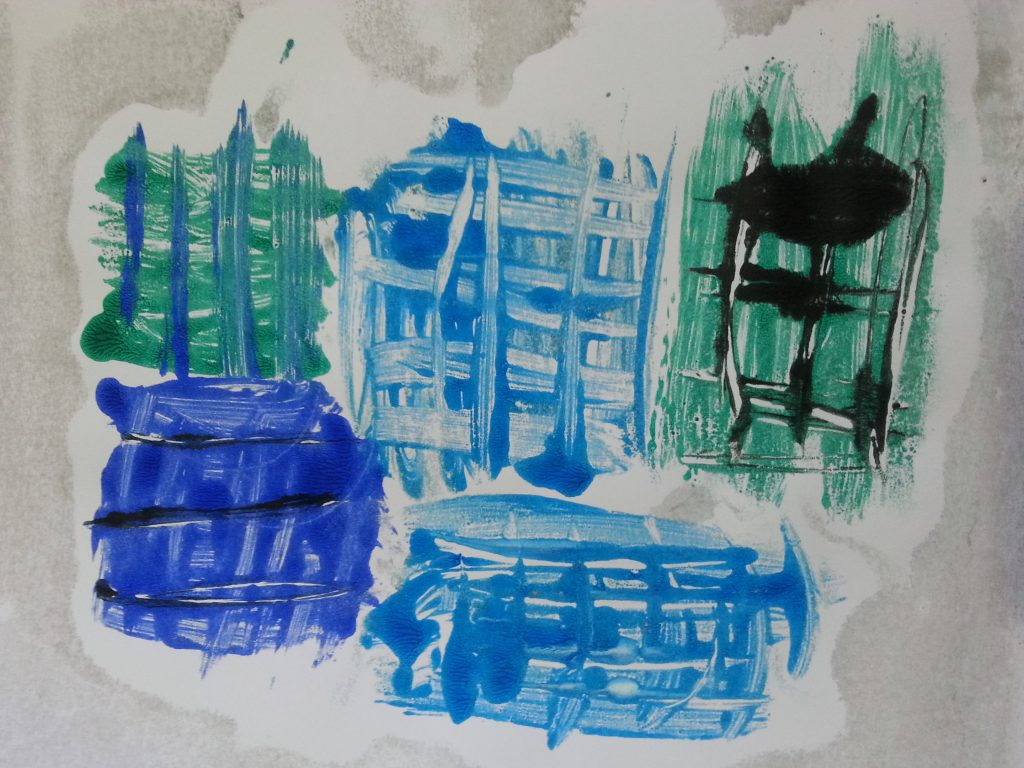
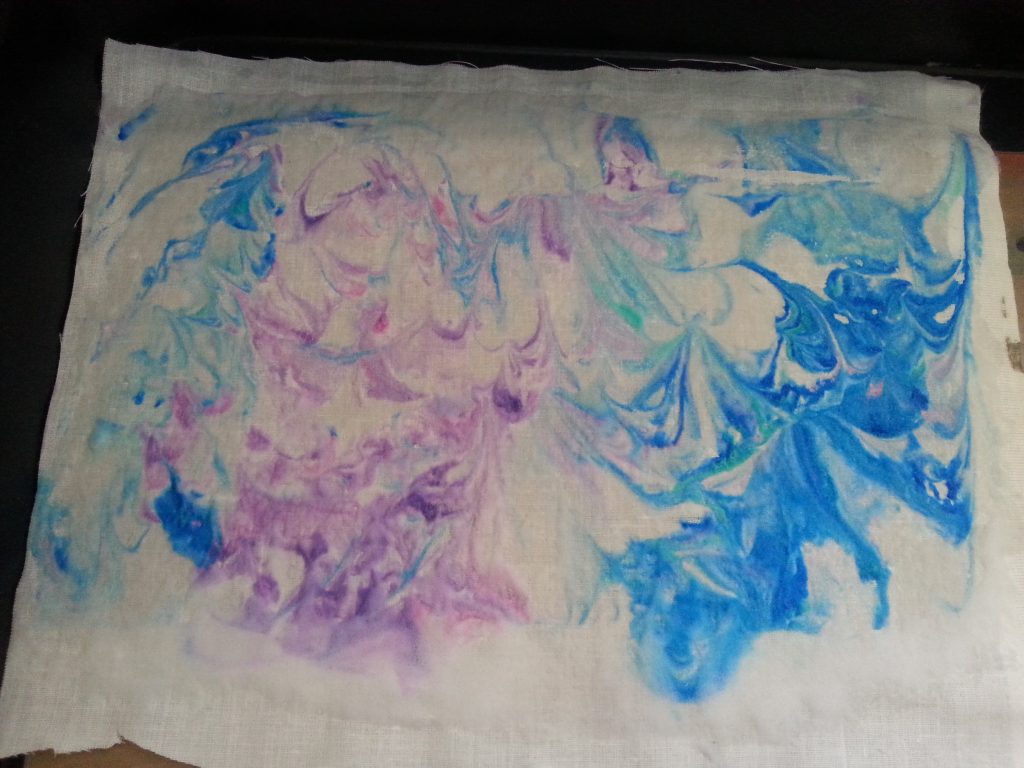
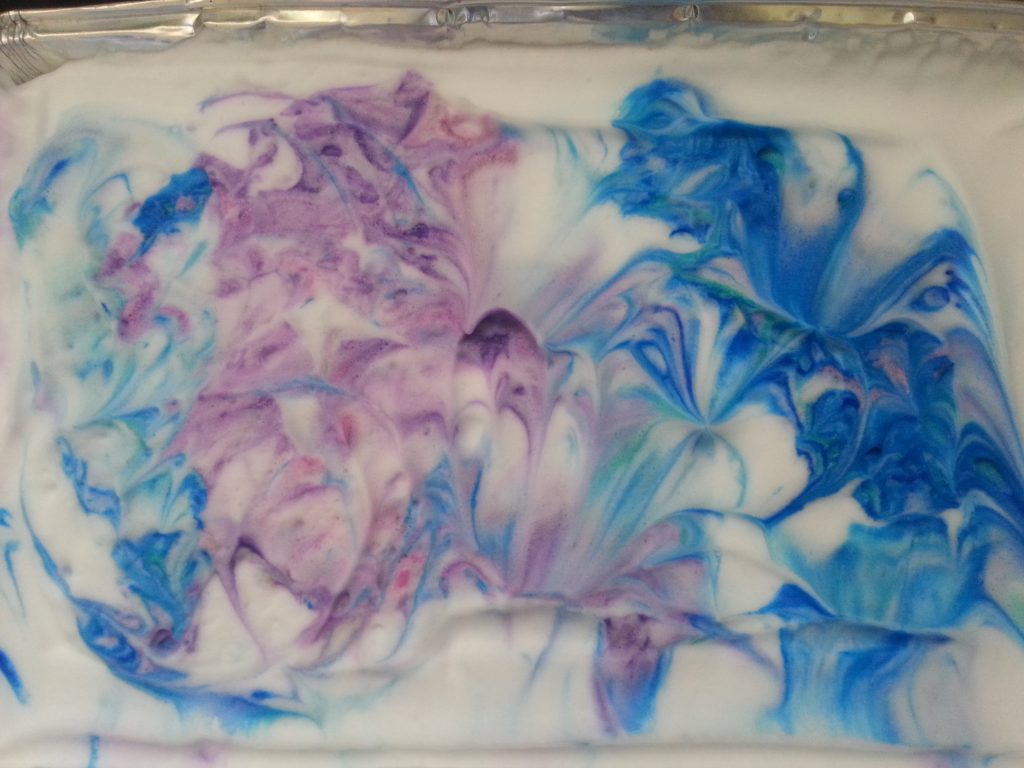
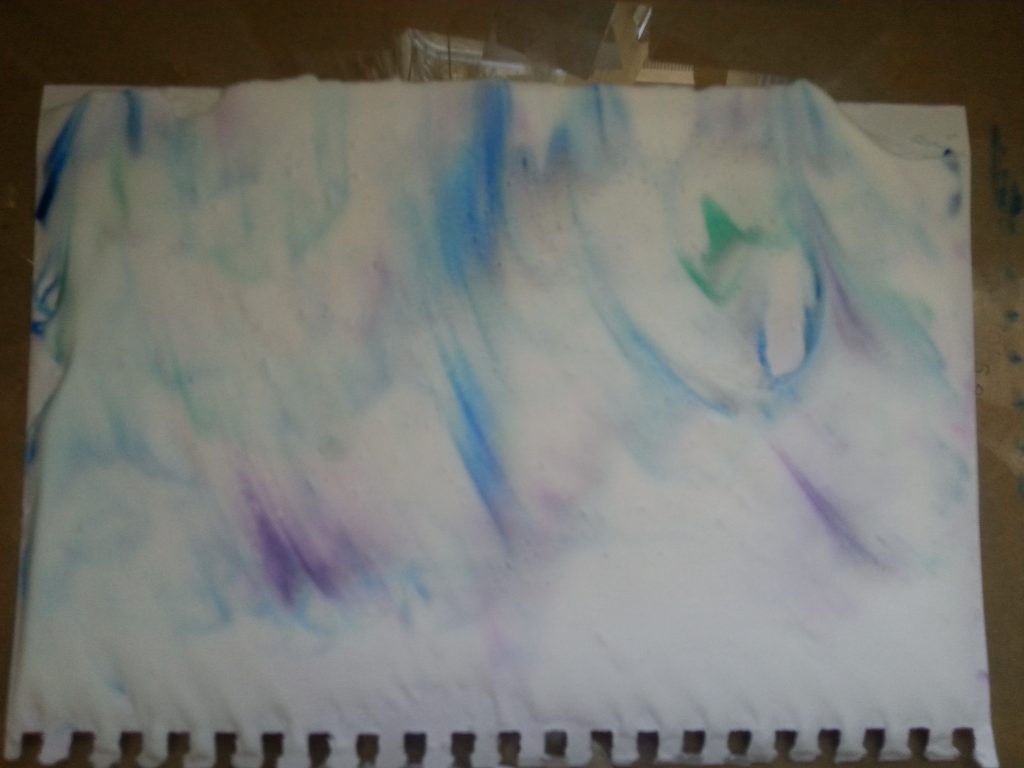
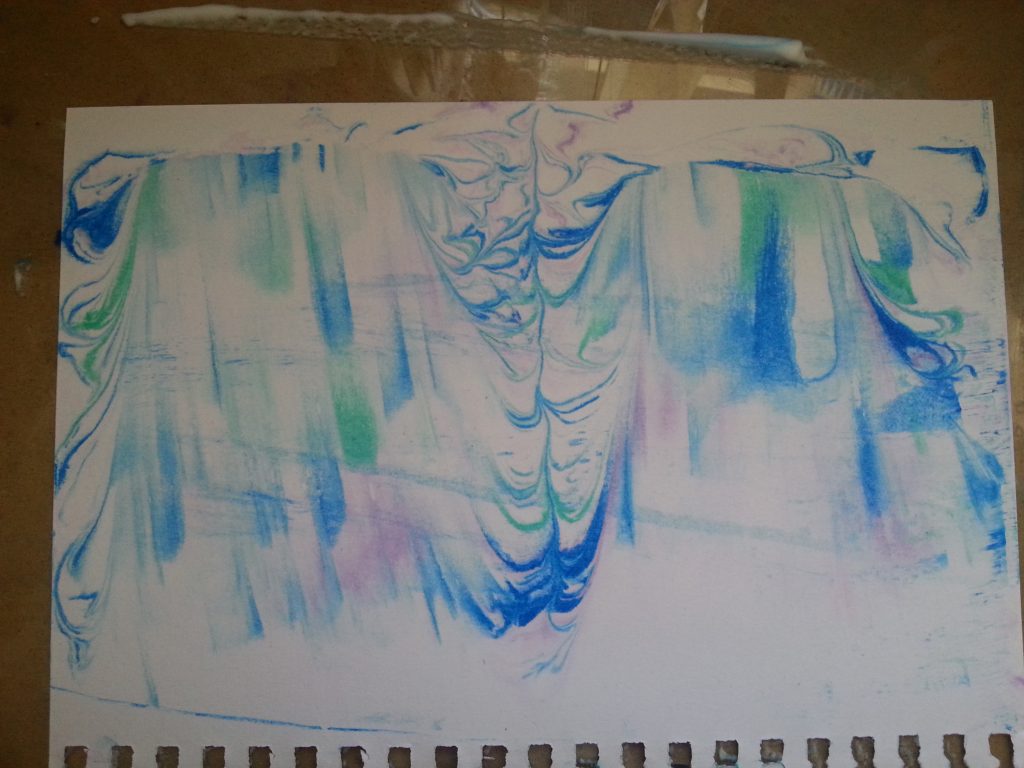
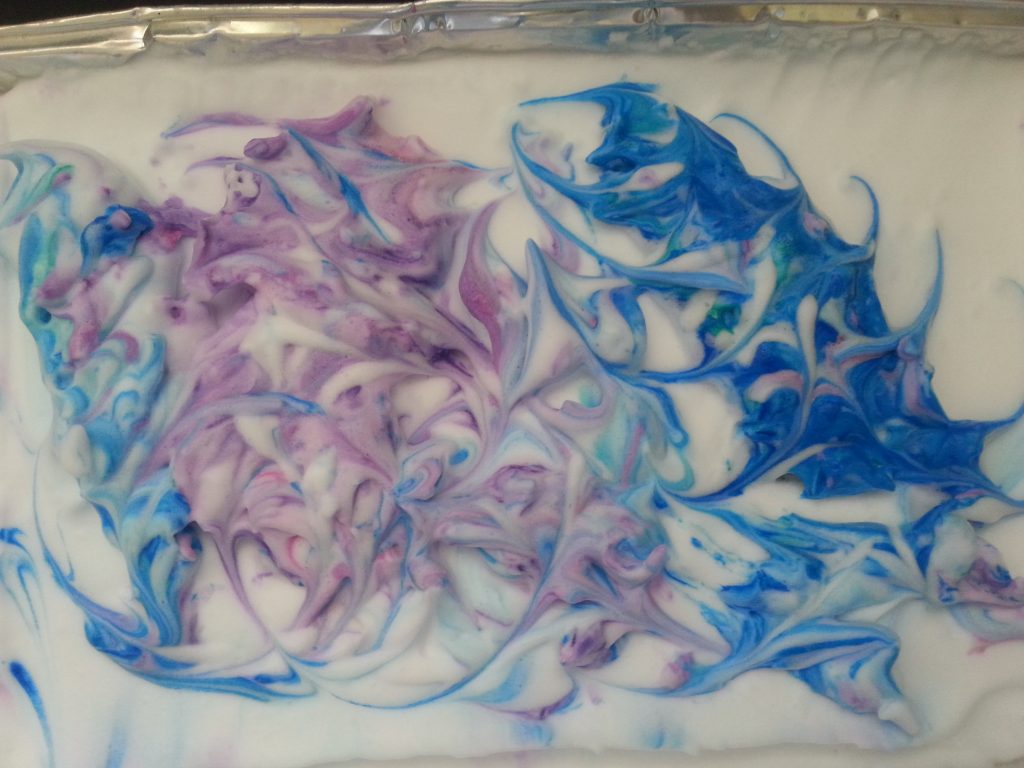
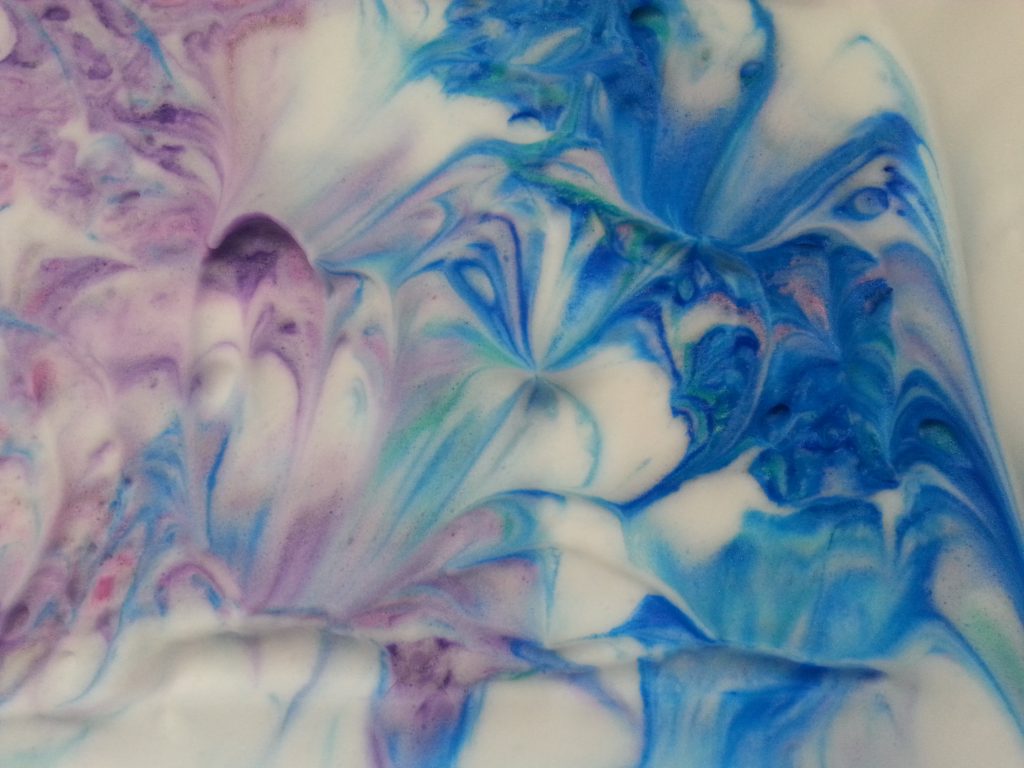
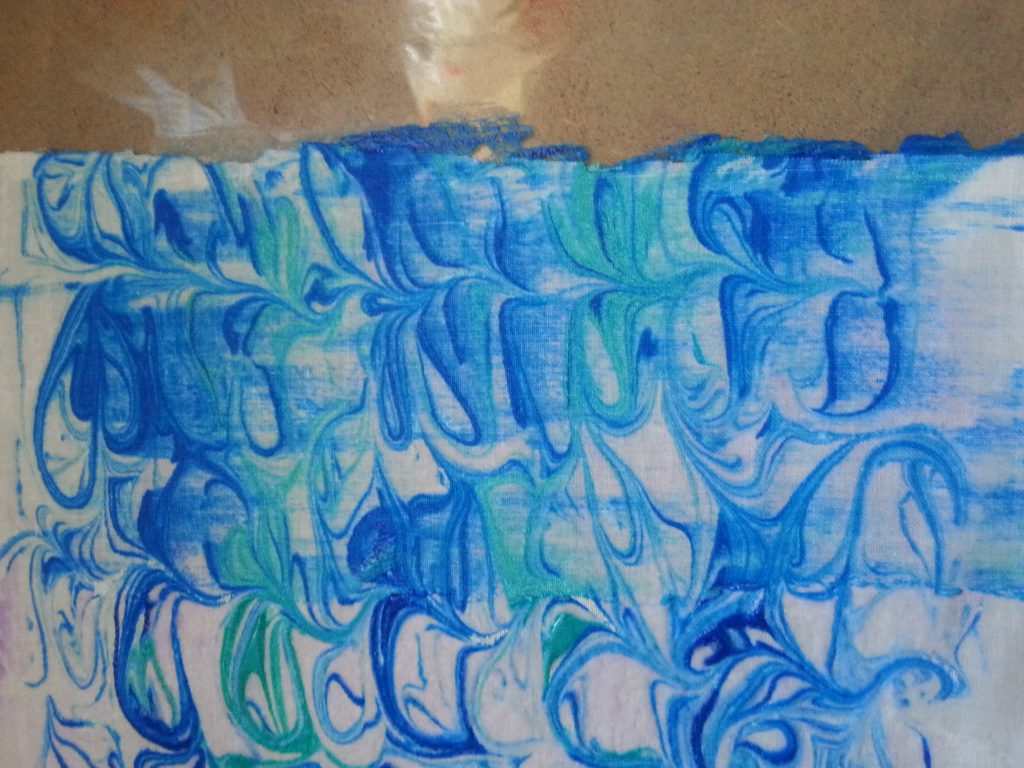
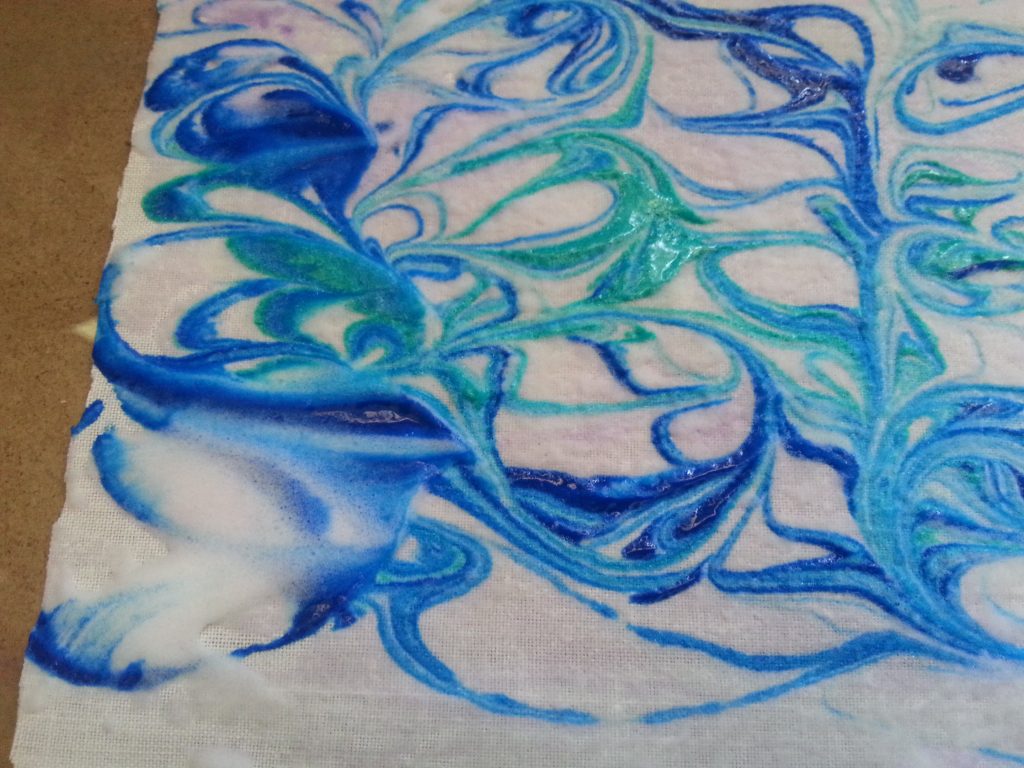
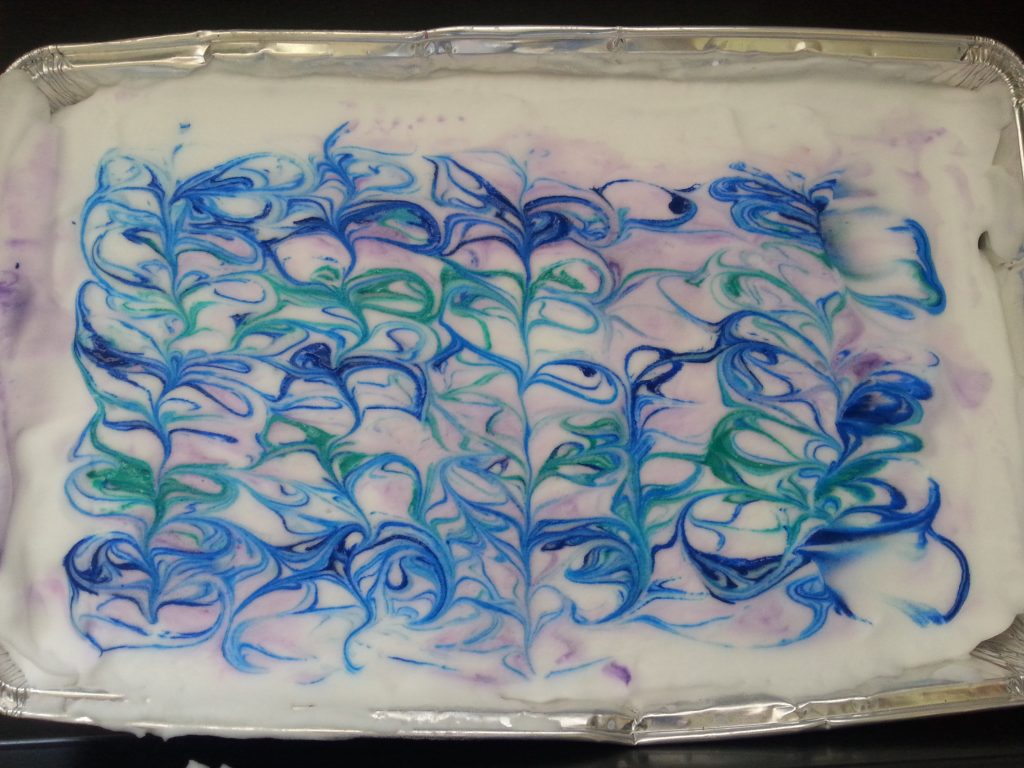
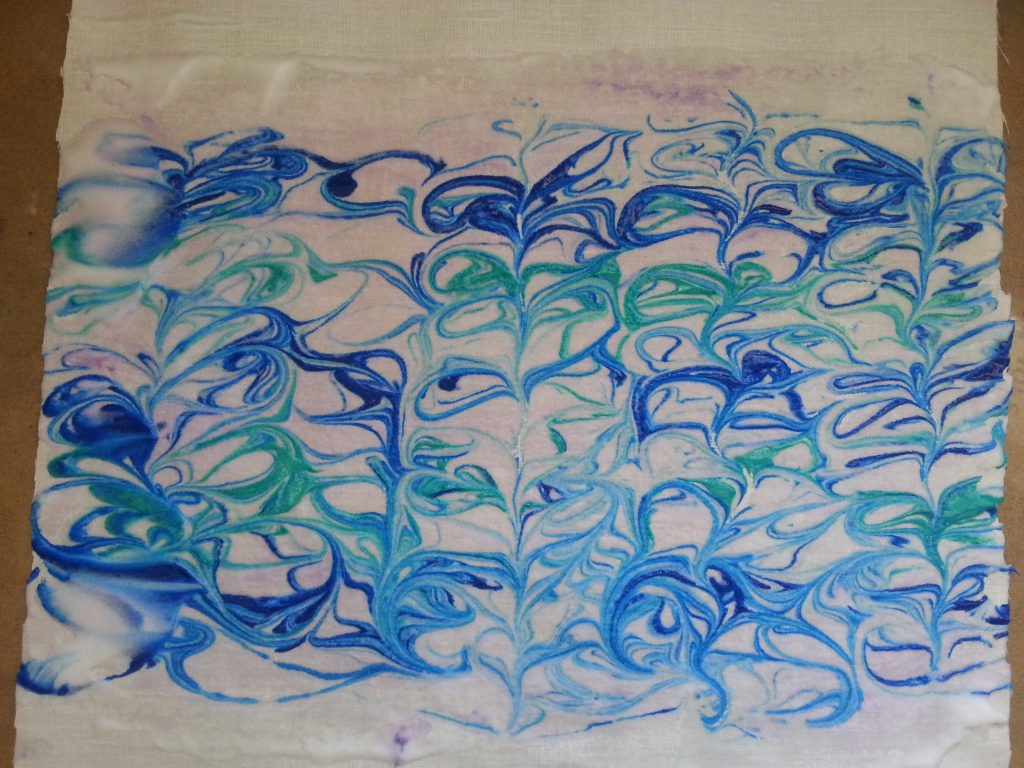
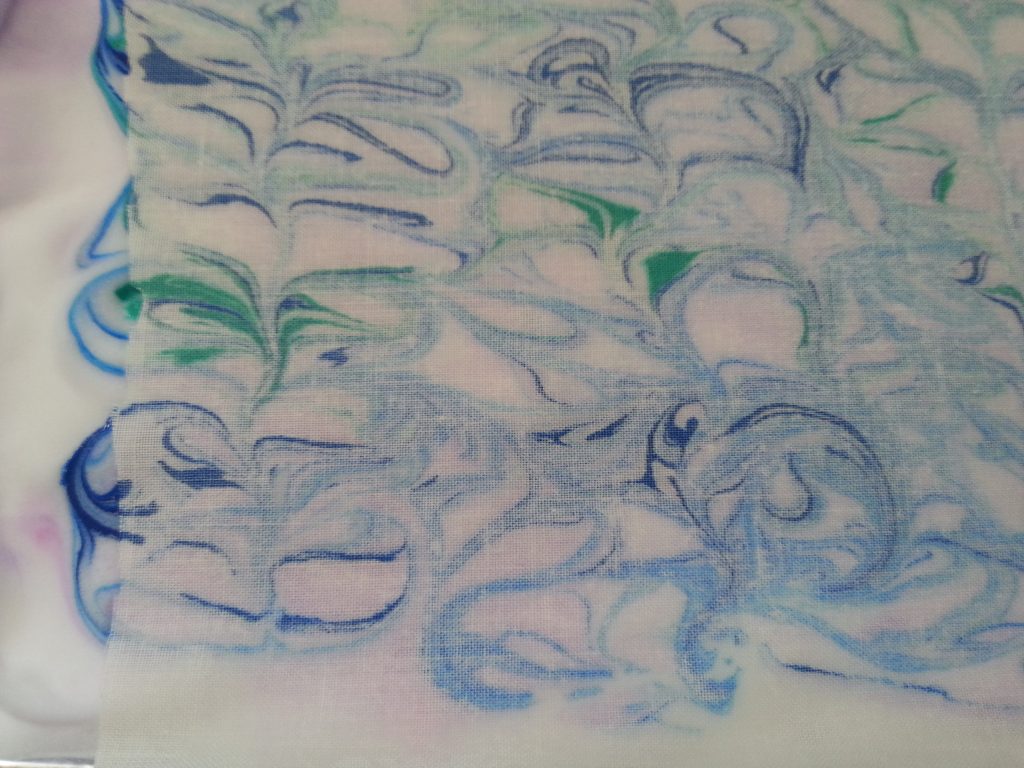
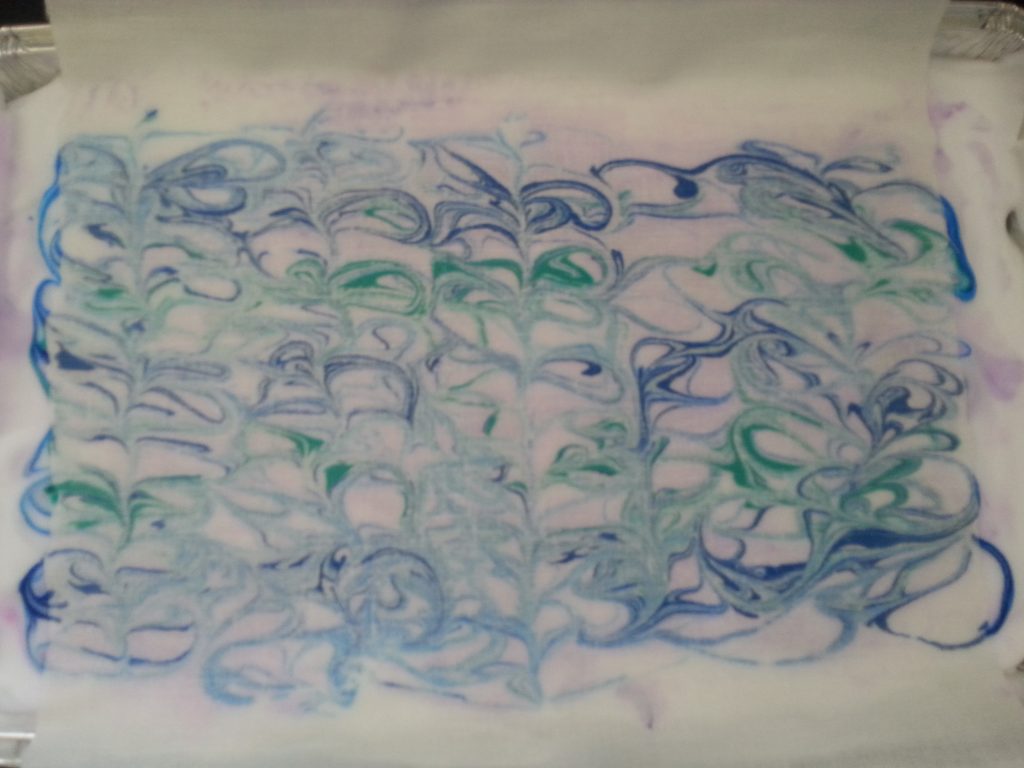
Drawing on the plate – Shaving foam plate
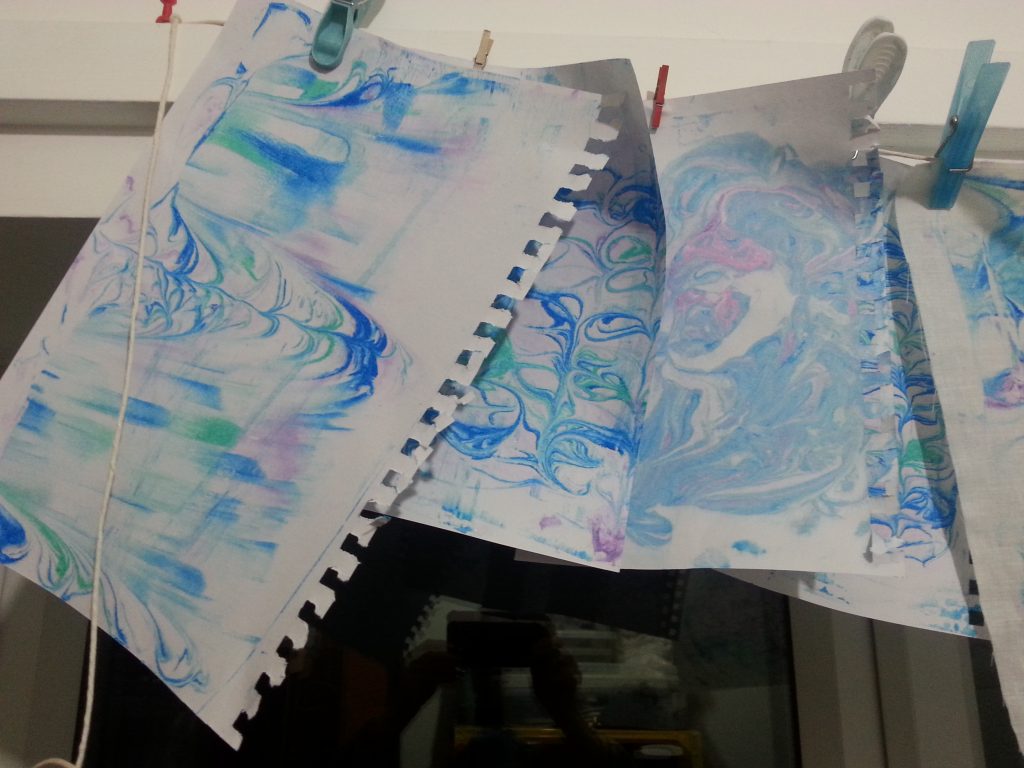
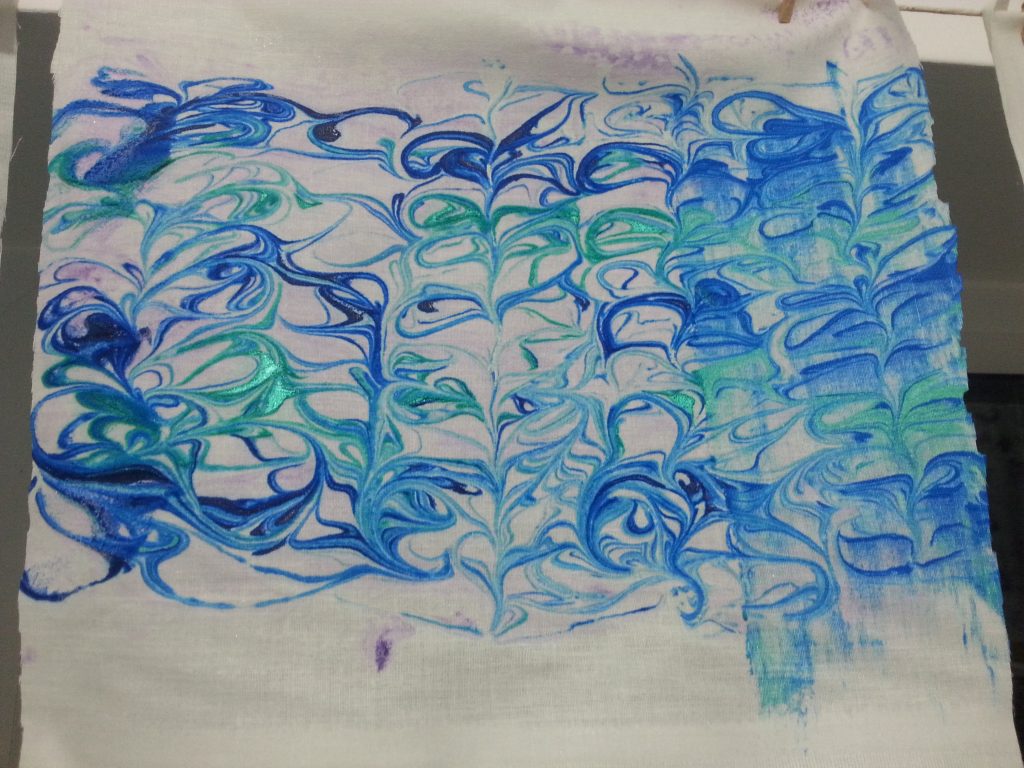
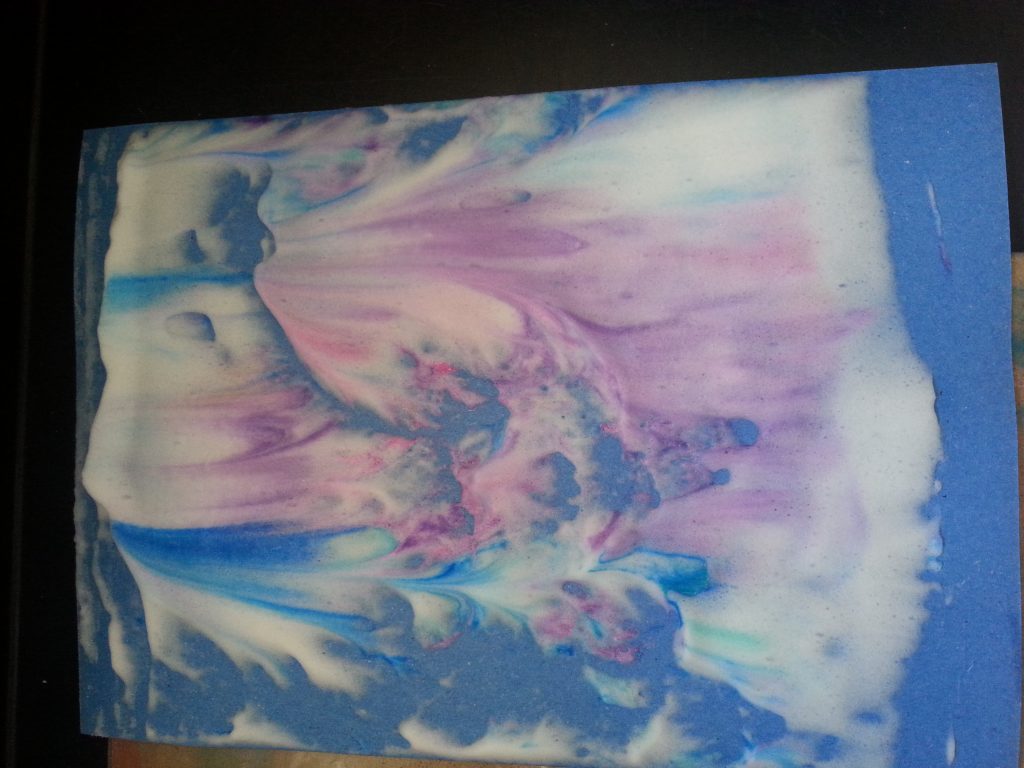
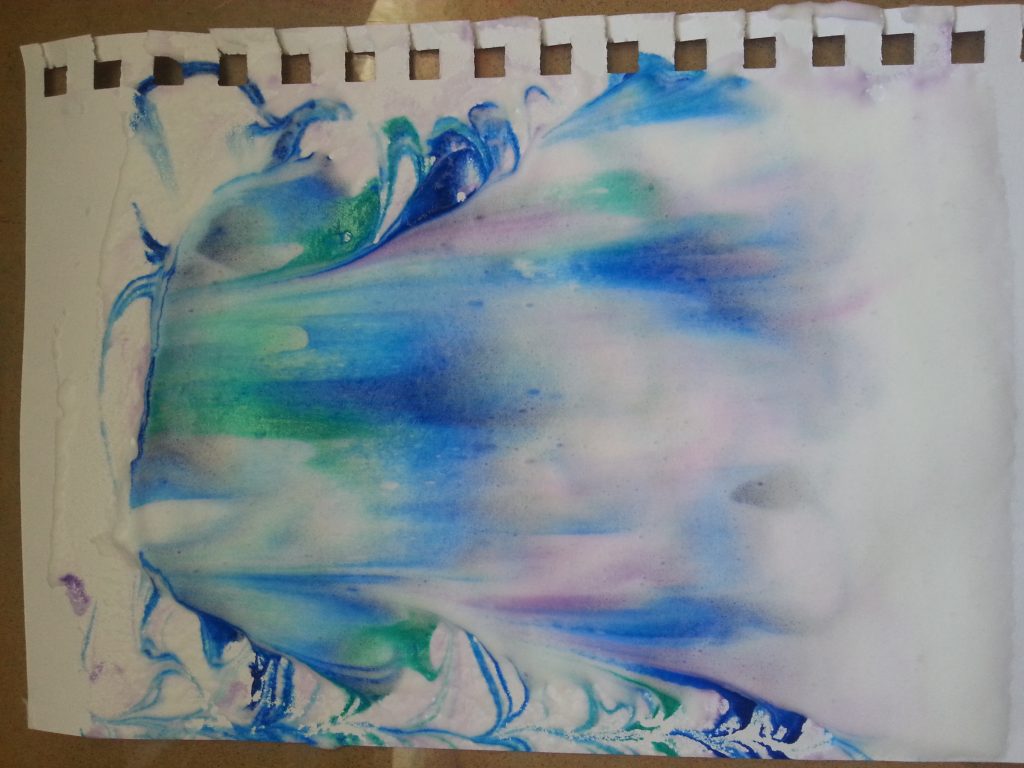
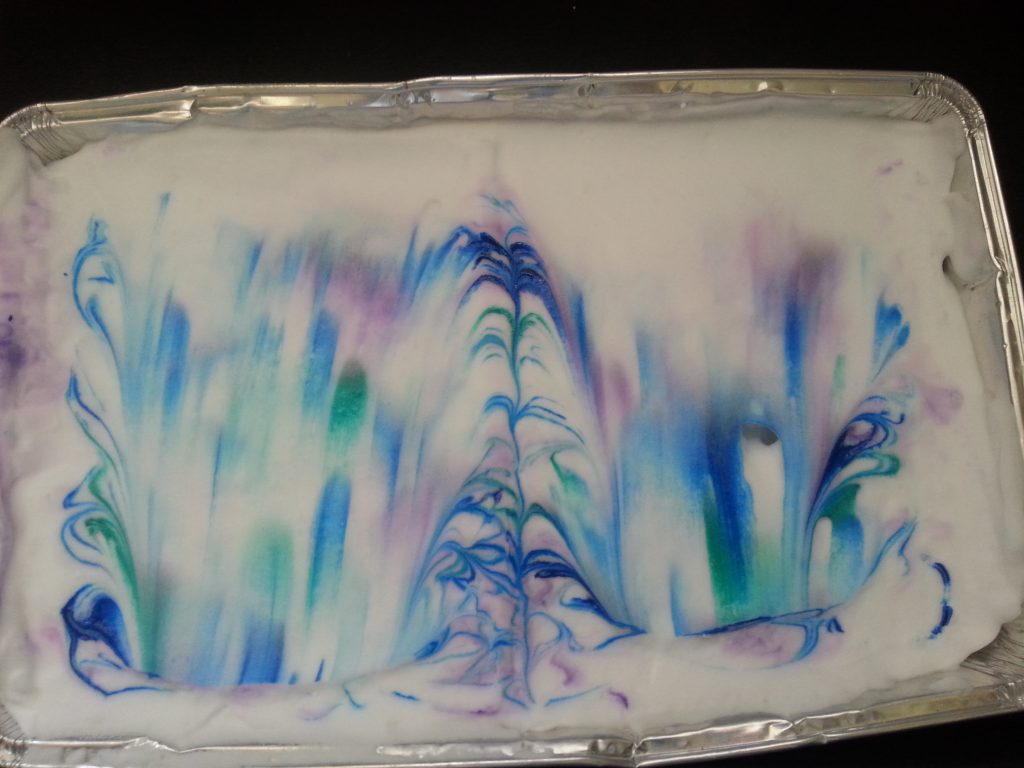
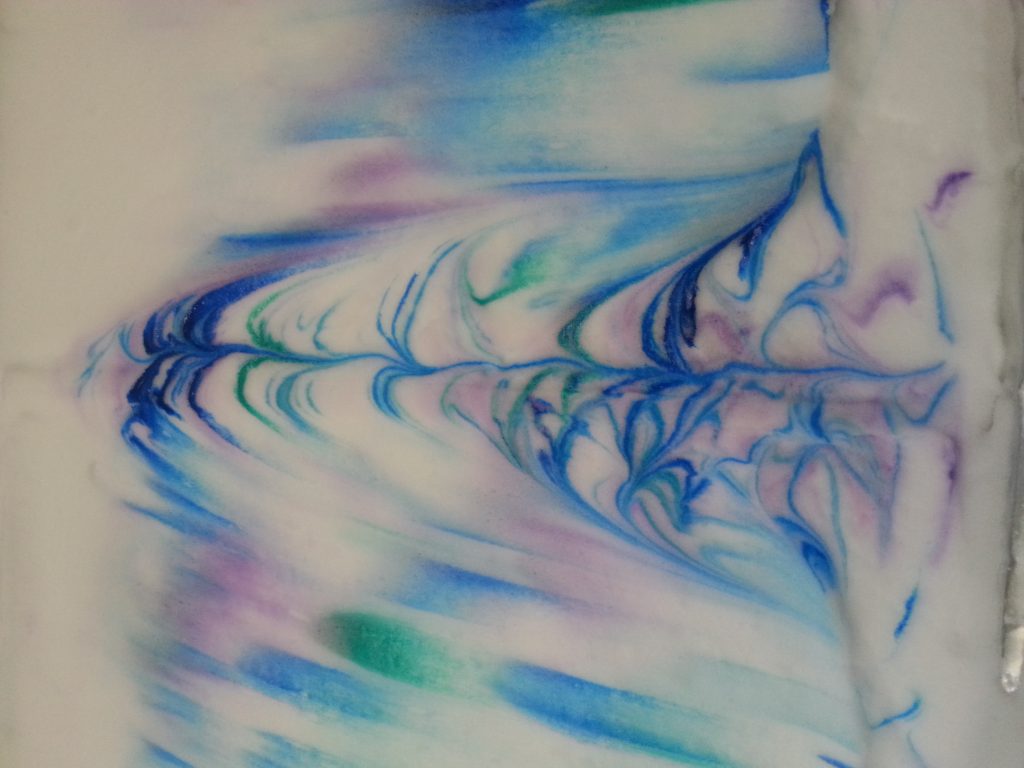
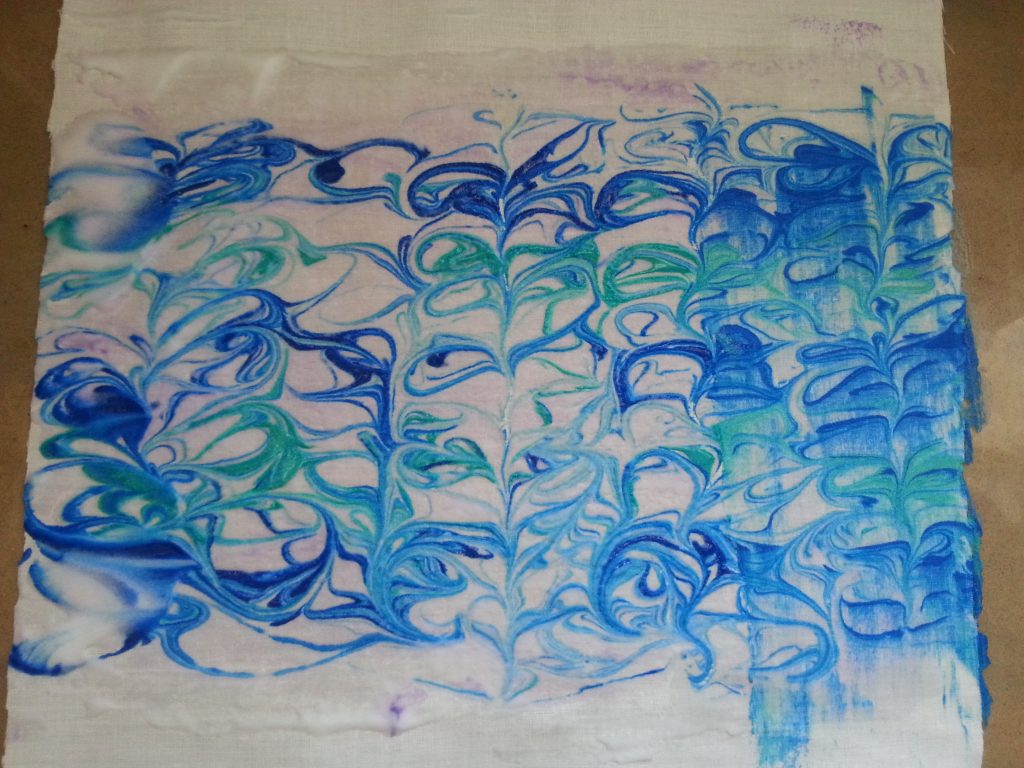
As the work with the plate wasn’t proving particularly satisfying I decided to try an alternative plate. I researched marbling, ie, swapping the glass plate for a fluid base. Whilst researching I found an idea I’d seen previously on printing using shaving foam as an alternative to the gelatine/water/gelli/traditional marbling ‘plates’. This process seemed simple and inexpensive and proved to be really fascinating and surprisingly successful. I also used a gelli plate (see sketchbook) which was also interesting but not significantly different to the glass plate.
-
- MMT Assignment 4 – Monoprinting – Exercise 3 – Drawing onto the plate
-
- MMT Assignment 4 – Monoprinting – Exercise 3 – Drawing onto the plate
-
- MMT Assignment 4 – Monoprinting – Exercise 3 – Drawing onto the plate
-
- MMT Assignment 4 – Monoprinting – Exercise 3 – Drawing onto the plate
-
- MMT Assignment 4 – Monoprinting – Exercise 3 – Drawing onto the plate
-
- MMT Assignment 4 – Monoprinting – Exercise 3 – Drawing onto the plate
-
- MMT Assignment 4 – Monoprinting – Exercise 3 – Drawing onto the plate
-

- MMT Assignment 4 – Monoprinting – Exercise 3 – Drawing onto the plate
-
- MMT Assignment 4 – Monoprinting – Exercise 3 – Drawing onto the plate
-
- MMT Assignment 4 – Monoprinting – Exercise 3 – Drawing onto the plate
-
- MMT Assignment 4 – Monoprinting – Exercise 3 – Drawing onto the plate
-
- MMT Assignment 4 – Monoprinting – Exercise 3 – Drawing onto the plate
-
- MMT Assignment 4 – Monoprinting – Exercise 3 – Drawing onto the plate
-
- MMT Assignment 4 – Monoprinting – Exercise 3 – Drawing onto the plate
-
- MMT Assignment 4 – Monoprinting – Exercise 3 – Drawing onto the plate
-
- MMT Assignment 4 – Monoprinting – Exercise 3 – Drawing onto the plate
-
- MMT Assignment 4 – Monoprinting – Exercise 3 – Drawing onto the plate
-
- MMT Assignment 4 – Monoprinting – Exercise 3 – Drawing onto the plate
-
- MMT Assignment 4 – Monoprinting – Exercise 3 – Drawing onto the plate
-
- MMT Assignment 4 – Monoprinting – Exercise 3 – Drawing onto the plate
Conclusion
Sketchbook work
-
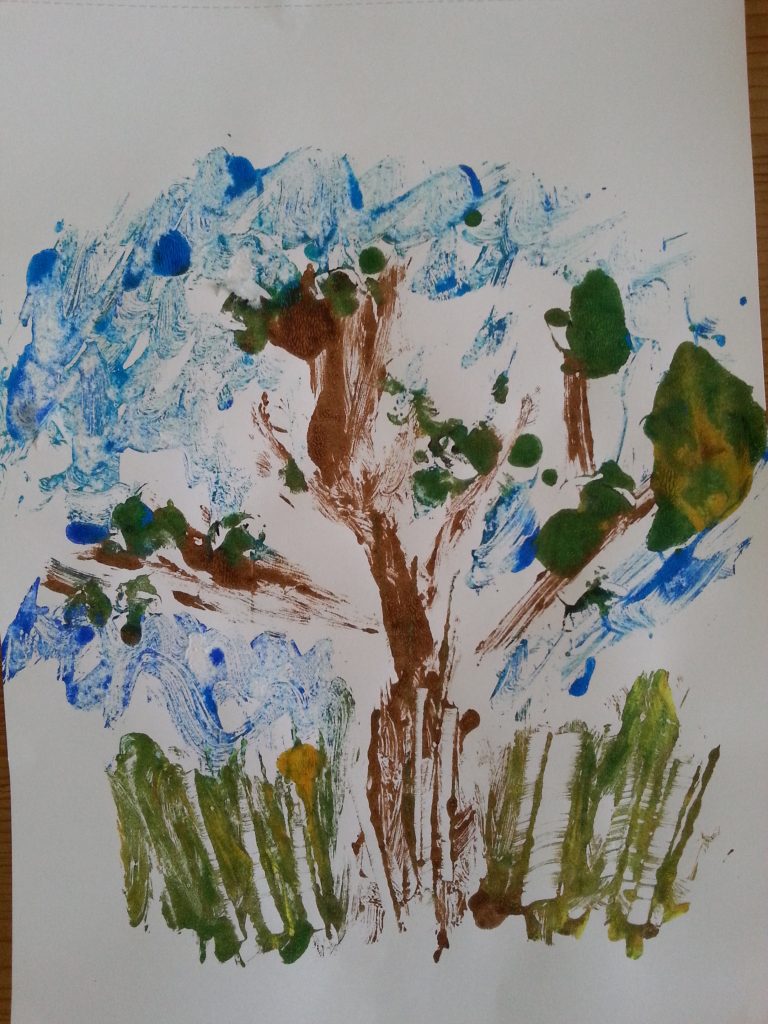
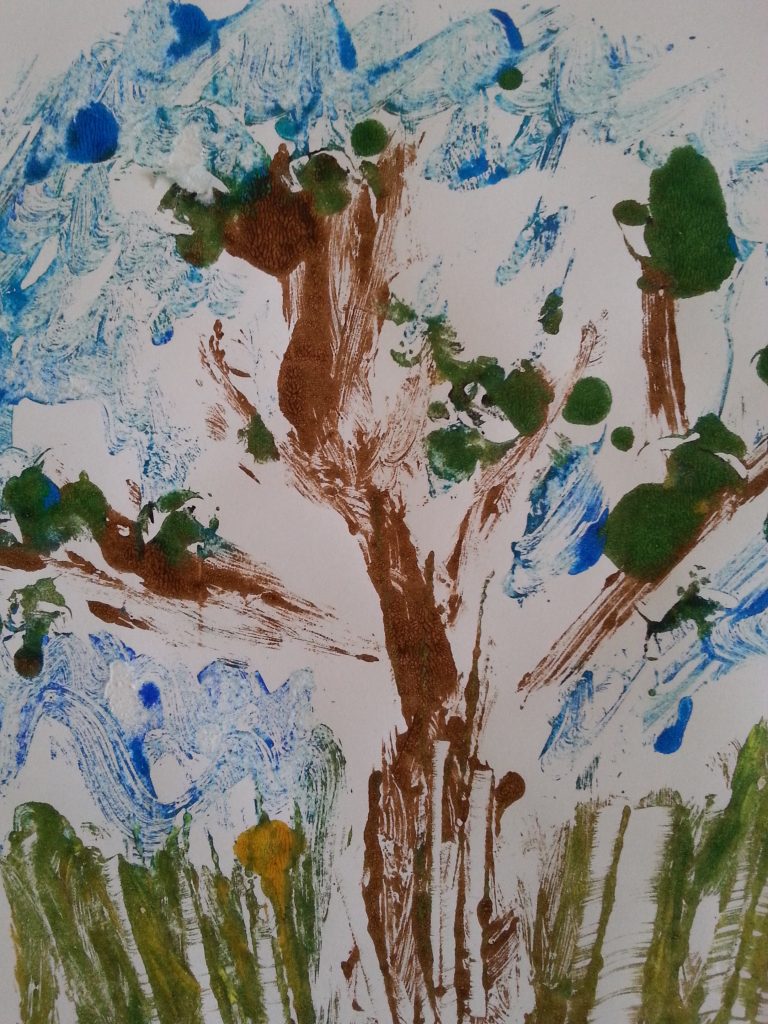
- MMT Assignment 4 – Monoprinting – Exercise Three – Drawing on the plate – Finger printing
-
- MMT Assignment 4 – Monoprinting – Exercise Three – Drawing on the plate – Finger printing
-
- MMT Assignment 4 – Monoprinting – Exercise 3 – Drawing onto the plate
-
- MMT Assignment 4 – Monoprinting – Exercise Three – Drawing on the plate – credit card
-
- MMT Assignment 4 – Monoprinting – Exercise Three – Drawing on the plate – credit card
-
- MMT Assignment 4 – Monoprinting – Exercise Three – Drawing on the plate – Finger printing
-
- MMT Assignment 4 – Monoprinting – Exercise Three – Drawing on the plate – credit card
-
- MMT Assignment 4 – Monoprinting – Exercise 3 – Drawing onto the plate
-
- MMT Assignment 4 – Monoprinting – Exercise 3 – Drawing onto the plate
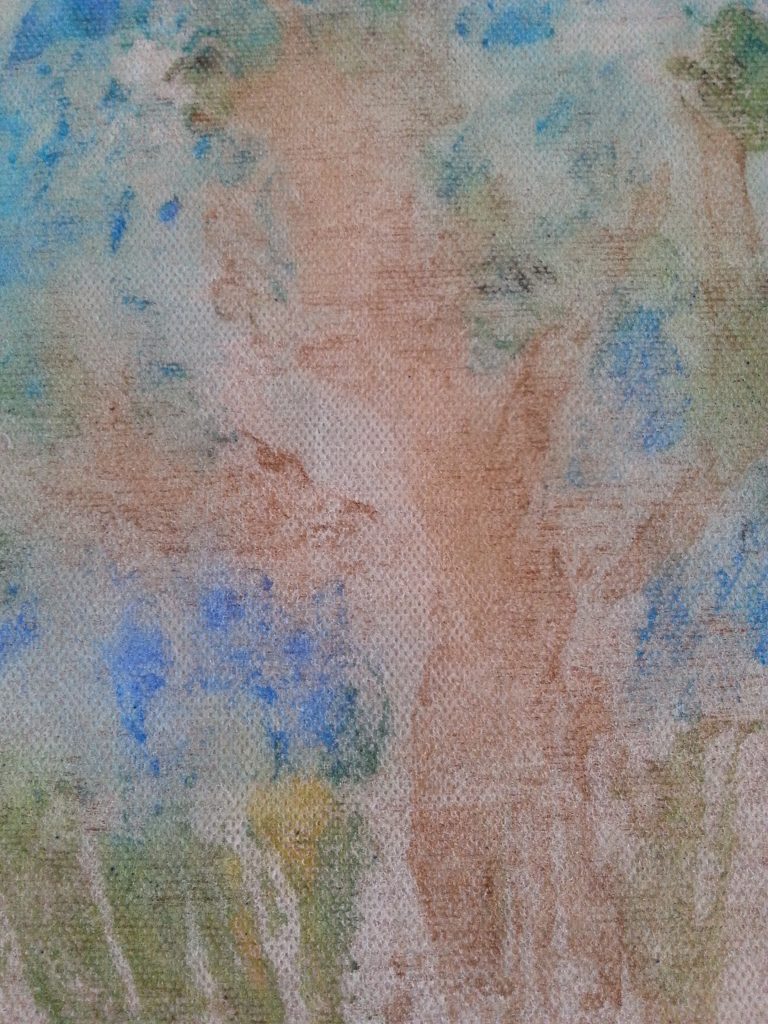
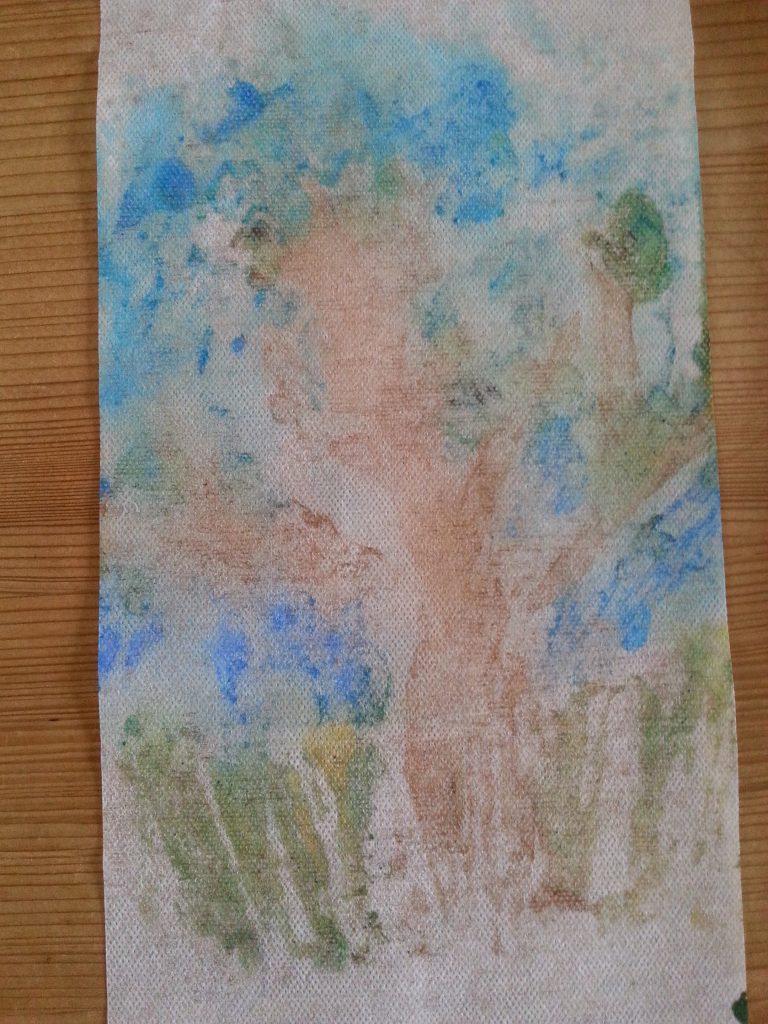
To conclude this exercise I thought it would be interesting to explore the looser, less detailed style of this print technique. After checking the safety data for the paints I finger-painted two simple images onto the plate. I printed onto paper but also took prints off the plate of the residual image using a tumble drier sheet.
Conclusion
It was quite liberating working directly on the plate with my fingers. The nature of the process meant that the image had to be simple and loose and this is reflected in the prints. Although I enjoyed the process I don’t feel that the prints were particularly successful but it was an interesting experiment. It may be that combining hand-printing with other techniques might produce more satisfying results.
Drawing on the plate – final conclusions, reflection and future ideas
I didn’t find this exercise particularly easy or satisfying and I think this is reflected in the prints. In part I think that the acrylic paint dried too quickly to allow time to draw, even in a loose, free manner. It was also challenging to get the amount of paint right, too much resulting in blobbing, too little leaving the paper stuck to the plate!
Moving to the foam plate was much more enjoyable, however, it does have limitations in terms of creating anything representational, being much more suited to patterning.
Following this exercise I researched other aspects of printing by watching a range of youtube videos. As a result of this and my experiences above, it would be interesting to experiment further with other ‘plates’ and I particularly like the marbling techniques.