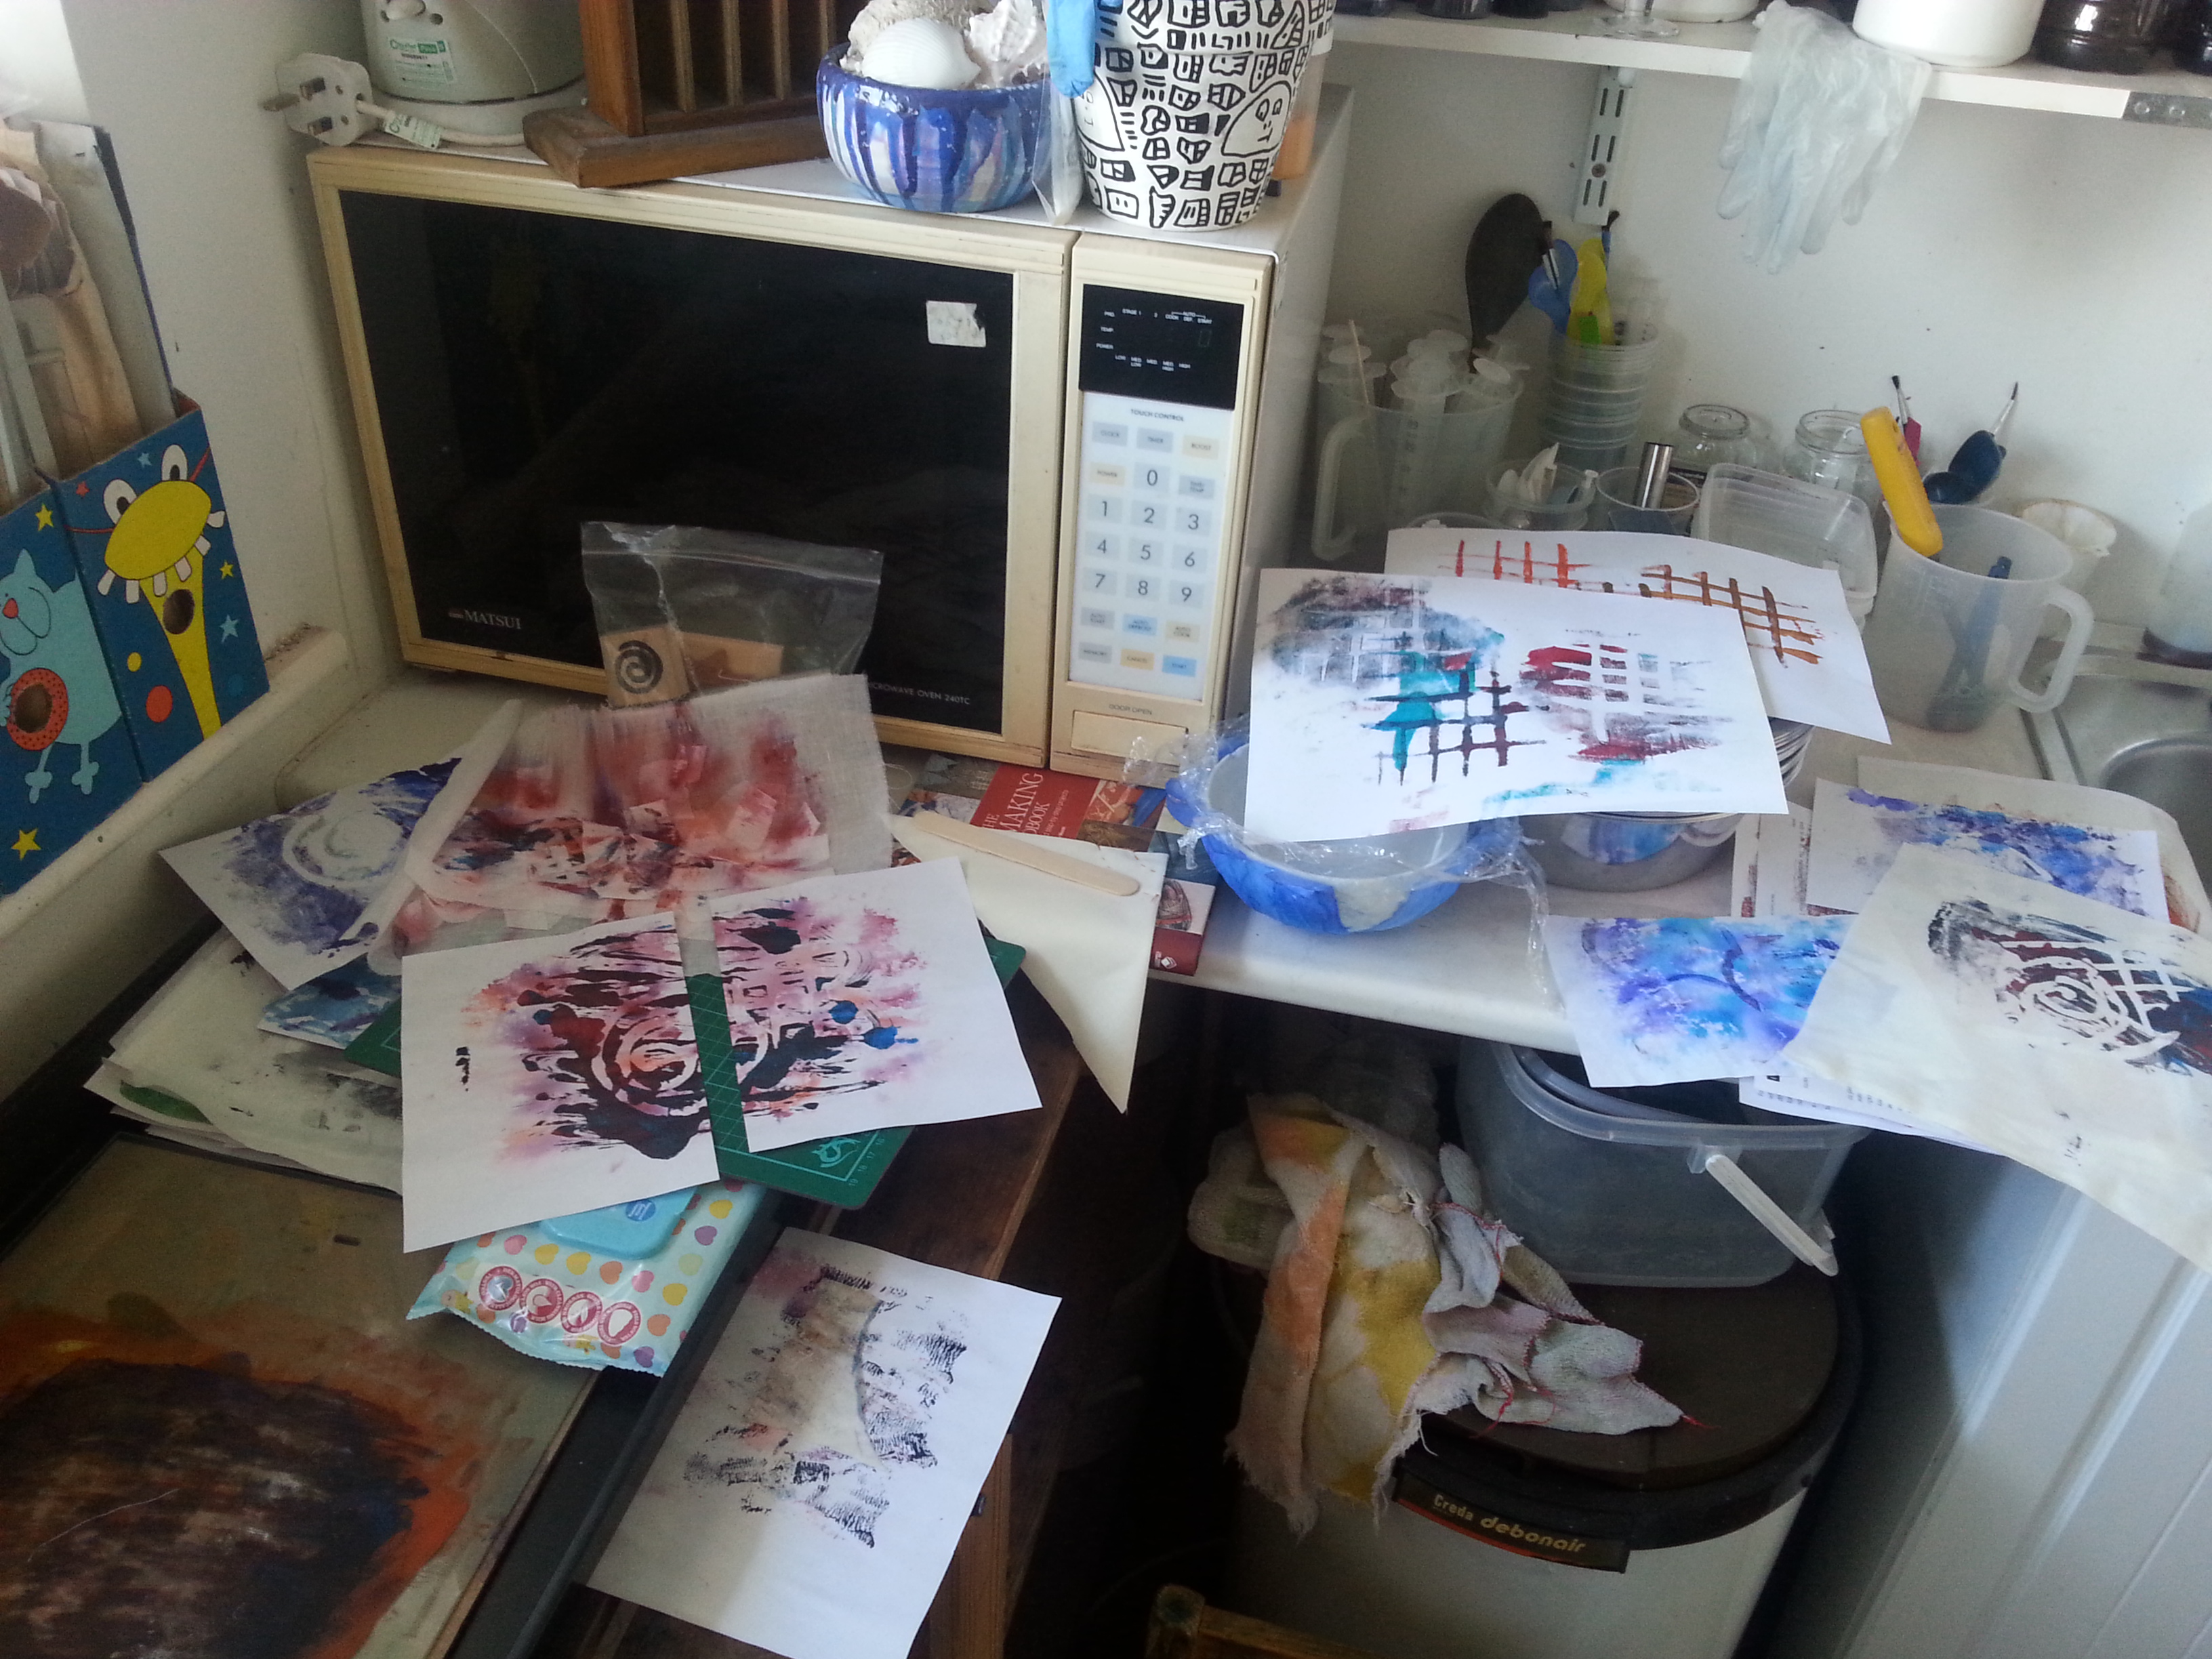
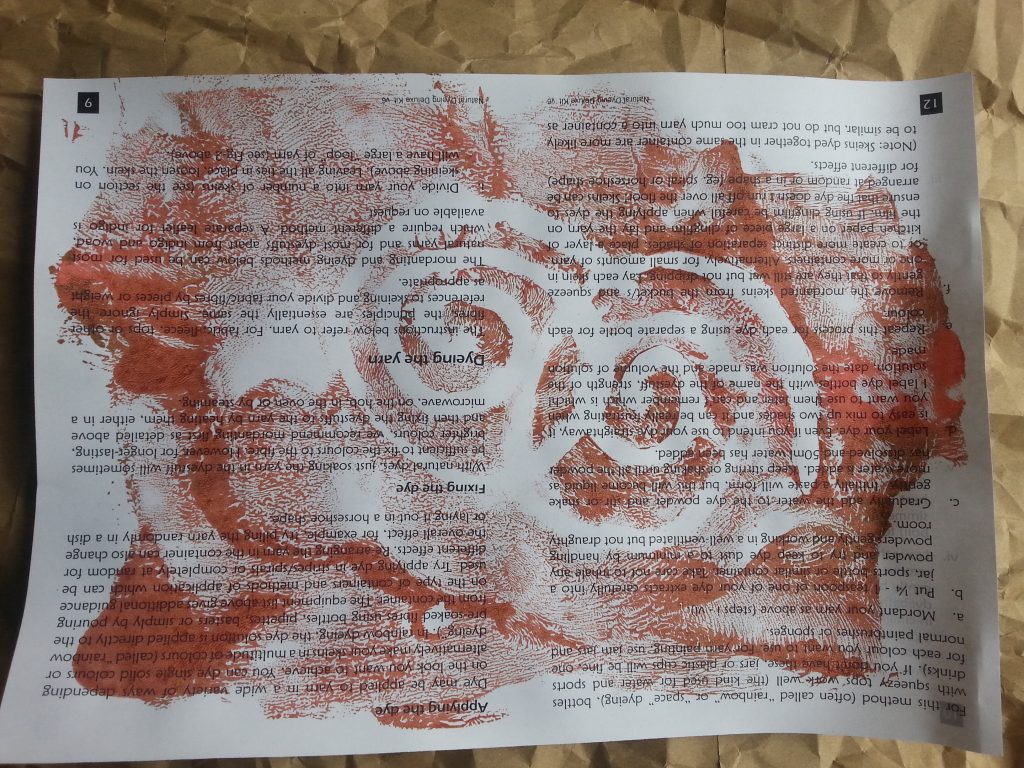
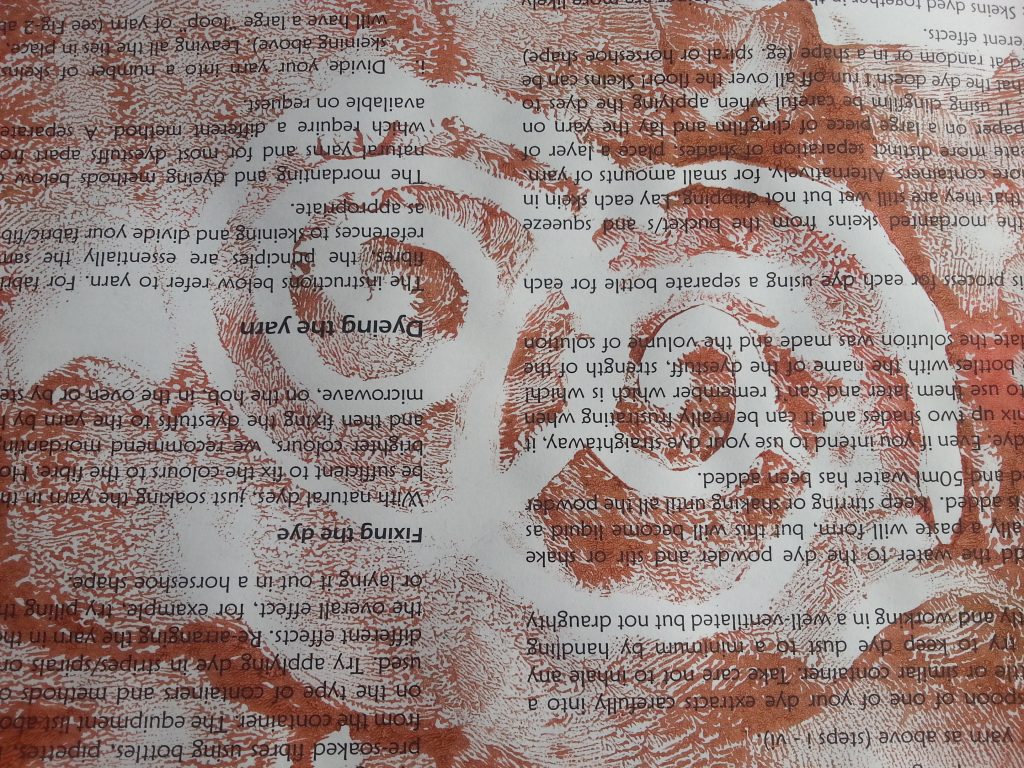
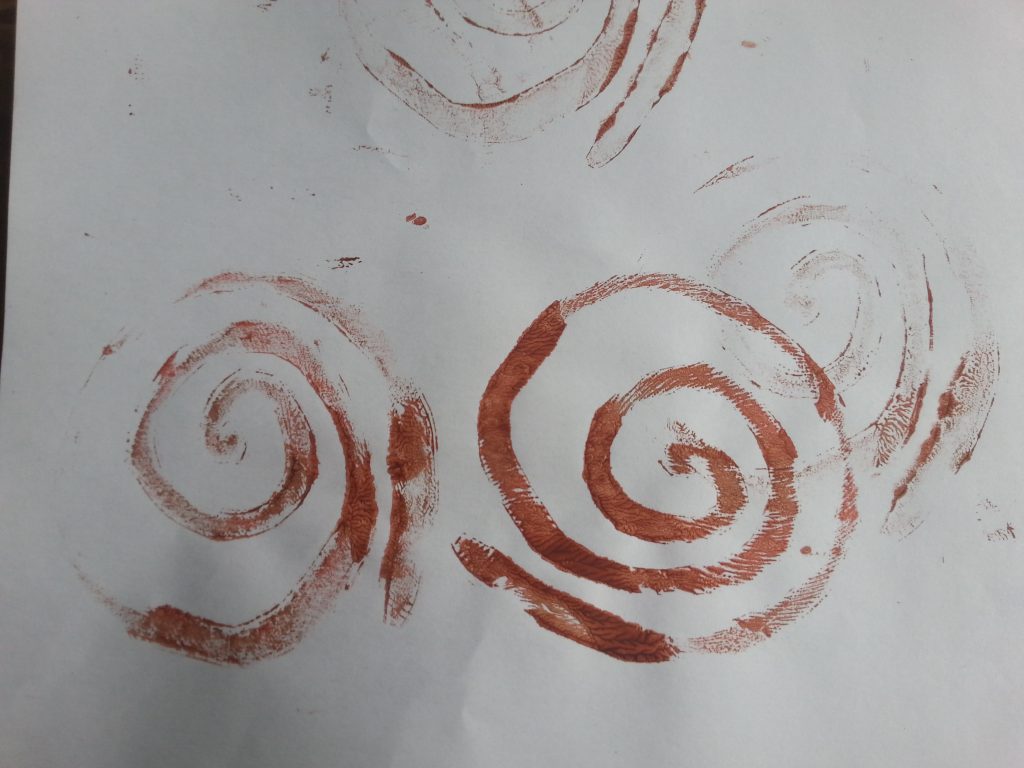
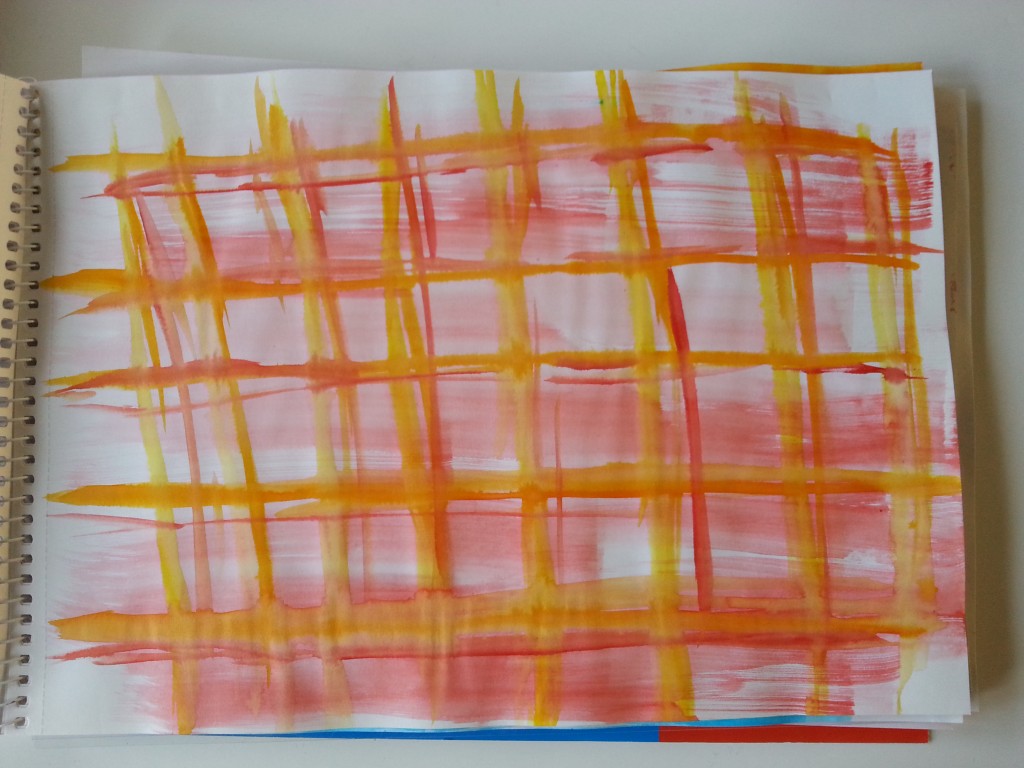
For this exercise I chose two images from my sketchbook and earlier work, the spiral and the woven square;
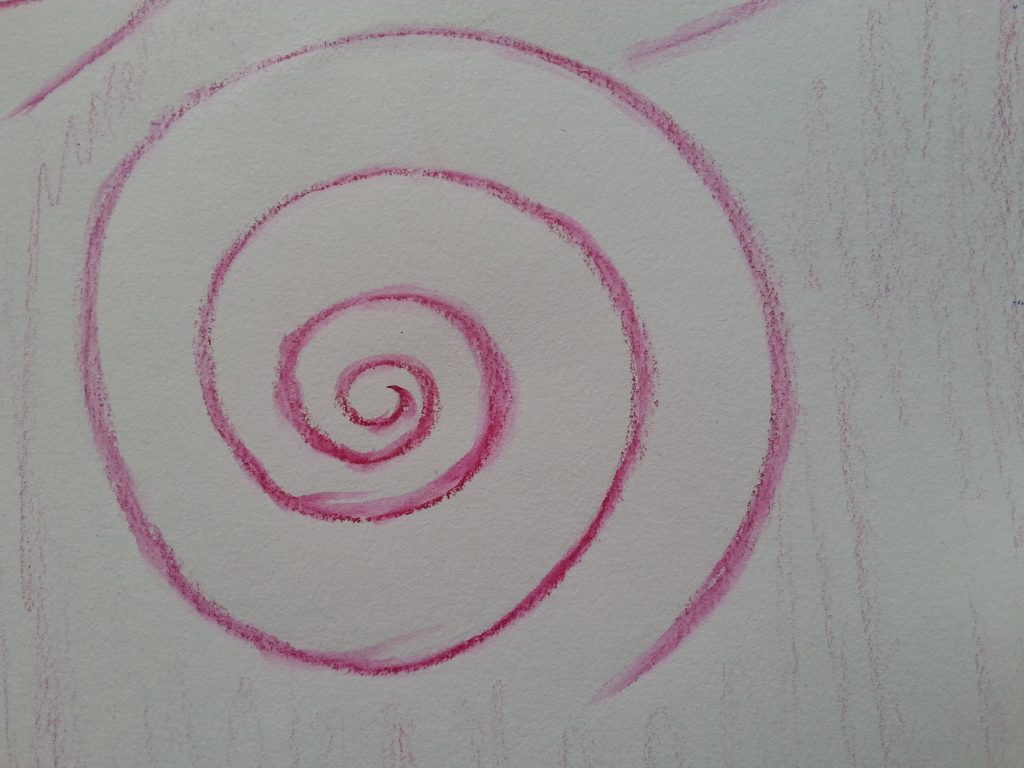
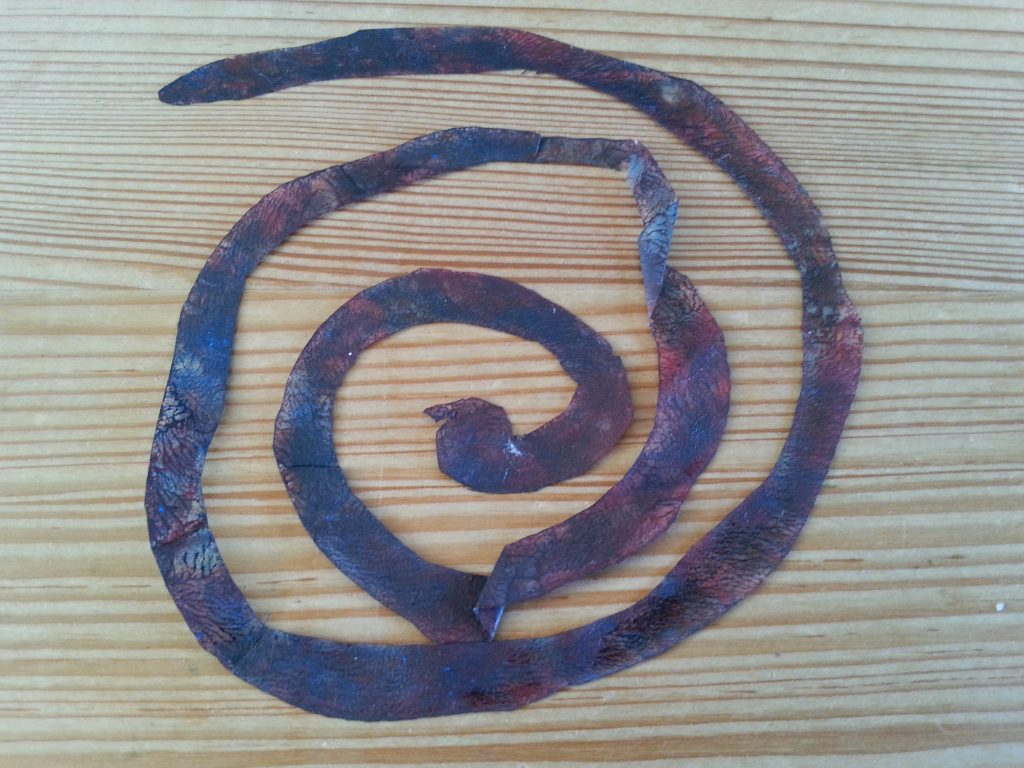
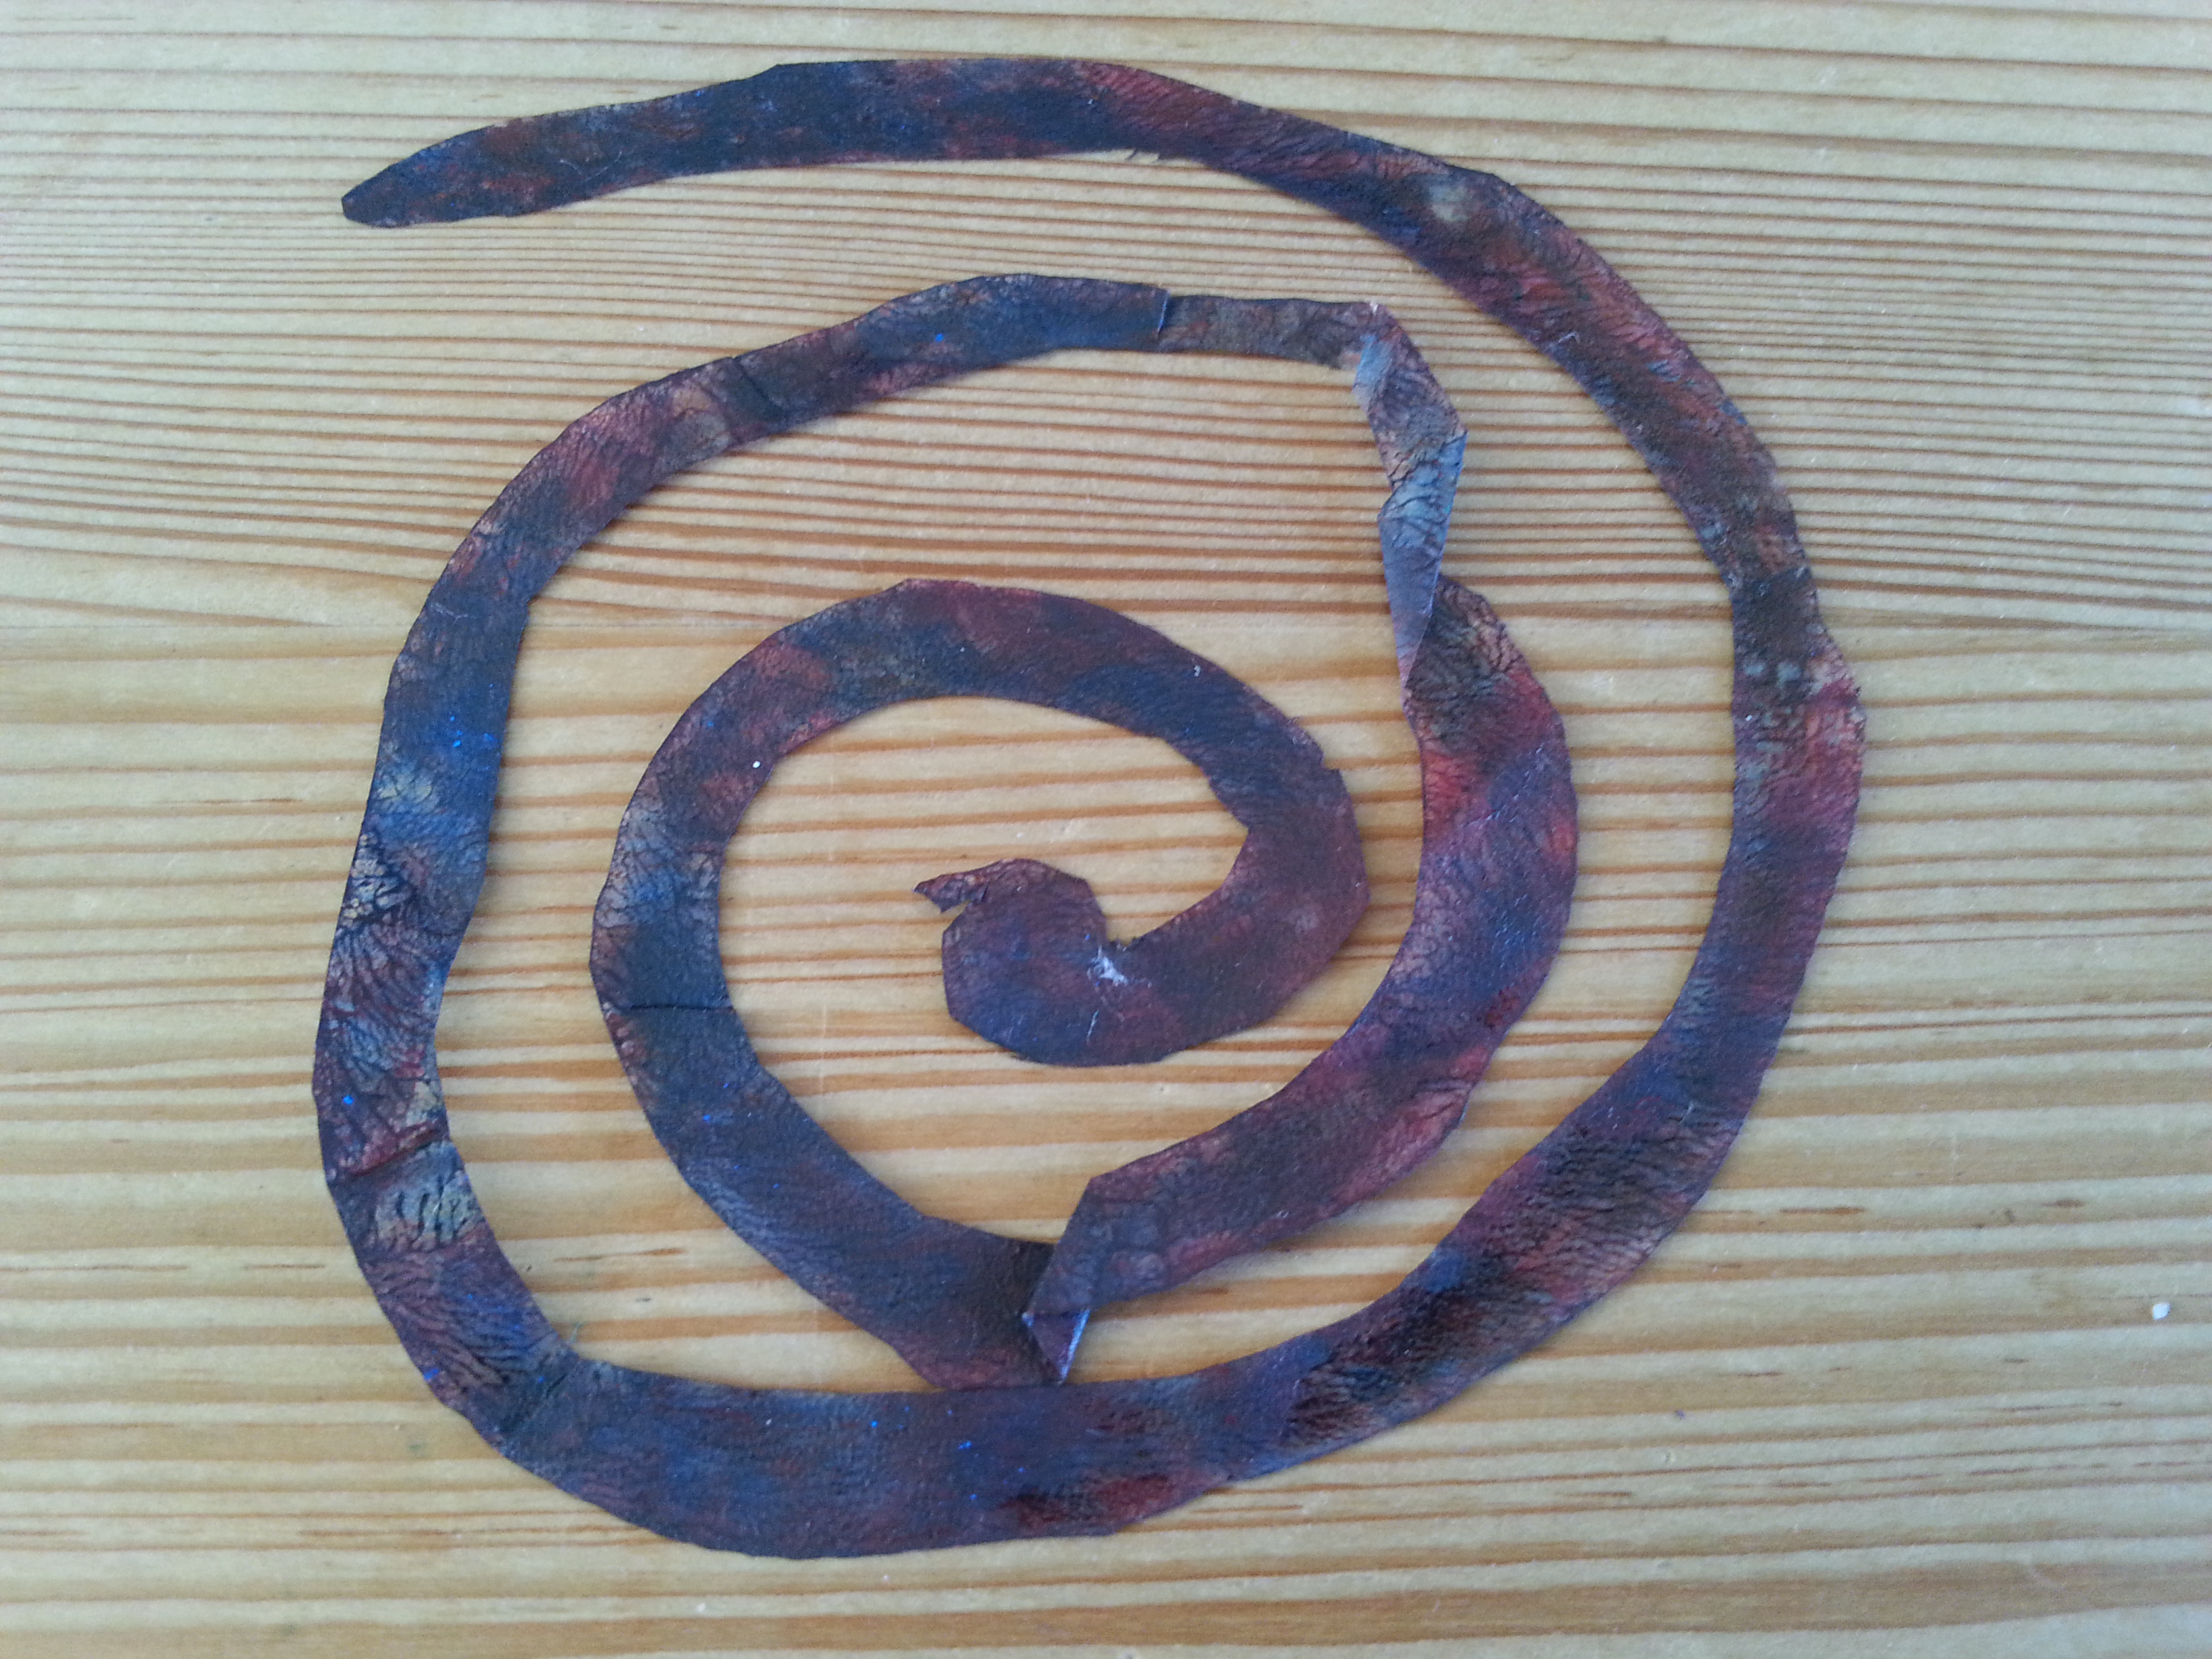
Spirals
-
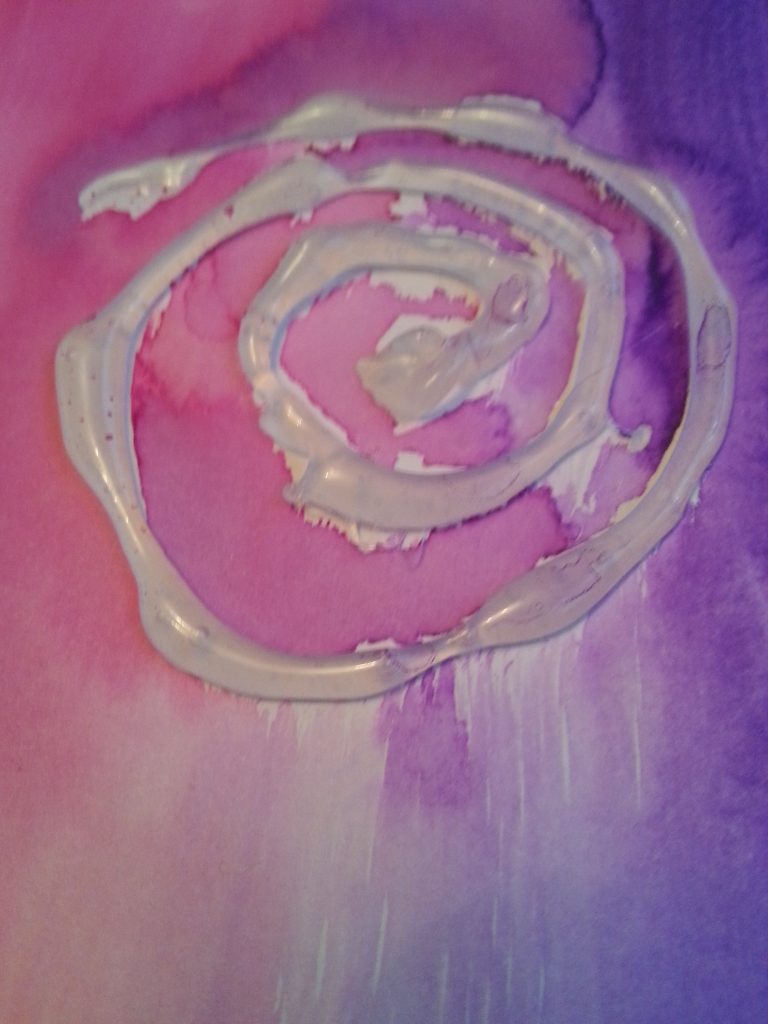
- Glue gun on paper – overpaint with koh-i-noor watercolour ink paints
-
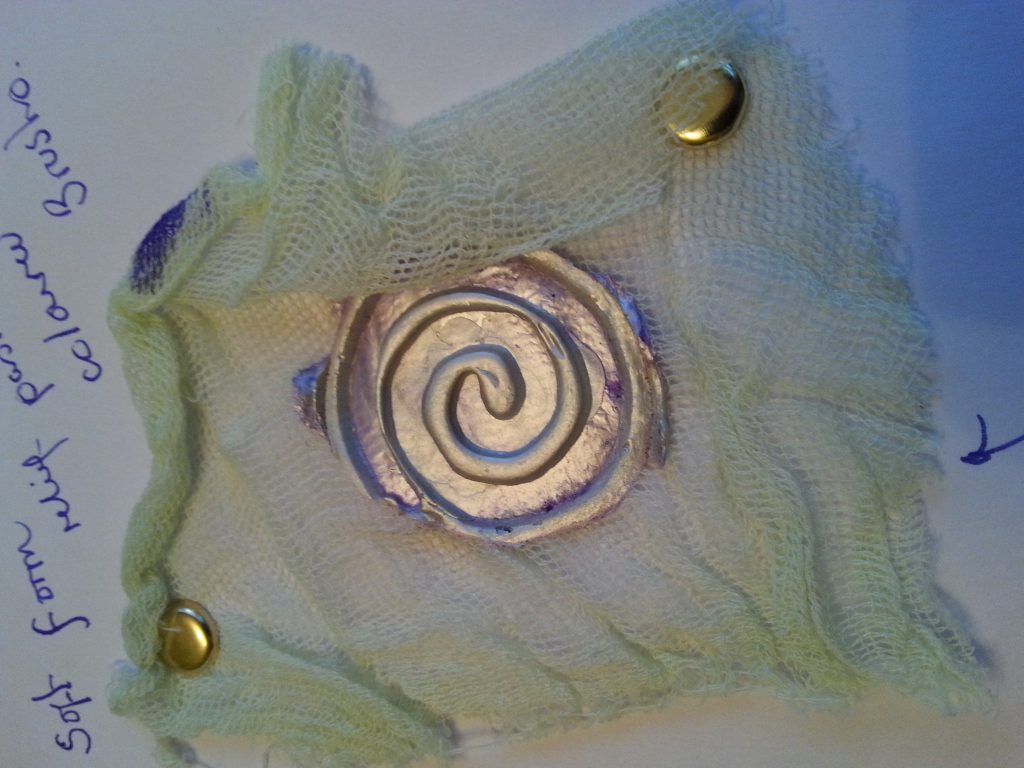
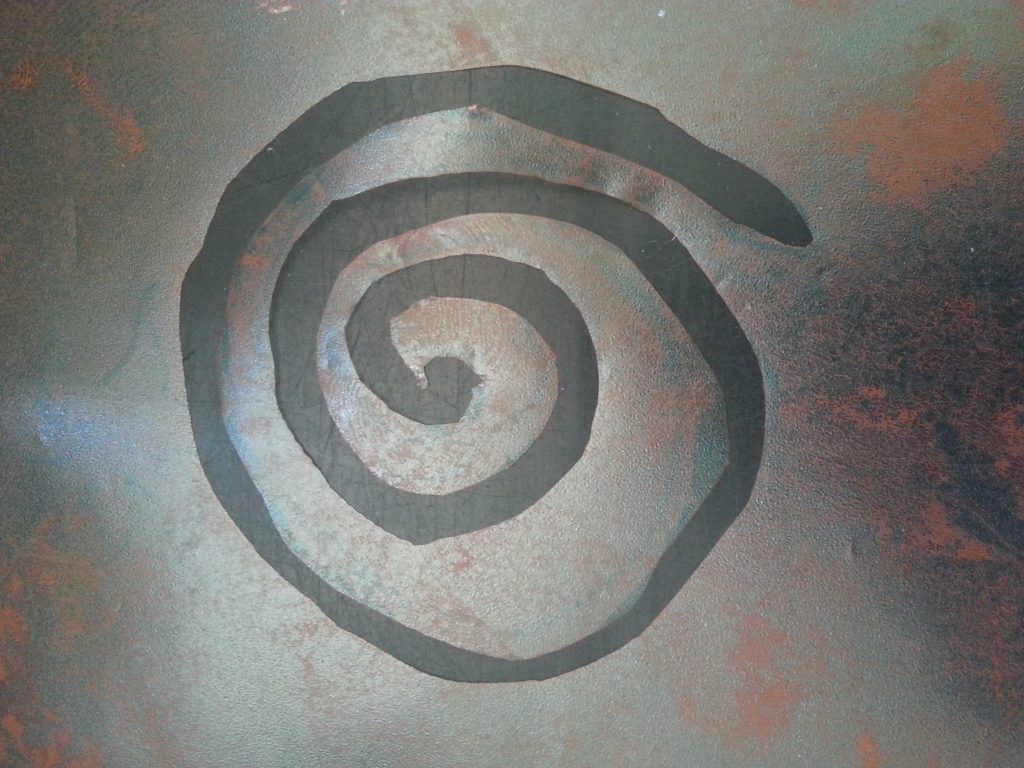
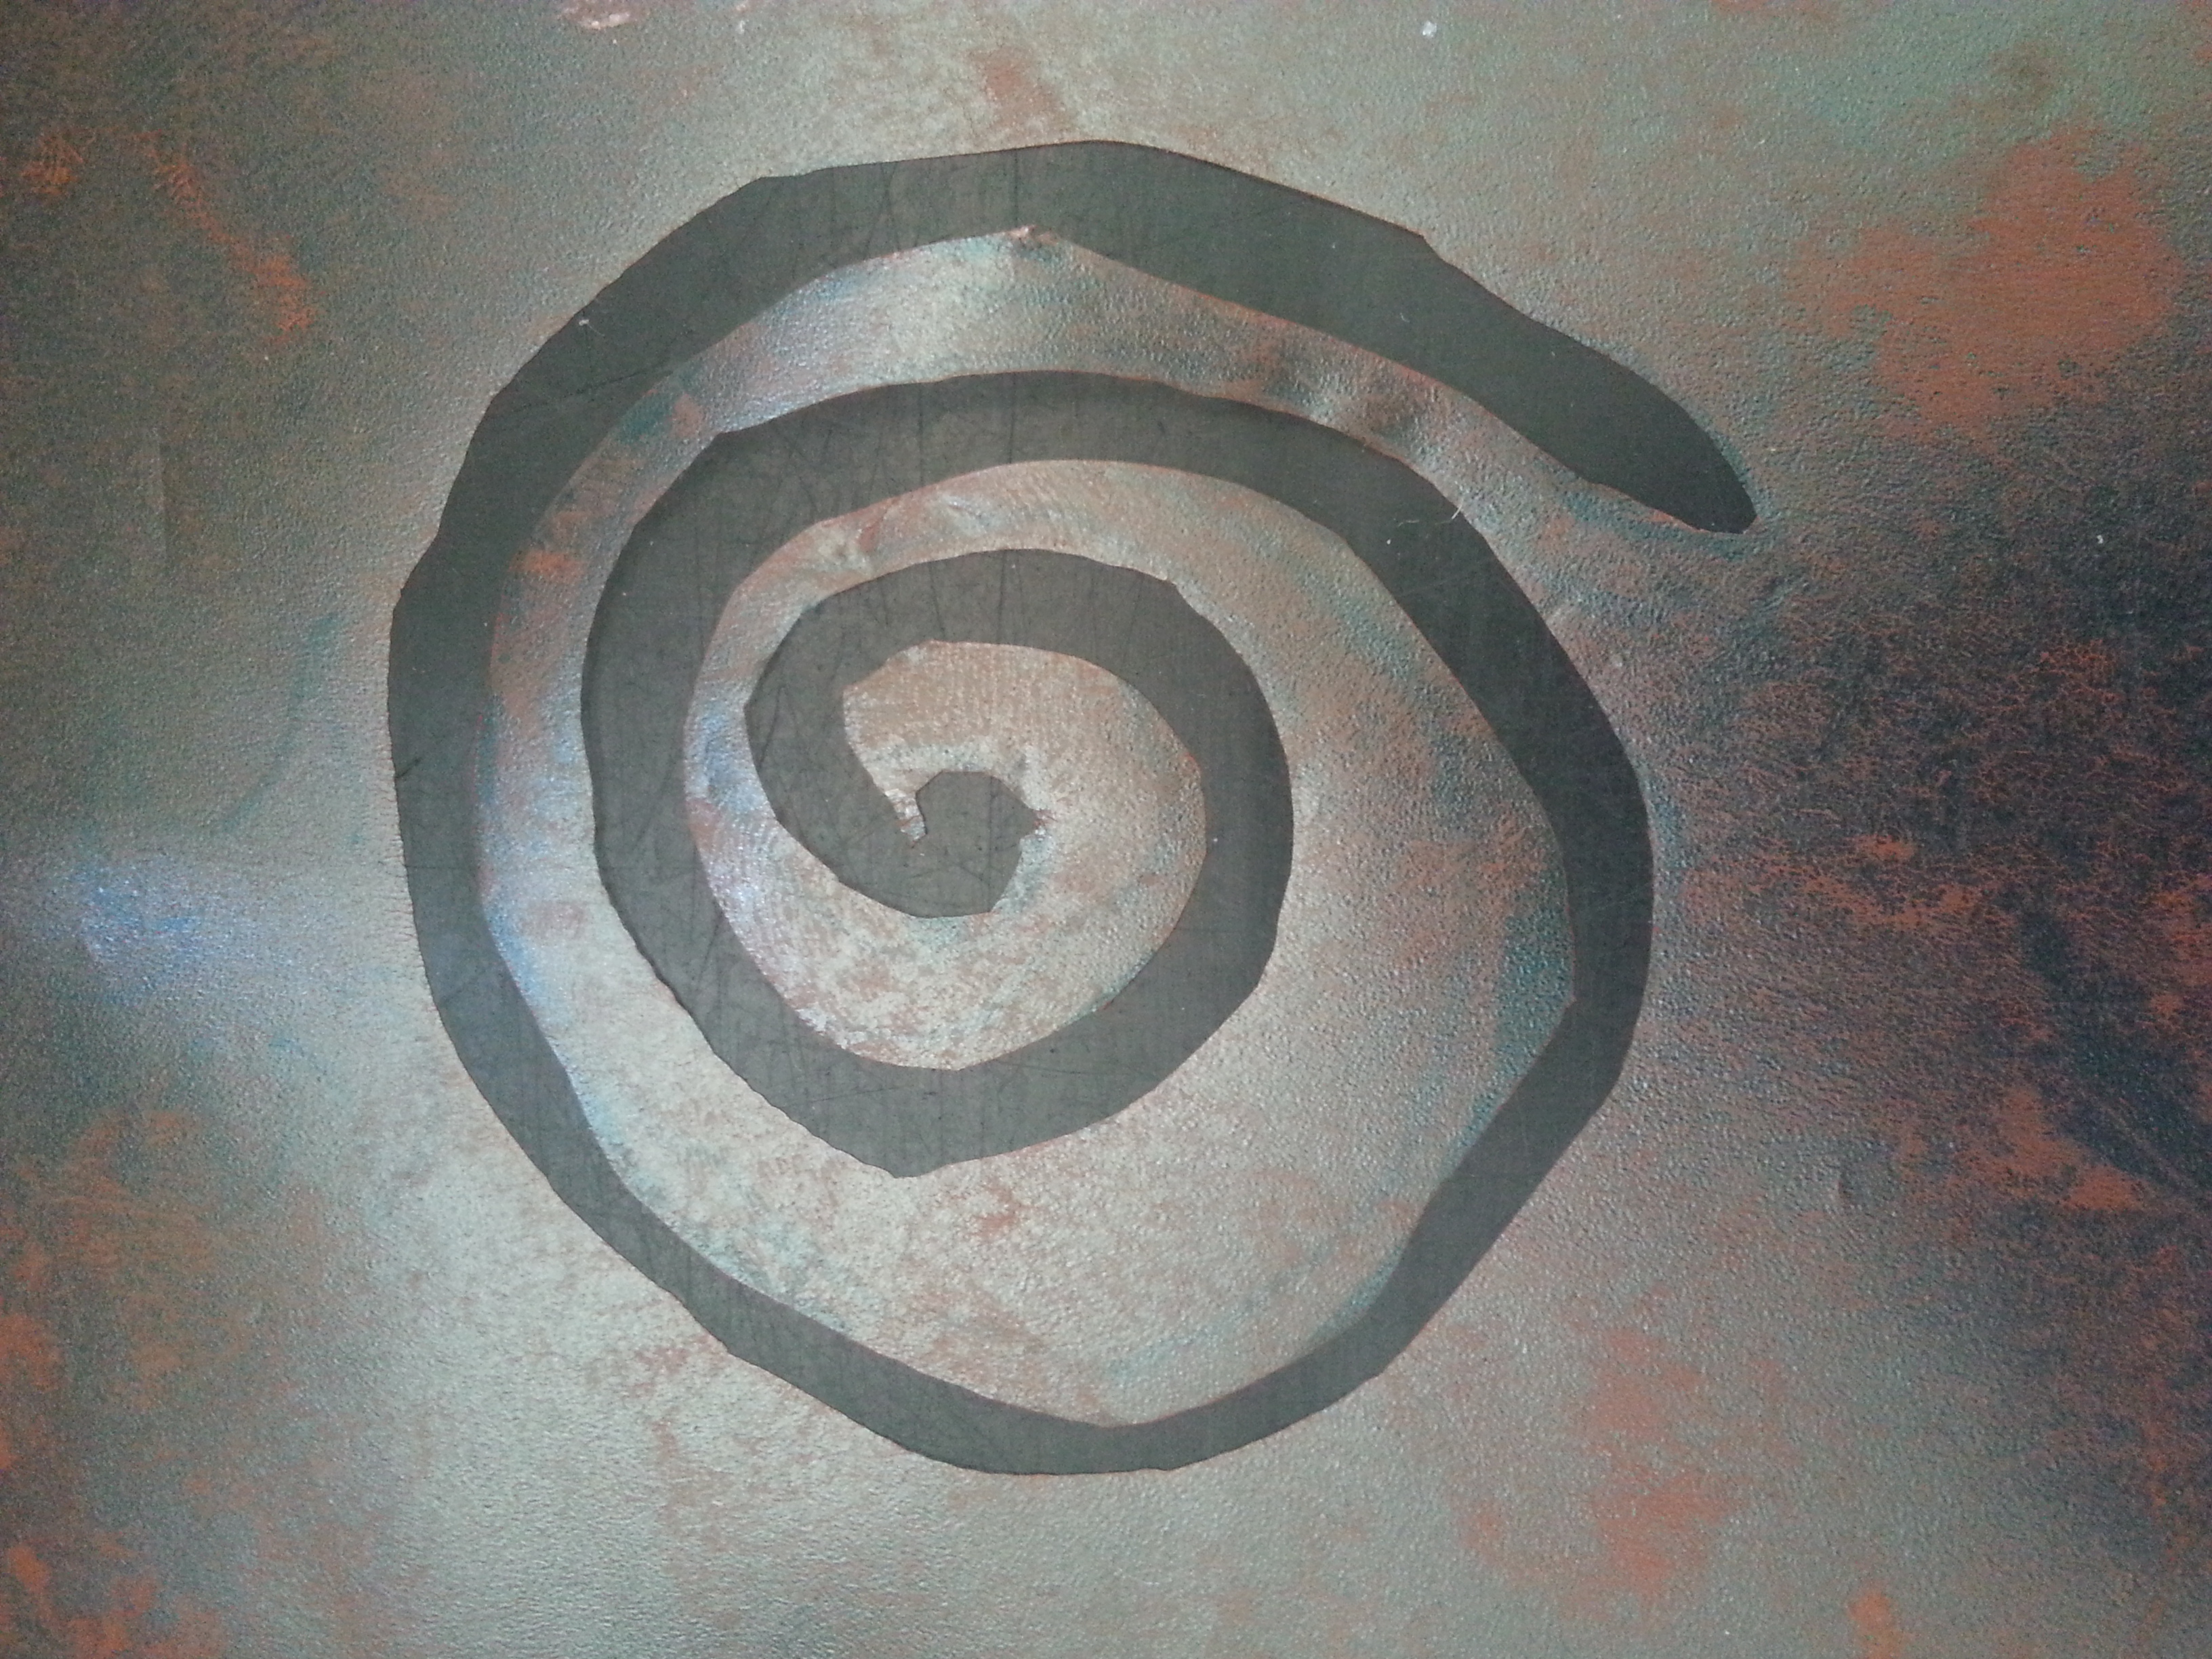
- Soft form relief paste on hand-dyed muslin
-
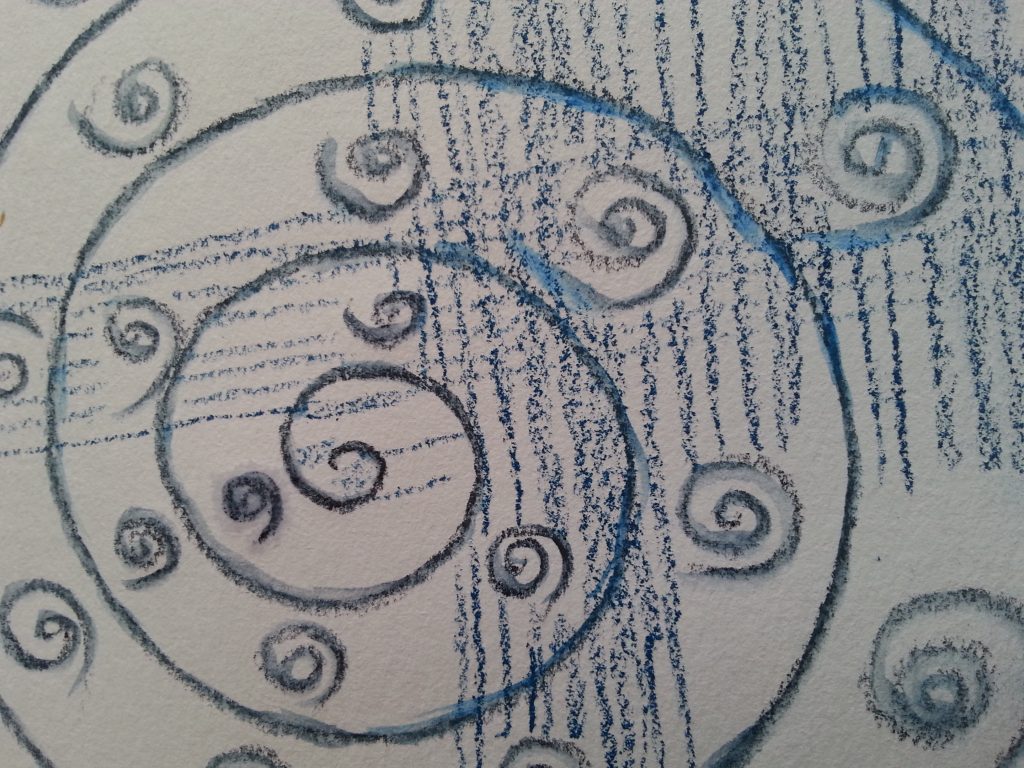
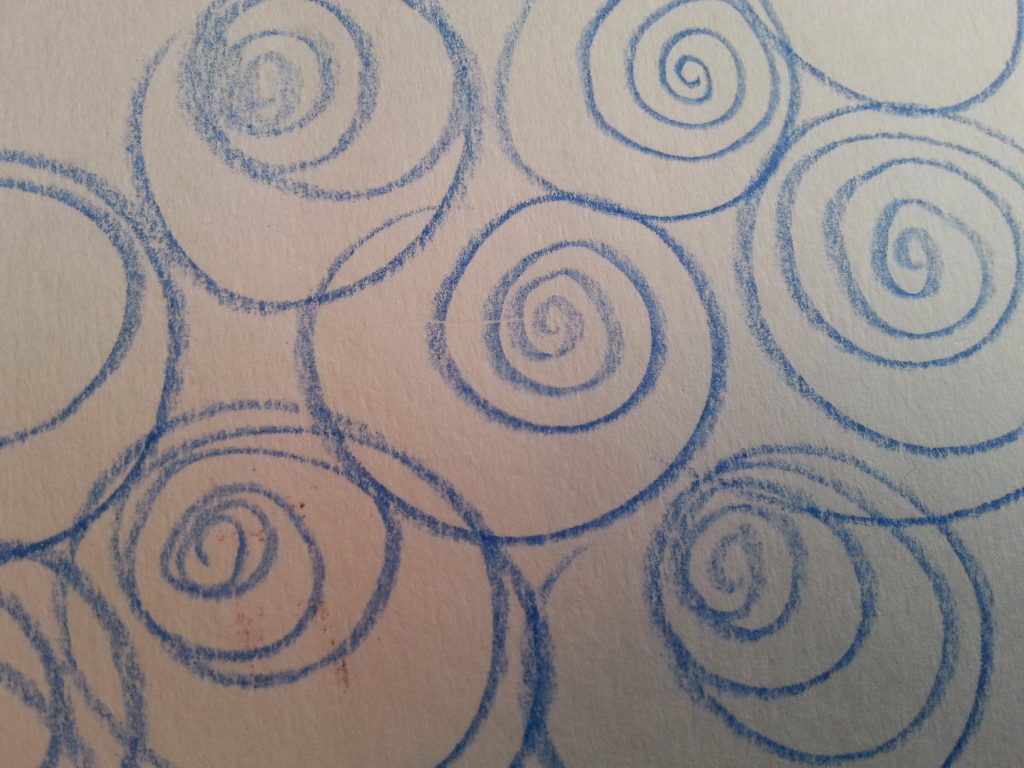
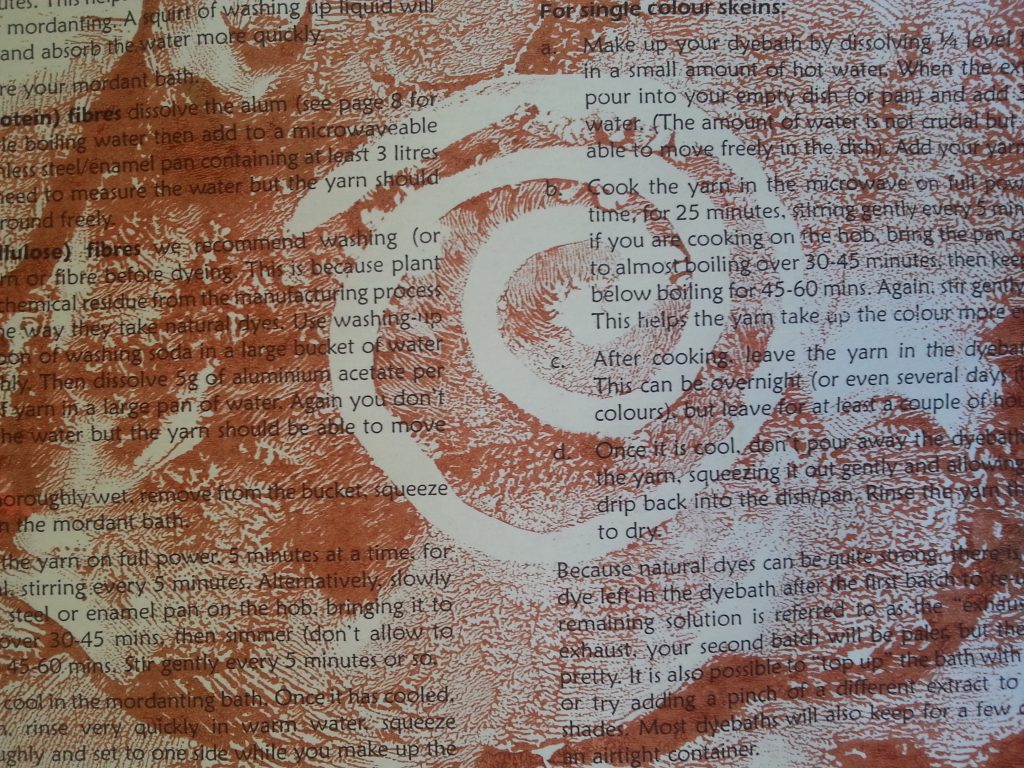
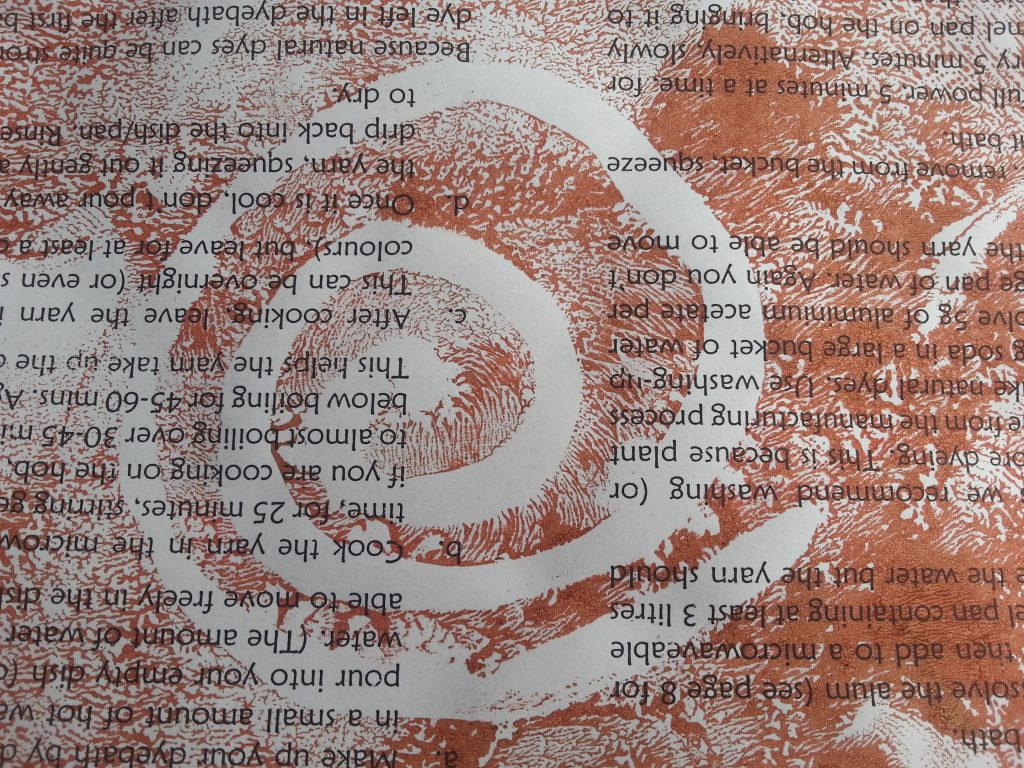
- Spiral stamp onto relief paste – inktense sketch
-
- Spiral stamp onto relief paste – inktense sketch
-
- MMT Assignment 3 – Sketchbook
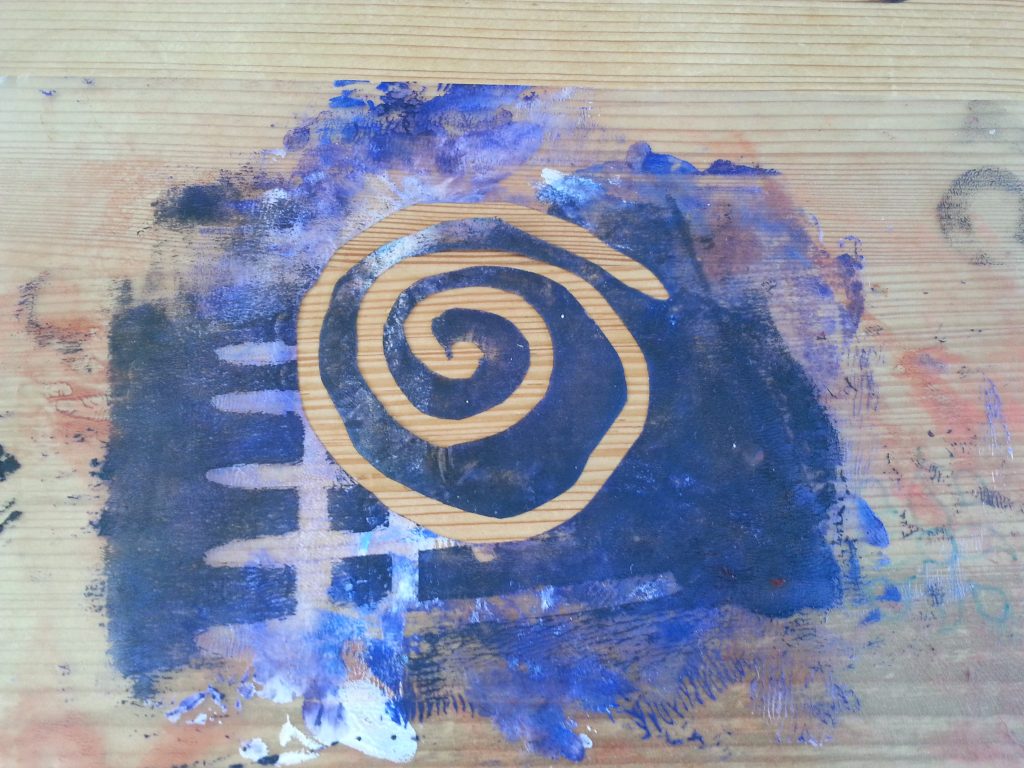
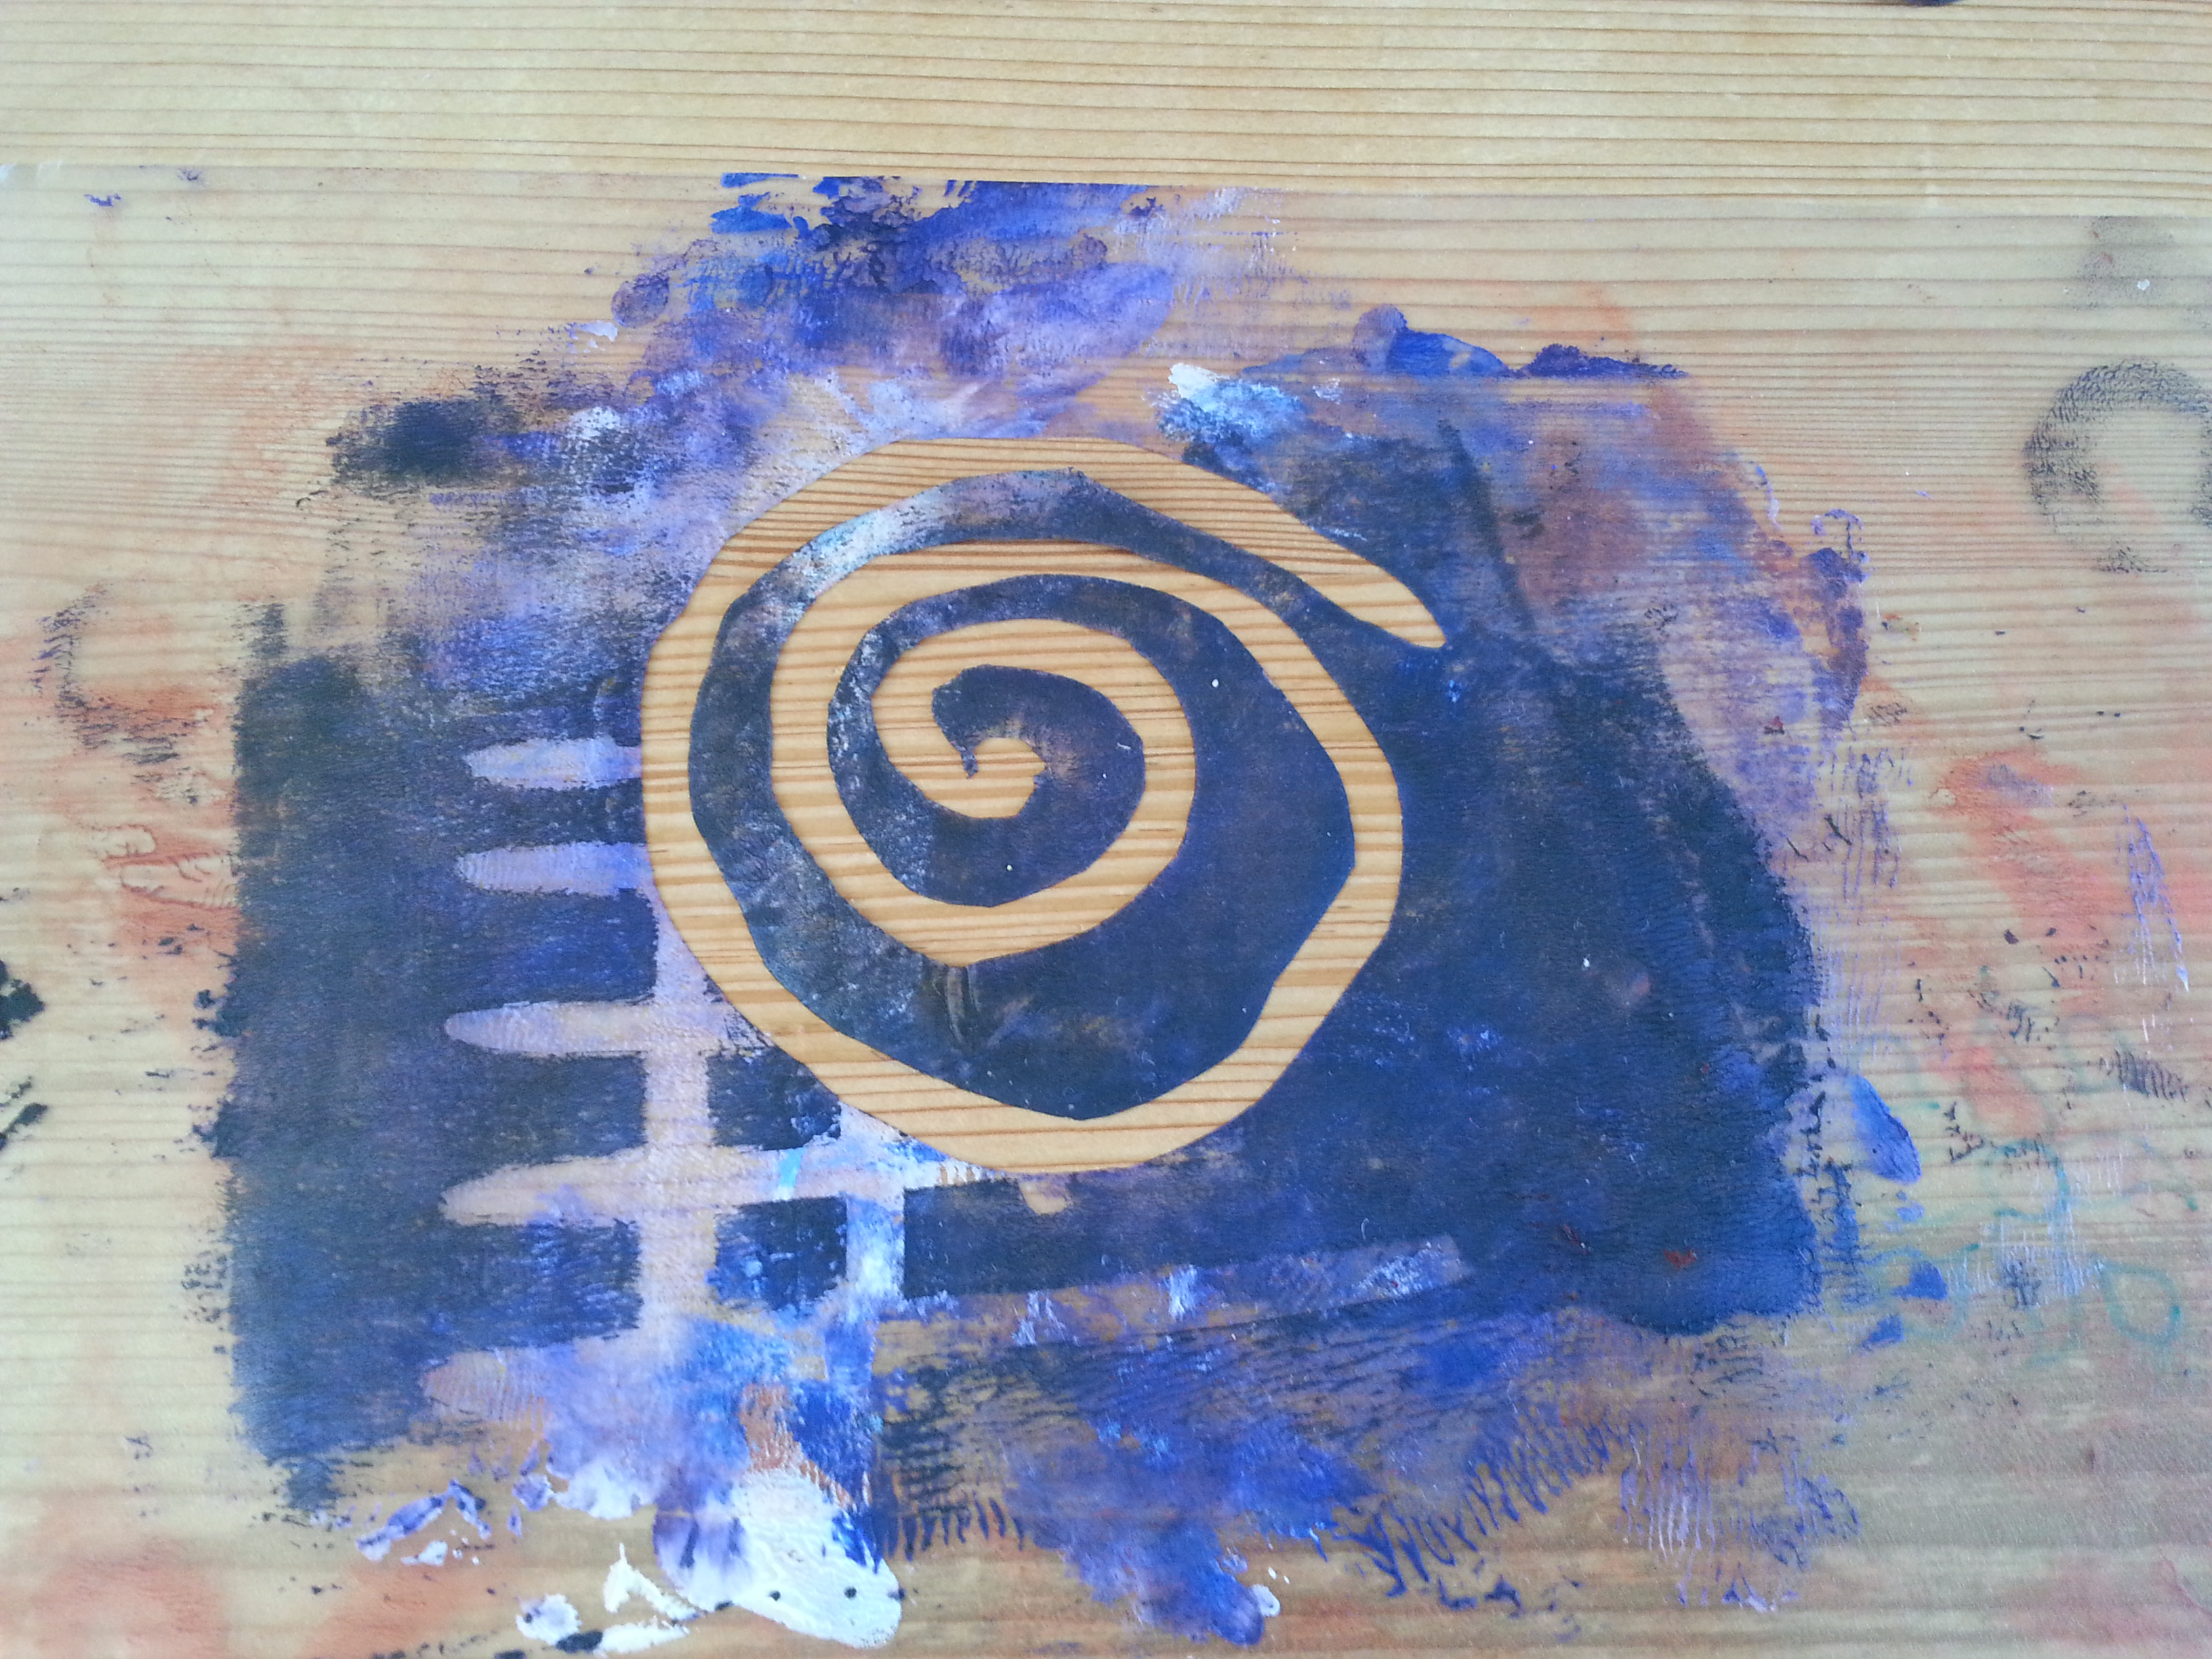
Acetate stencils
I cut stencils from acetate sheet and plasticized paper, retaining both the positive and negative stencil pieces. I used acrylic paint, rolling onto a piece of glass with a brayer. The printing was done onto paper, coloured paper, fabricl used printer paper to give an added layer of interest to the prints.
I experimented with simple, single positive and negative prints, then worked a number of prints with the stencil re-used and part of the original print masked off.
-
- MMT AMMT Assignment 4 – Monoprinting – Exercise 4 – Working with stencilsssignment 4 – Monoprinting
-
- MMT Assignment 4 – Monoprinting – Exercise 4 – Working with stencils
-
- MMT Assignment 4 – Monoprinting – Exercise 4 – Working with stencils
-

- MMT Assignment 4 – Monoprinting – Exercise 4 – Working with stencils

-
- MMT Assignment 4 – Monoprinting – Exercise 4 – Working with stencils

-
- MMT Assignment 4 – Monoprinting – Exercise 4 – Working with stencils

-
- MMT Assignment 4 – Monoprinting – Exercise 4 – Working with stencils

-
- MMT Assignment 4 – Monoprinting – Exercise 4 – Working with stencils

-
- MMT Assignment 4 – Monoprinting – Exercise 4 – Working with stencils

Conclusion
The stencil was quite tricky to make but using acetate is simple and effective. The prints are quite satisfactory – not pushing the boundaries particularly but useful as a starting point.
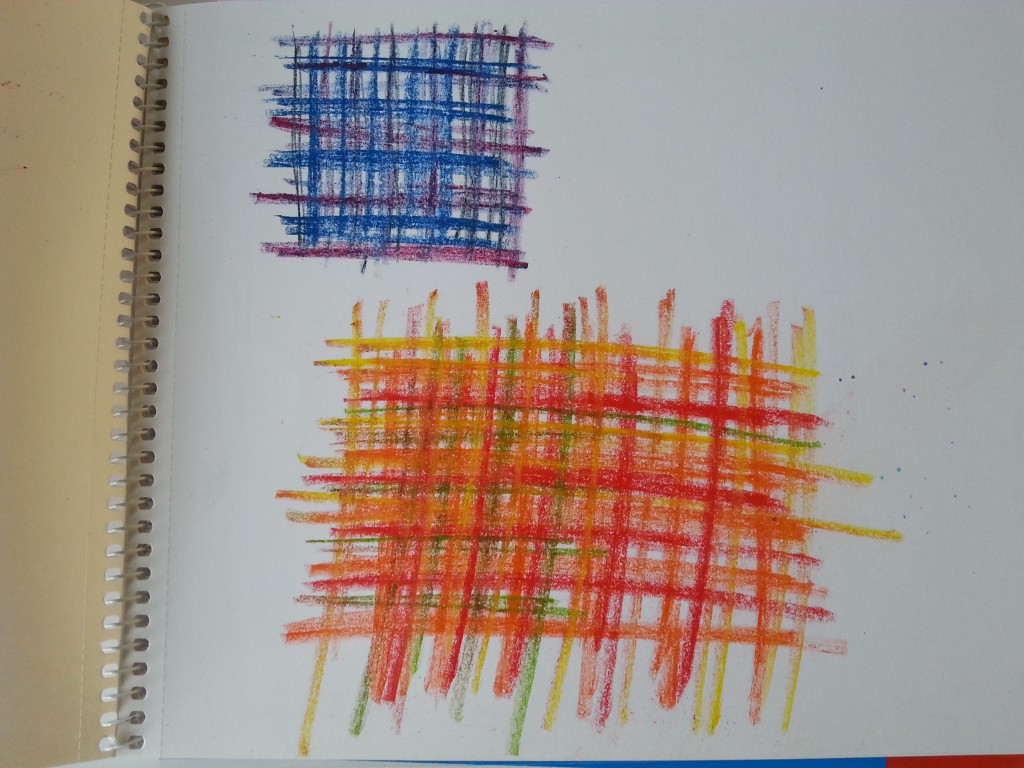
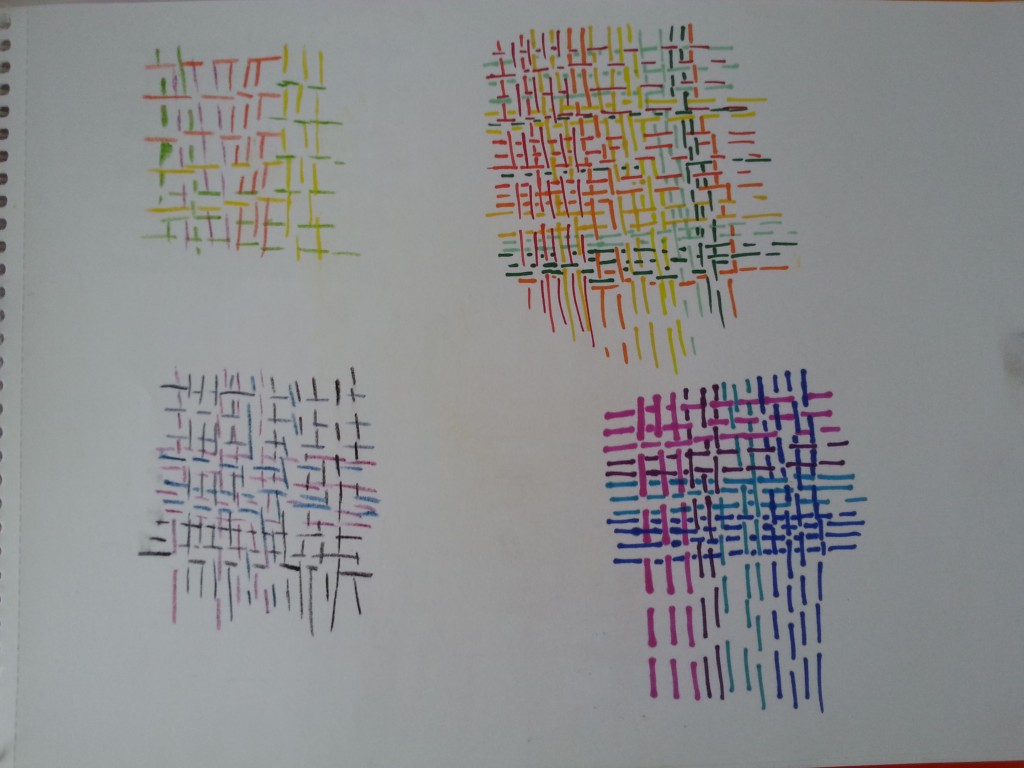
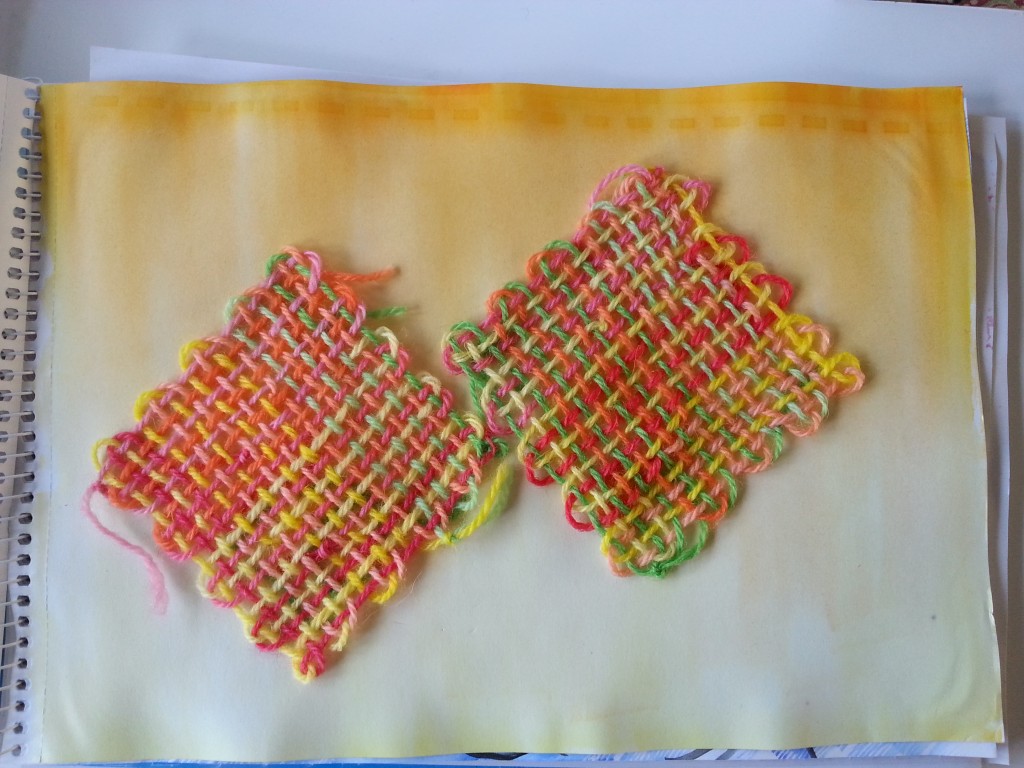
Woven Samples
-
- Sketchbook Assignment Two
-
- Sketchbook Assignment Two
-
- Sketchbook Assignment Two
-
- Sketchbook Assignment Two
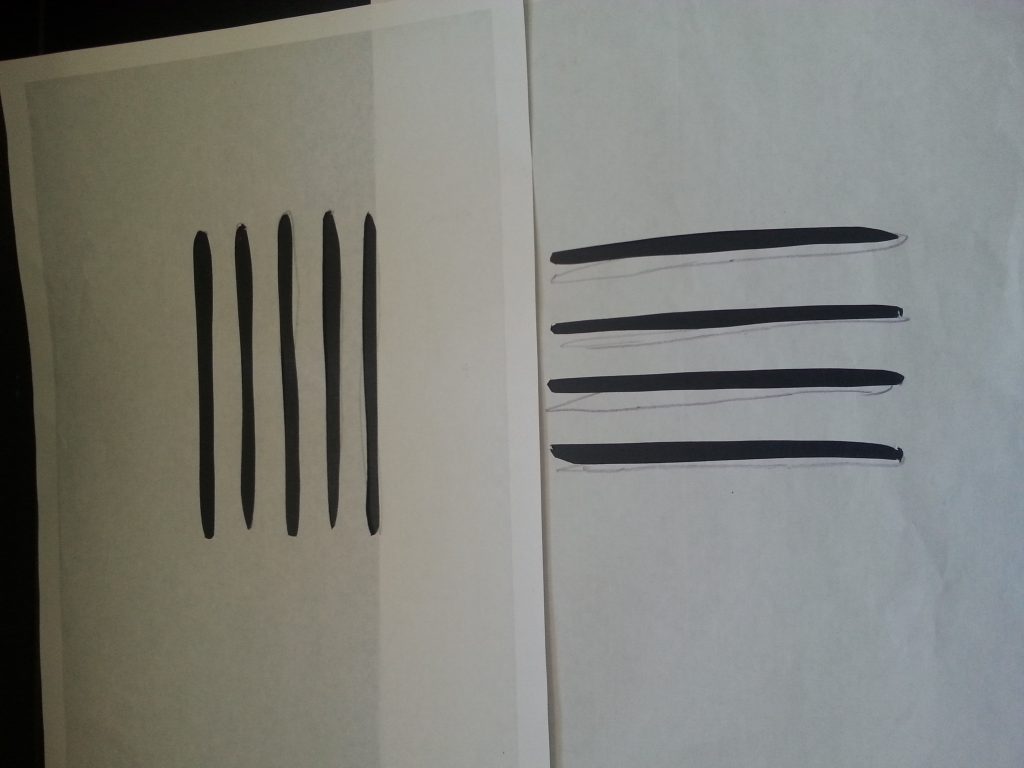
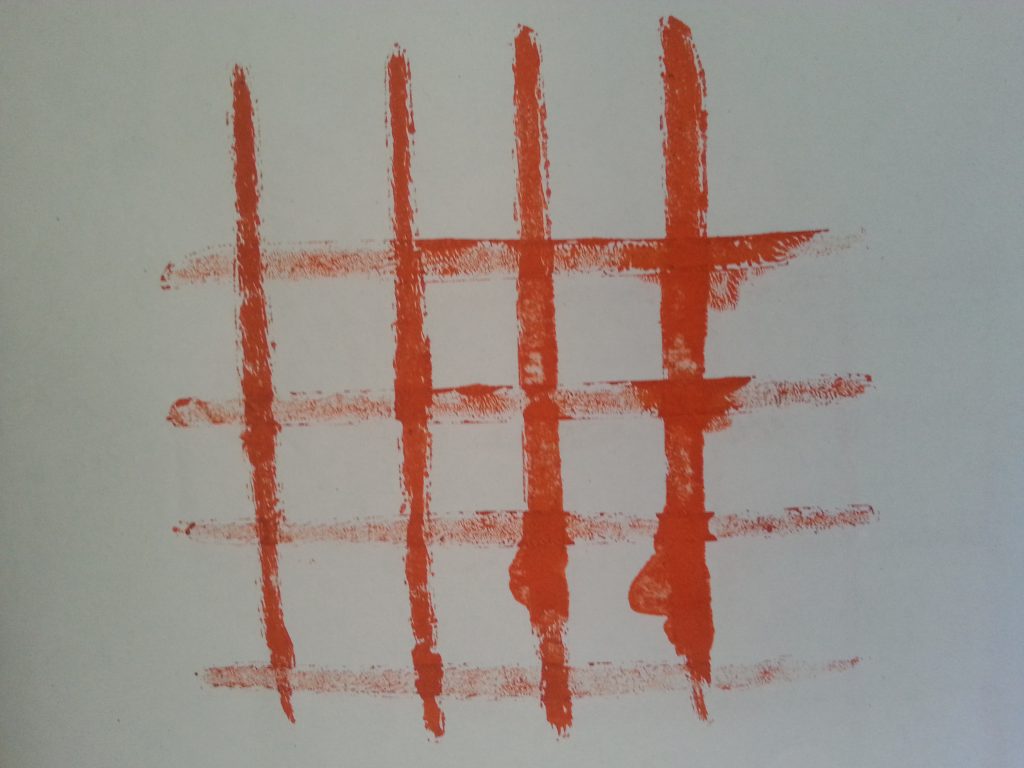
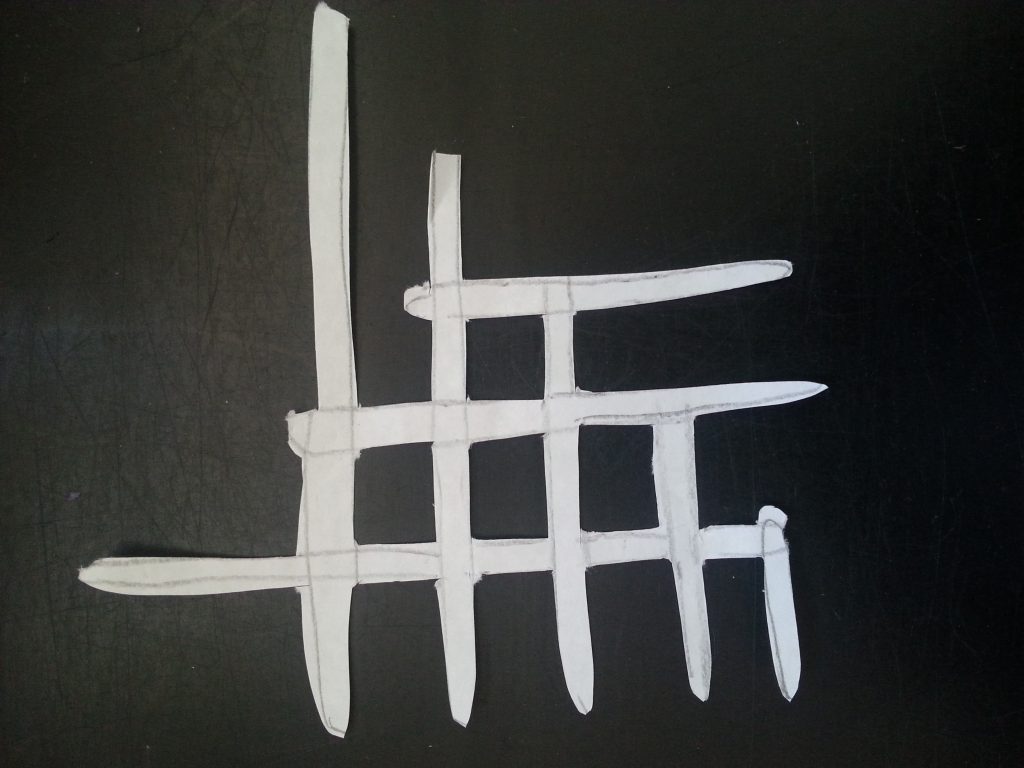
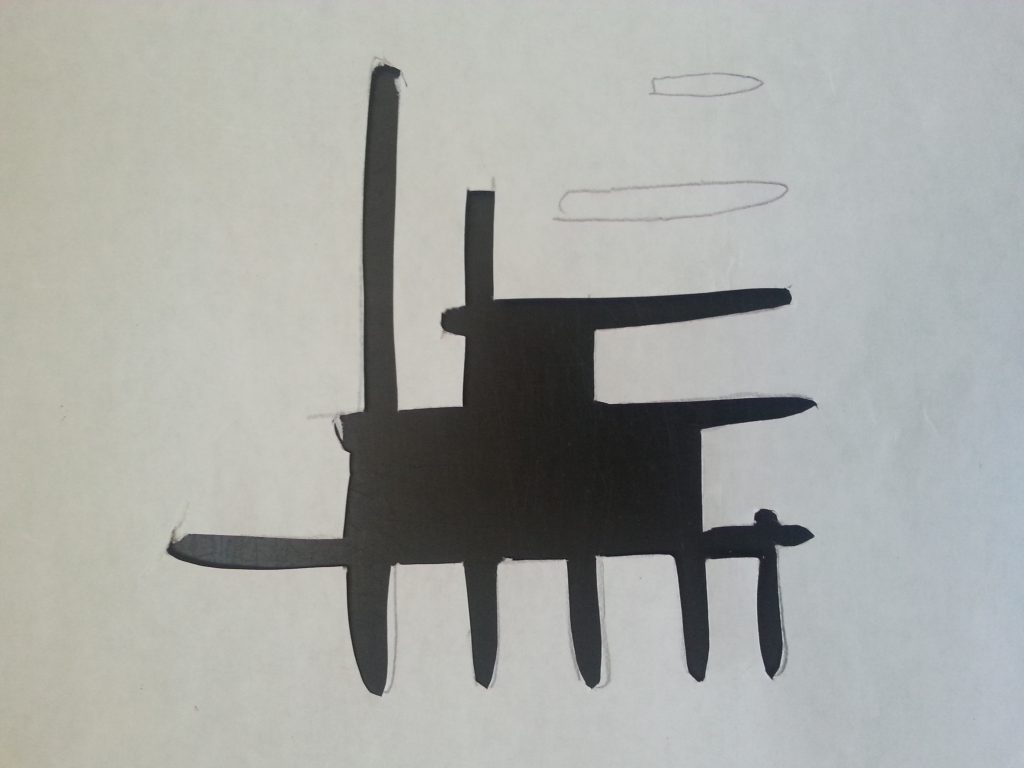
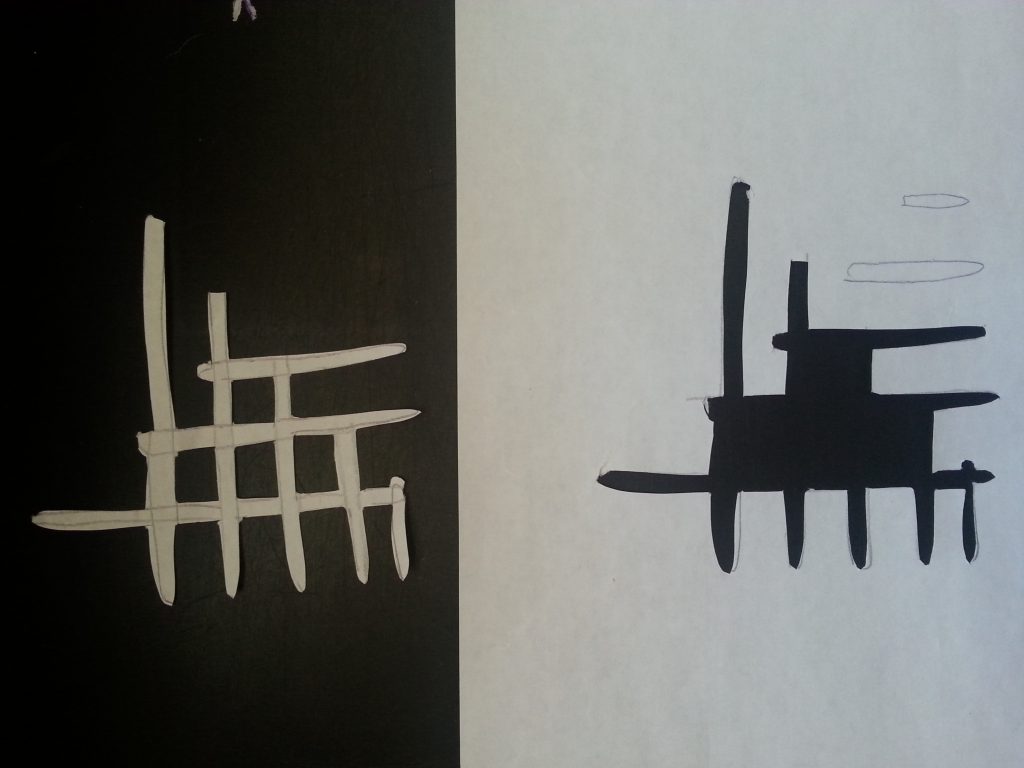
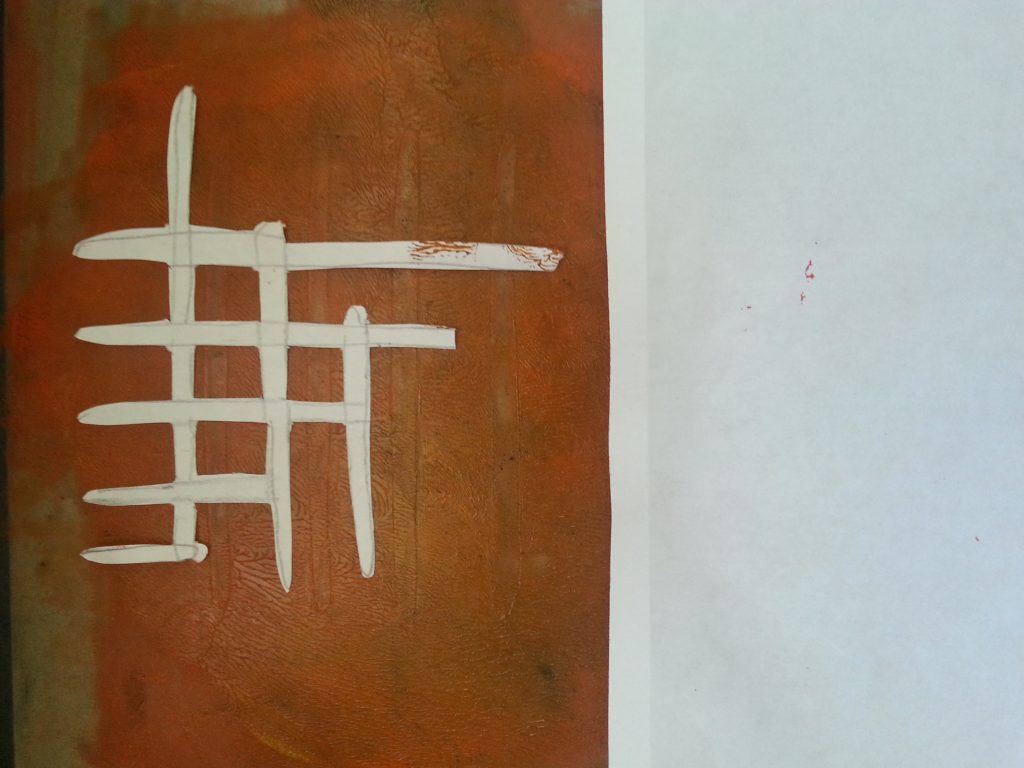
Paper stencil
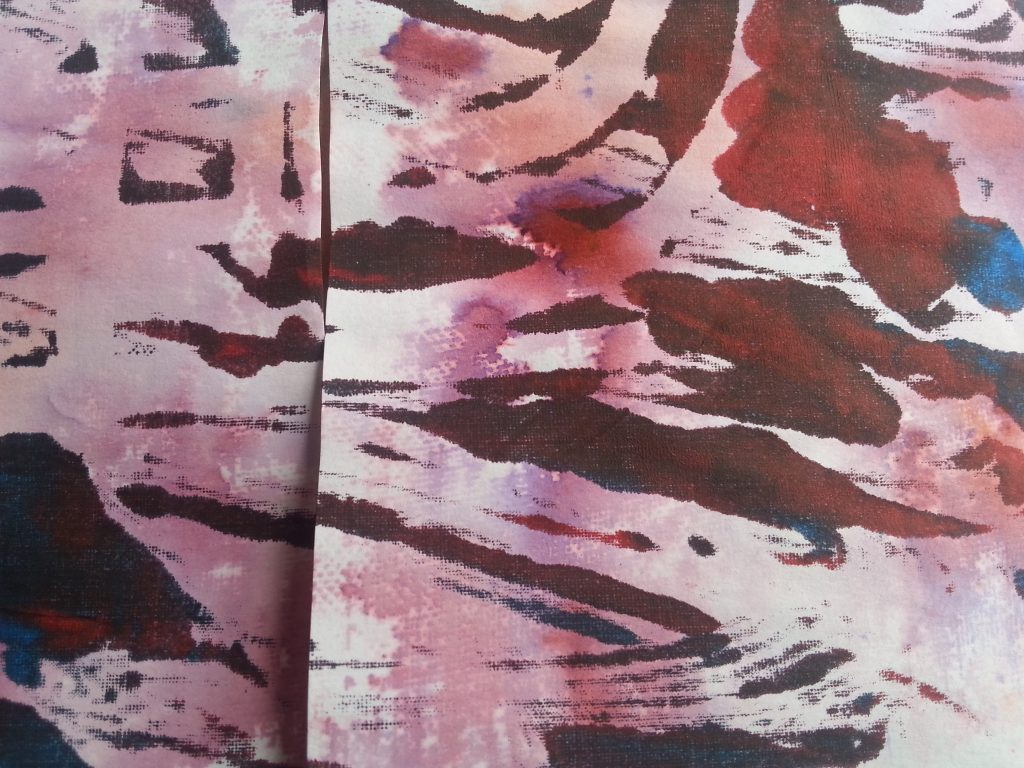
For this paper stencil, the woven samples were the inspiration and I cut two series of parallel stripes which I could then overlay to create the mesh pattern.
-
- MMT Assignment 4 – Monoprinting
-
- MMT Assignment 4 – Monoprinting
-
- MMT Assignment 4 – Monoprinting
-
- MMT Assignment 4 – Monoprinting
-
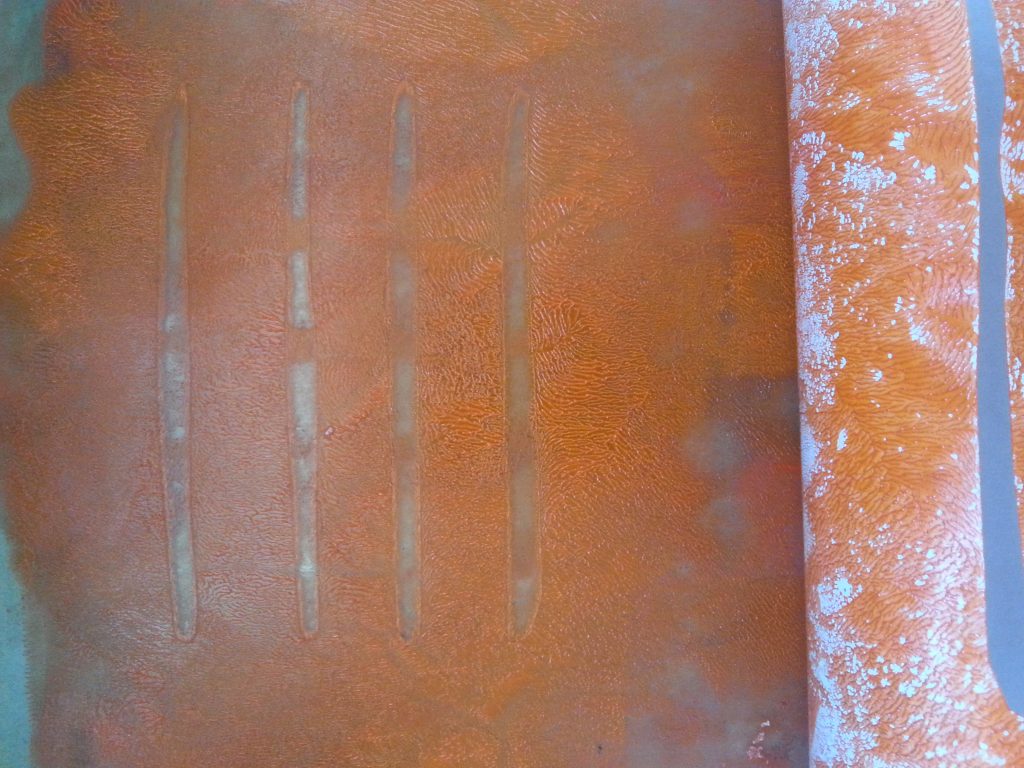
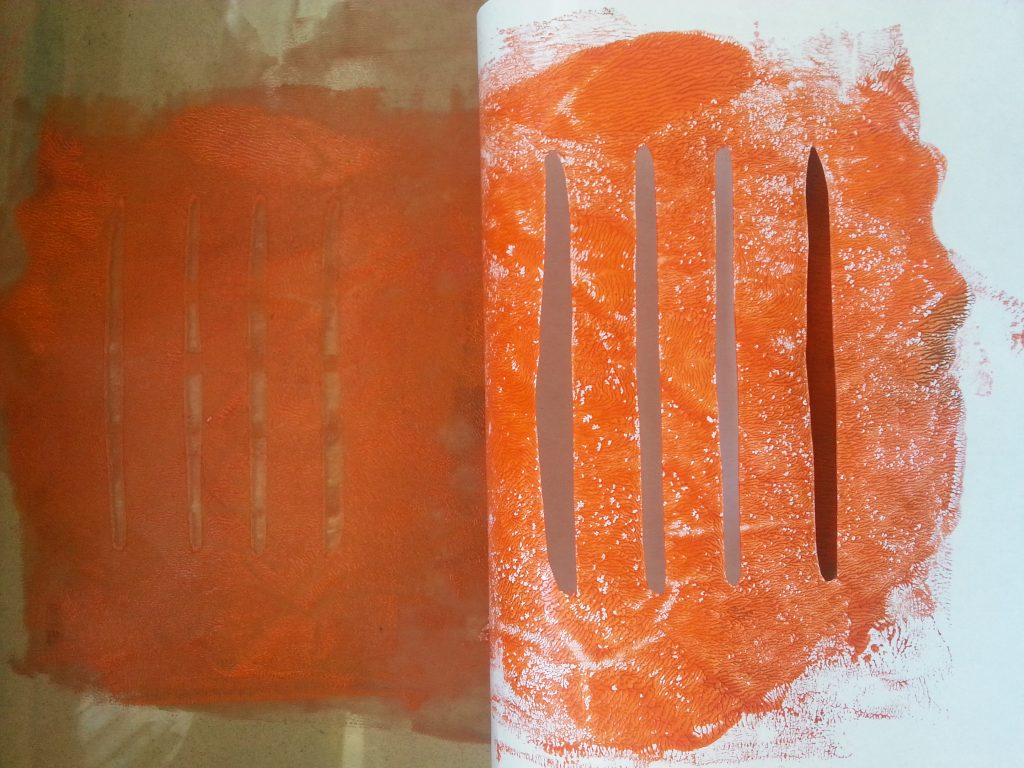
- MMT Assignment 4 – Monoprinting – Working with stencils
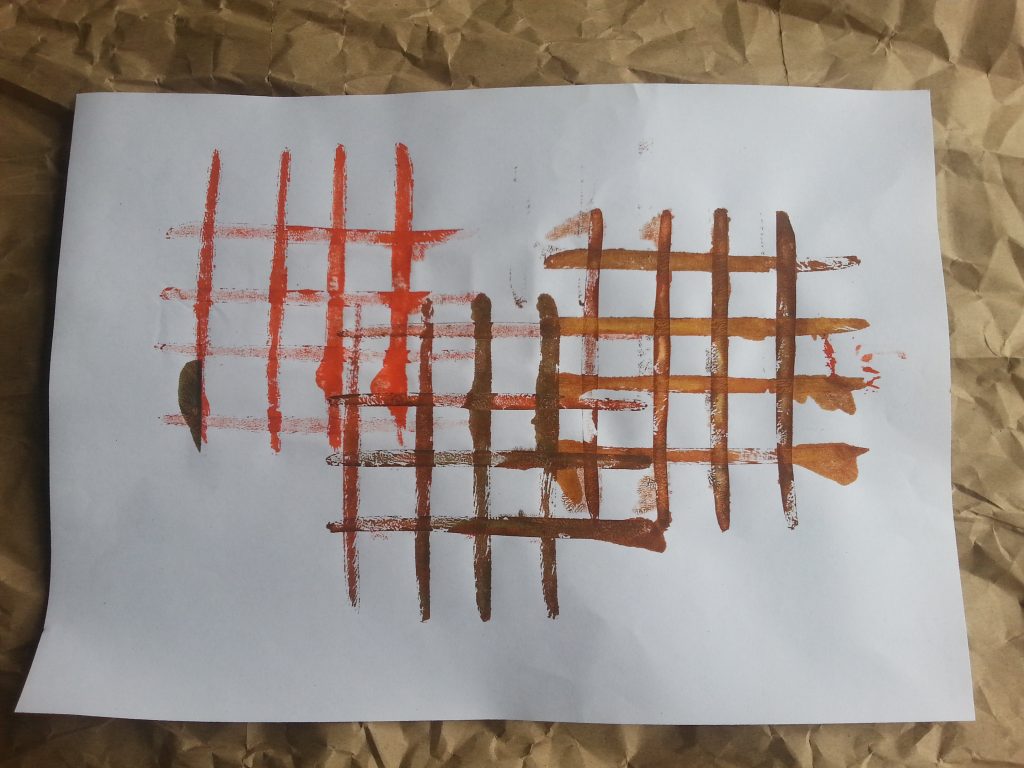
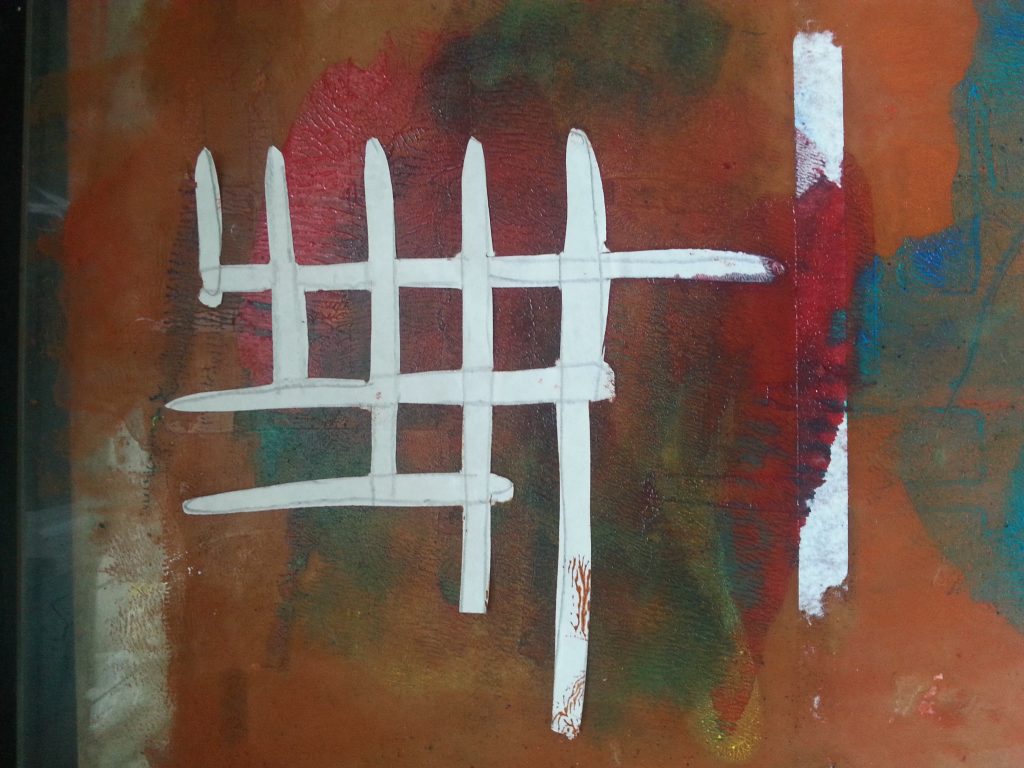
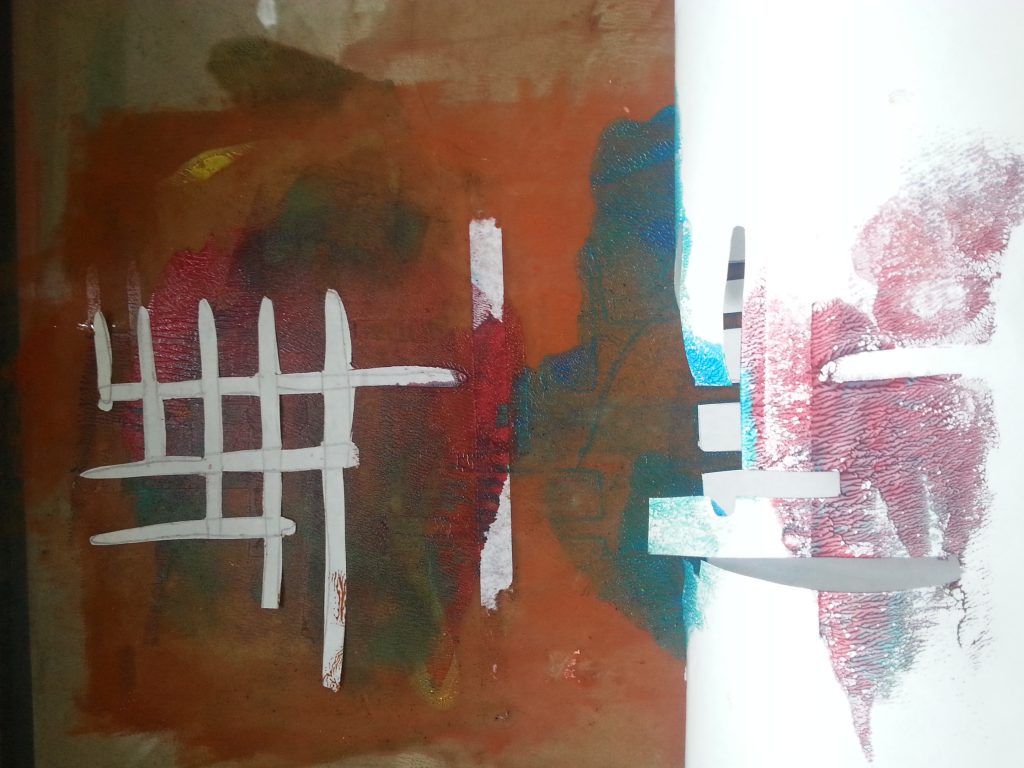
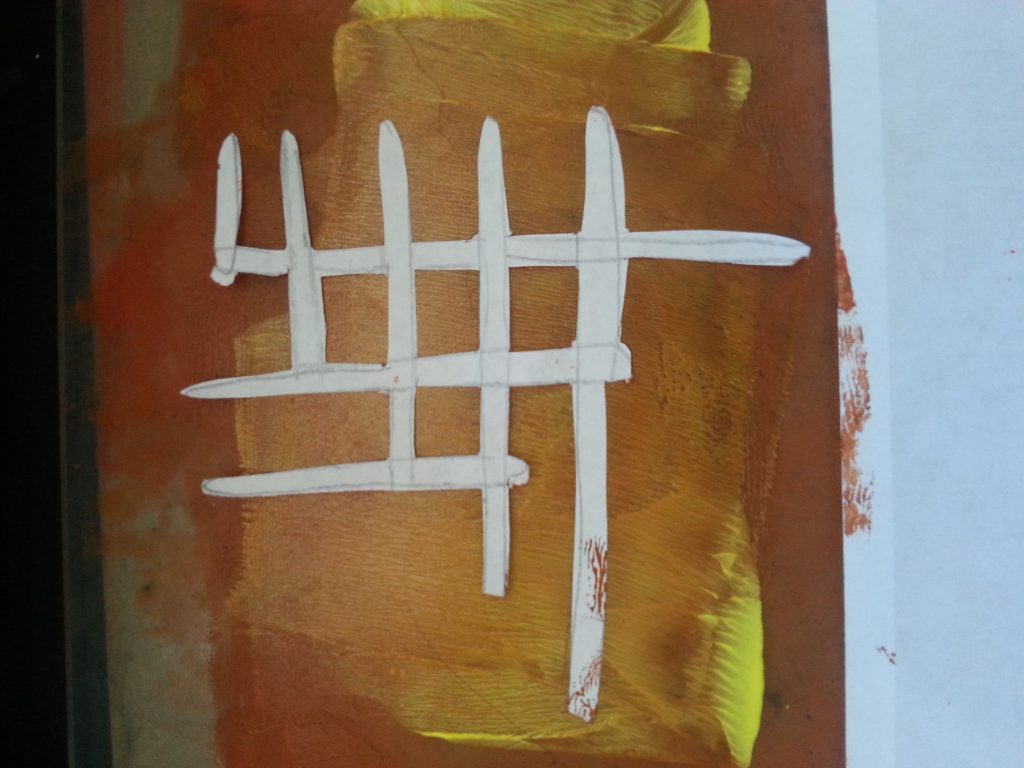
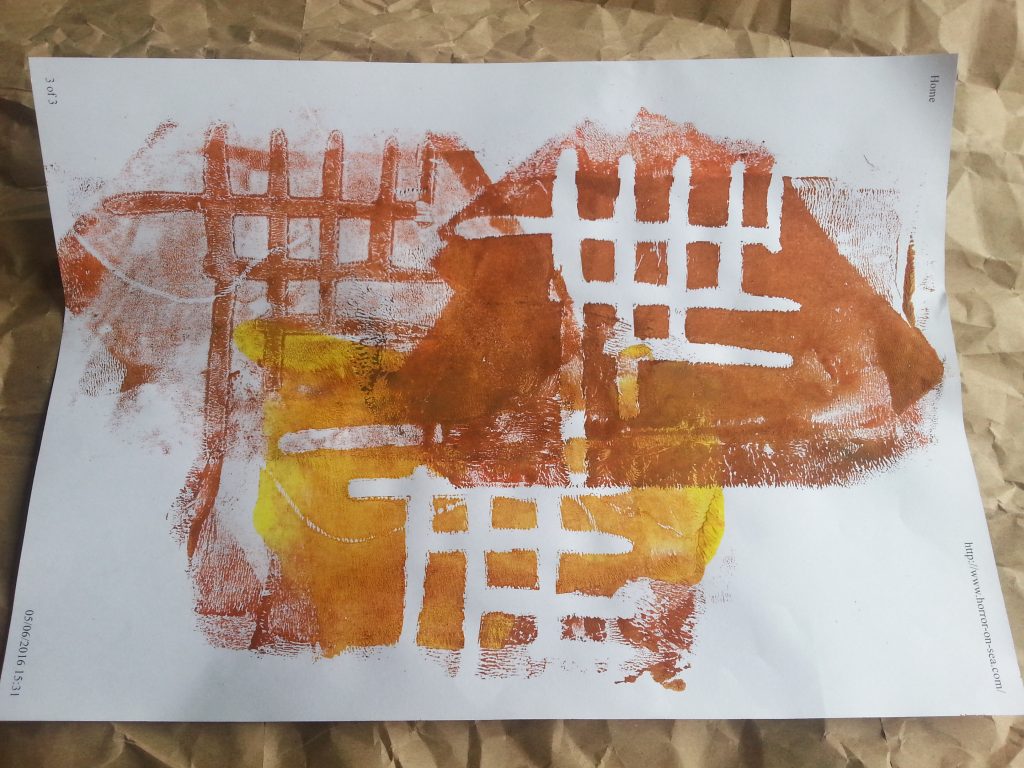
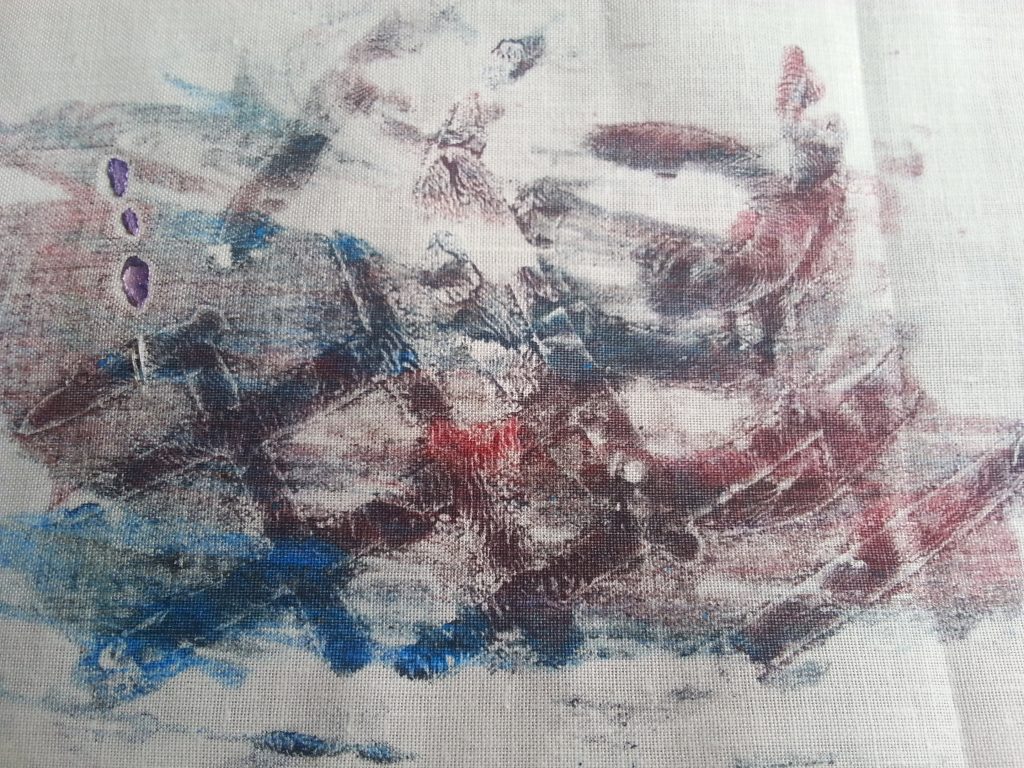
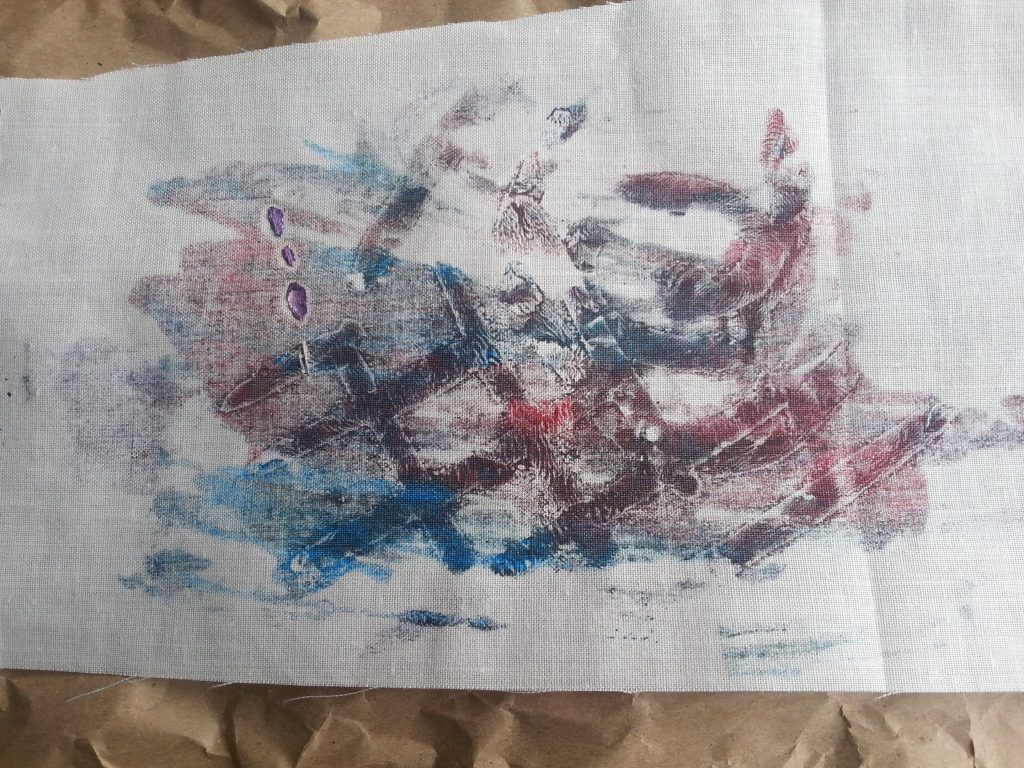
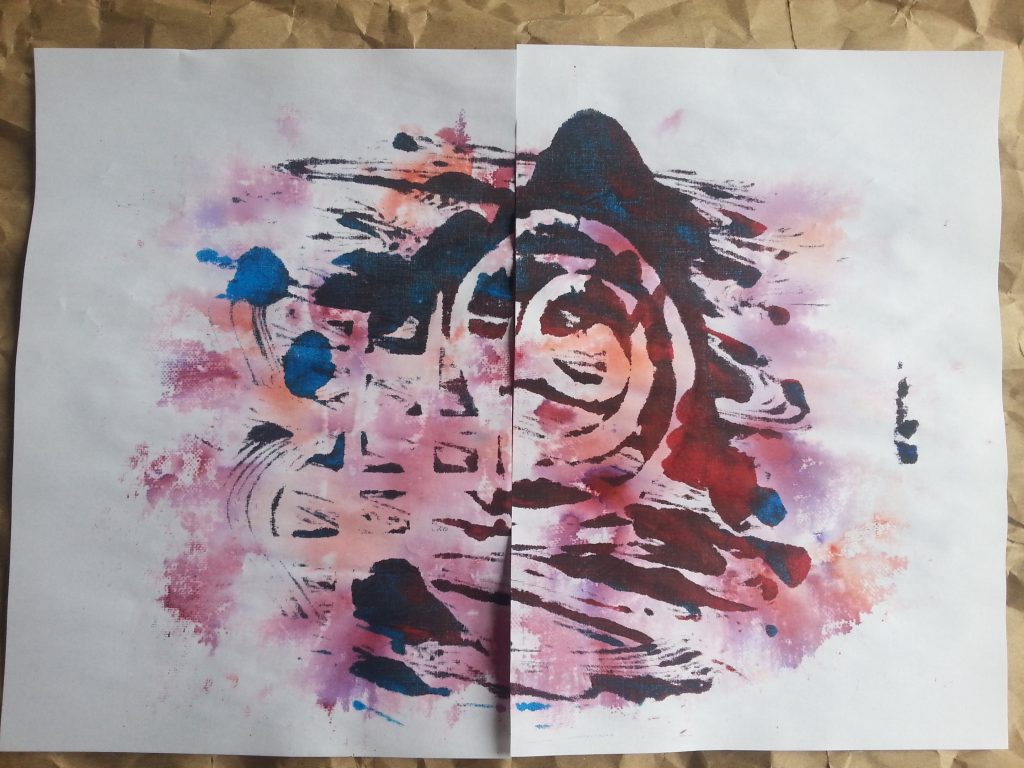
This series was also based on the woven sample, cut from plasticized paper. Prints were taken from the positive and negative stencils, overlaid and masked and overprinted. I also pulled a print to use up what was left on the plate after an earlier print.
-
- MMT Assignment 4 – Monoprinting
-
- MMT Assignment 4 – Monoprinting
-
- MMT Assignment 4 – Monoprinting
-
- MMT Assignment 4 – Monoprinting
-
- MMT Assignment 4 – Monoprinting
-
- MMT Assignment 4 – Monoprinting
-
- MMT Assignment 4 – Monoprinting
-
- MMT Assignment 4 – Monoprinting
-
- MMT Assignment 4 – Monoprinting
-
- MMT Assignment 4 – Monoprinting
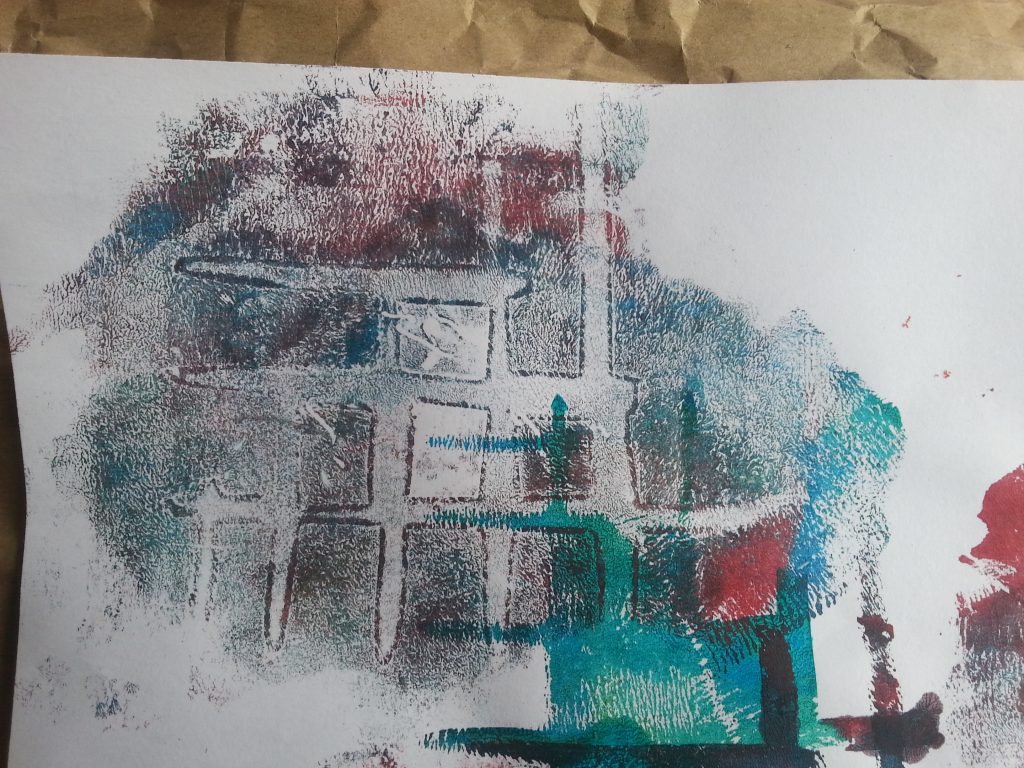
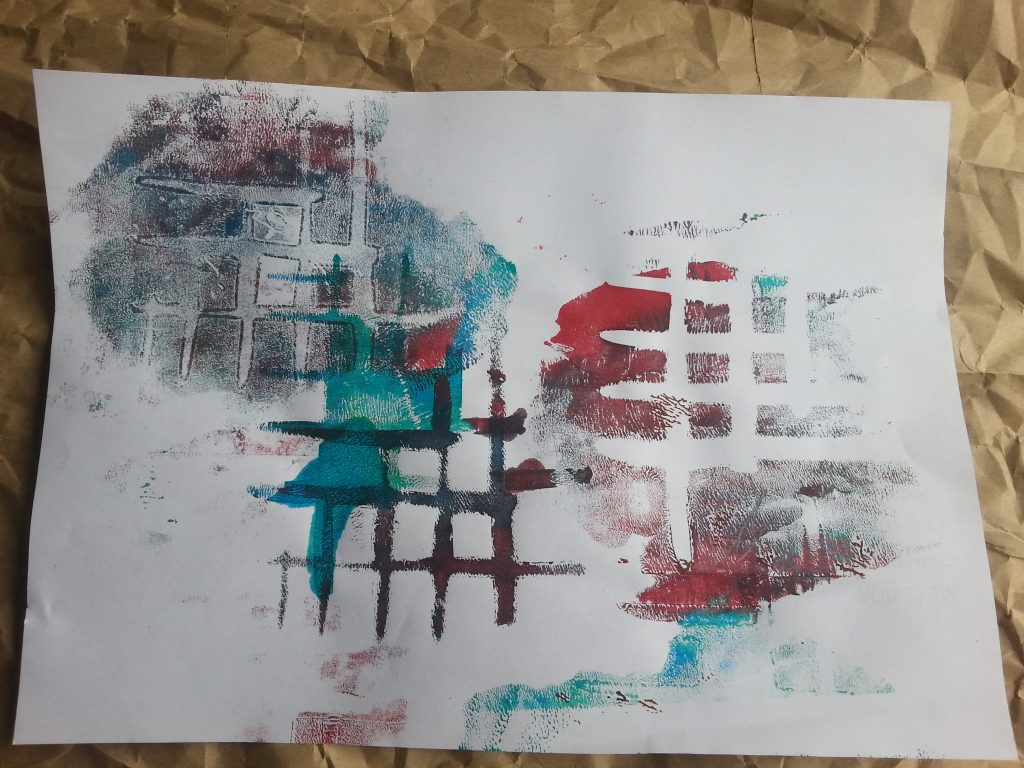
Conclusion
The single prints were competent but not especially inspiring. The overlay and double prints were much more exciting. There was better use of colour and the combination of negative/postive pulls in the final sample. The use of actetate in the second set of samples gave good prints which are better suited to re-use.
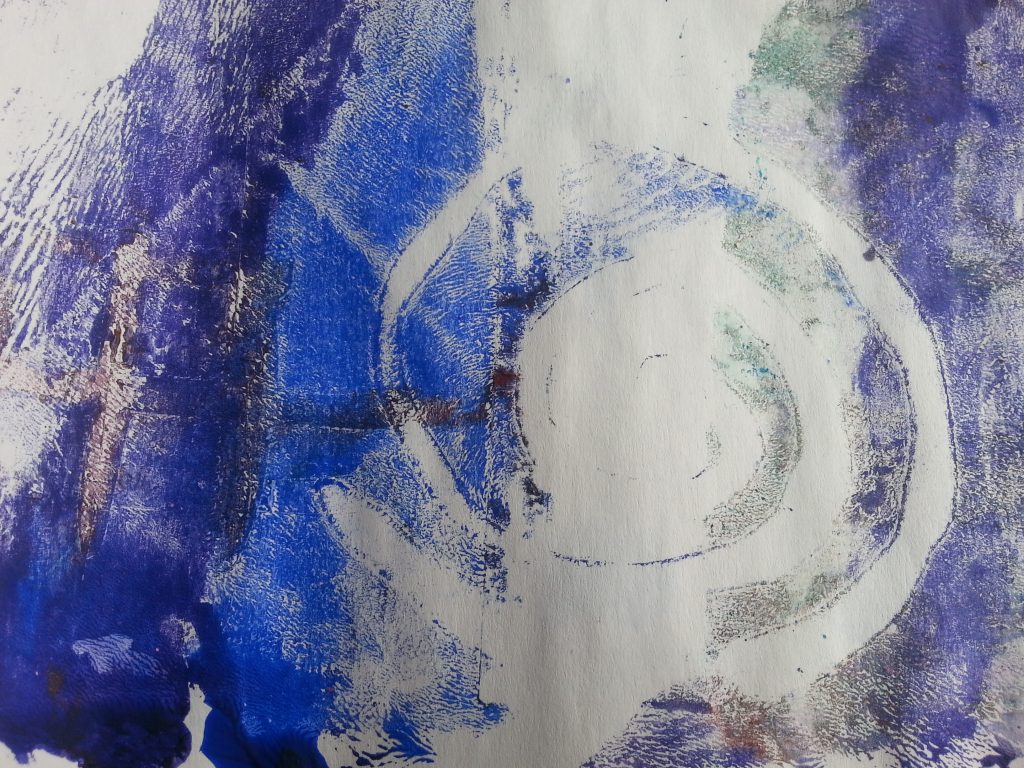
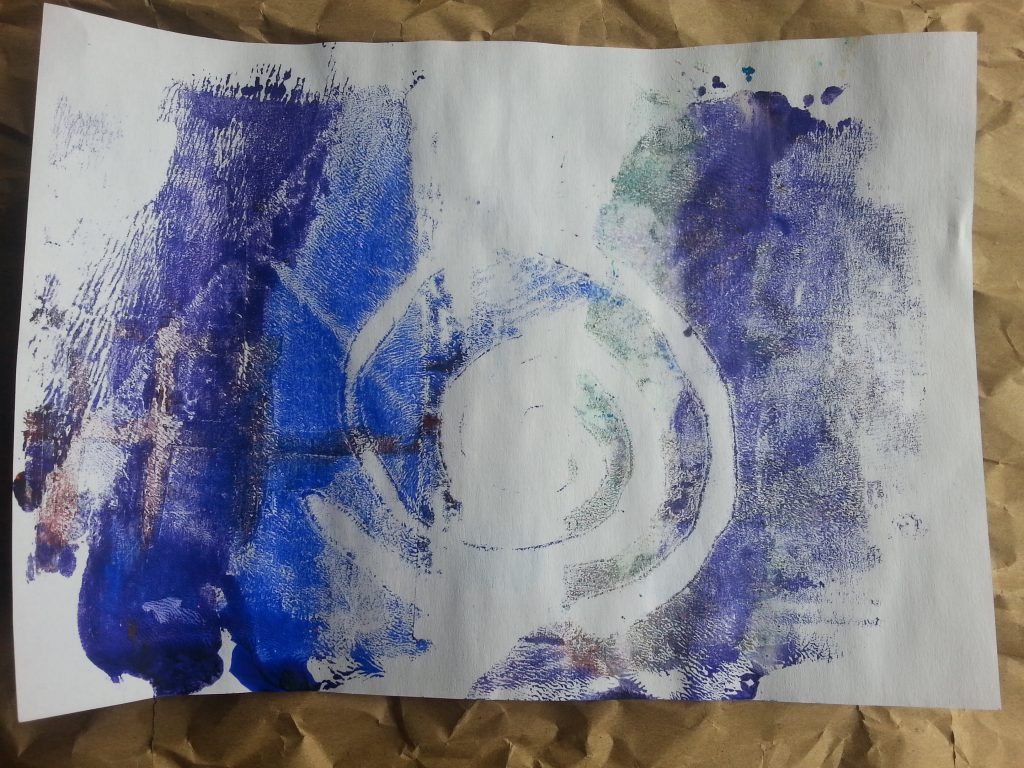
Spiral and Woven Samples
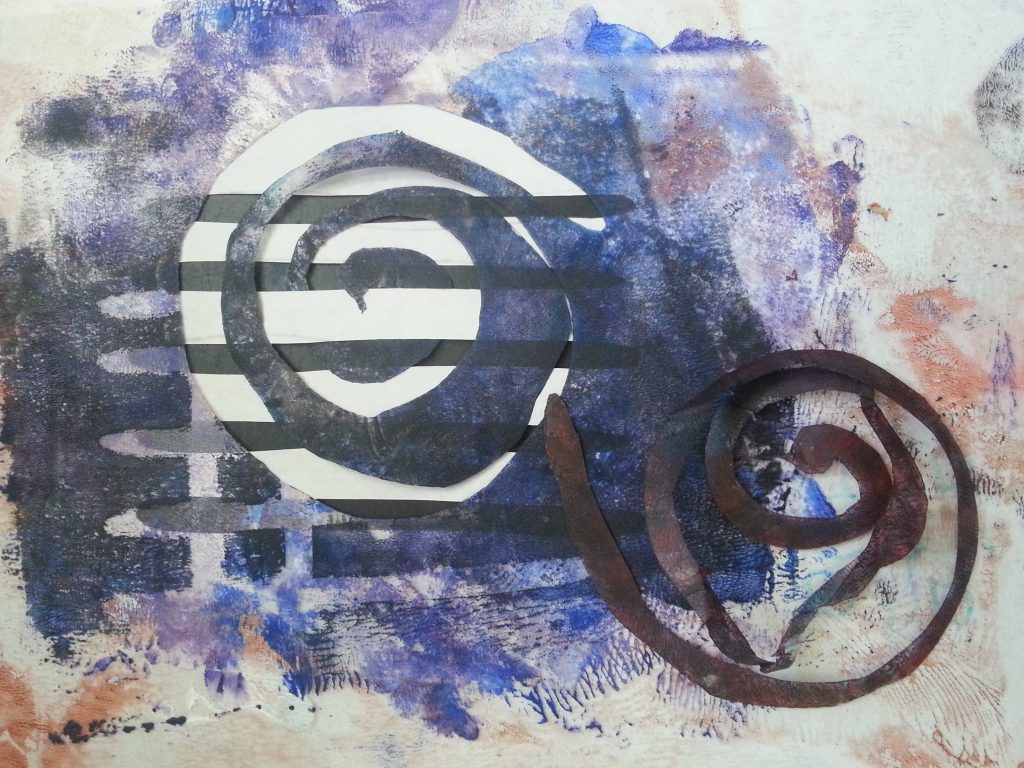
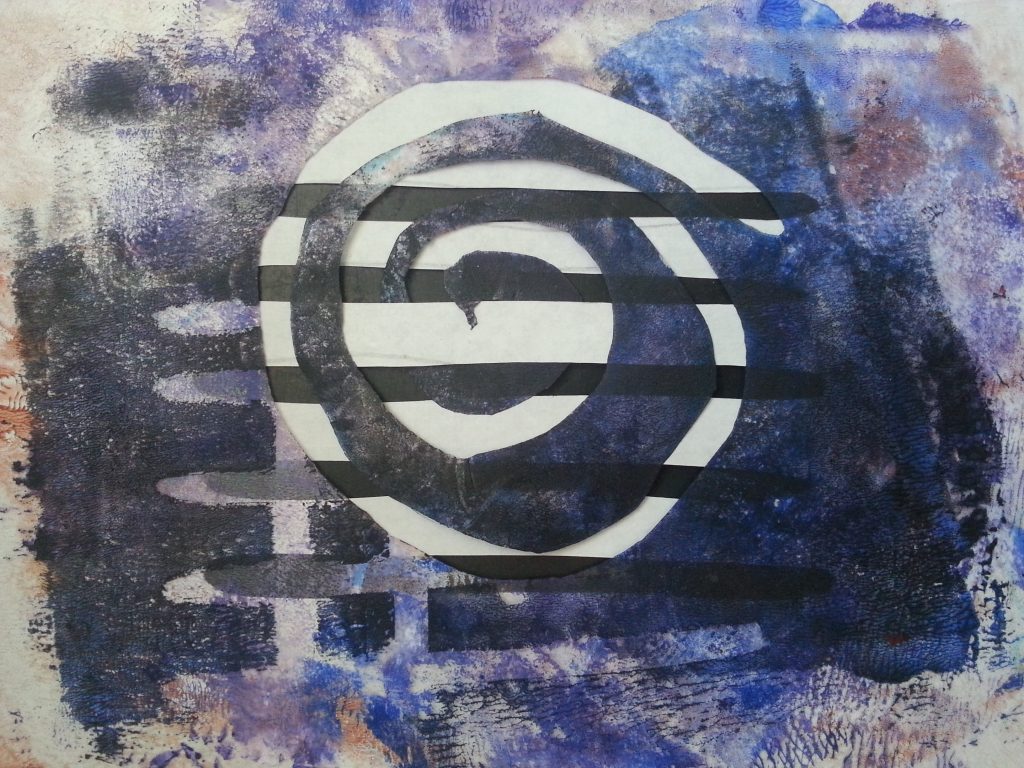
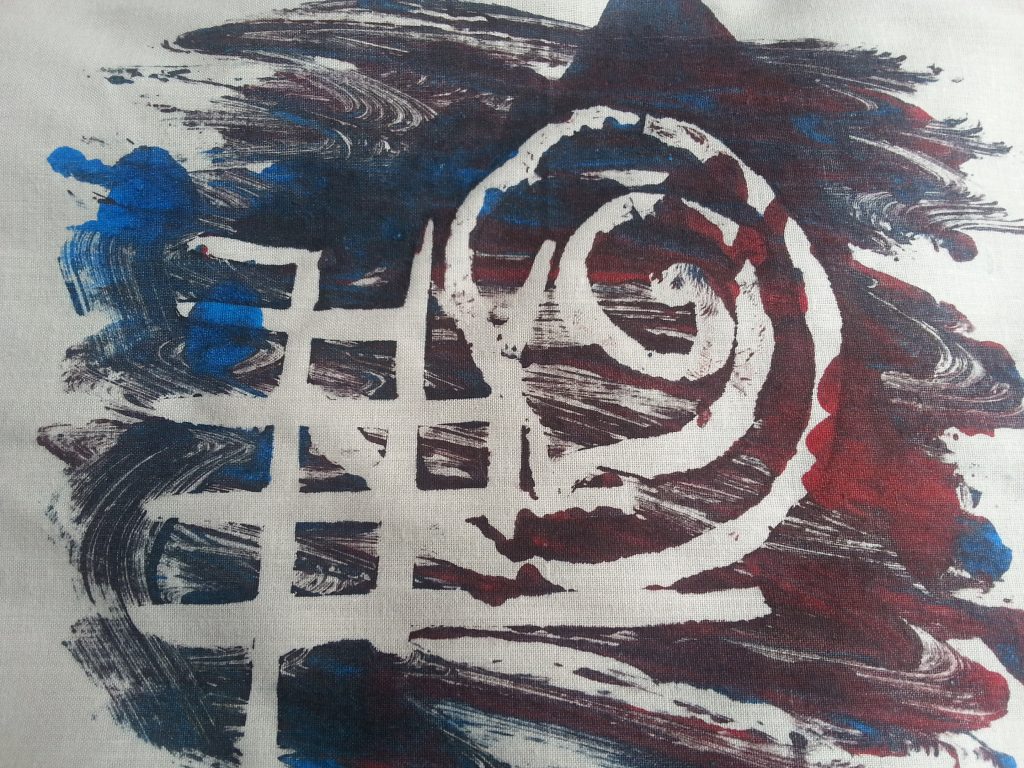
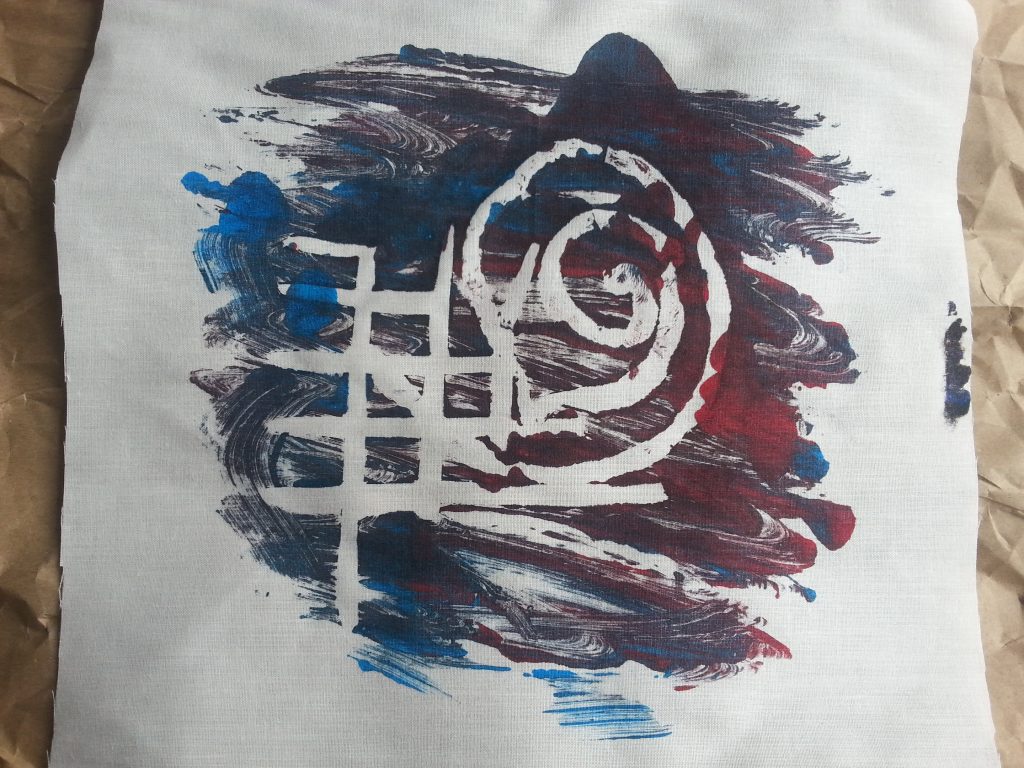
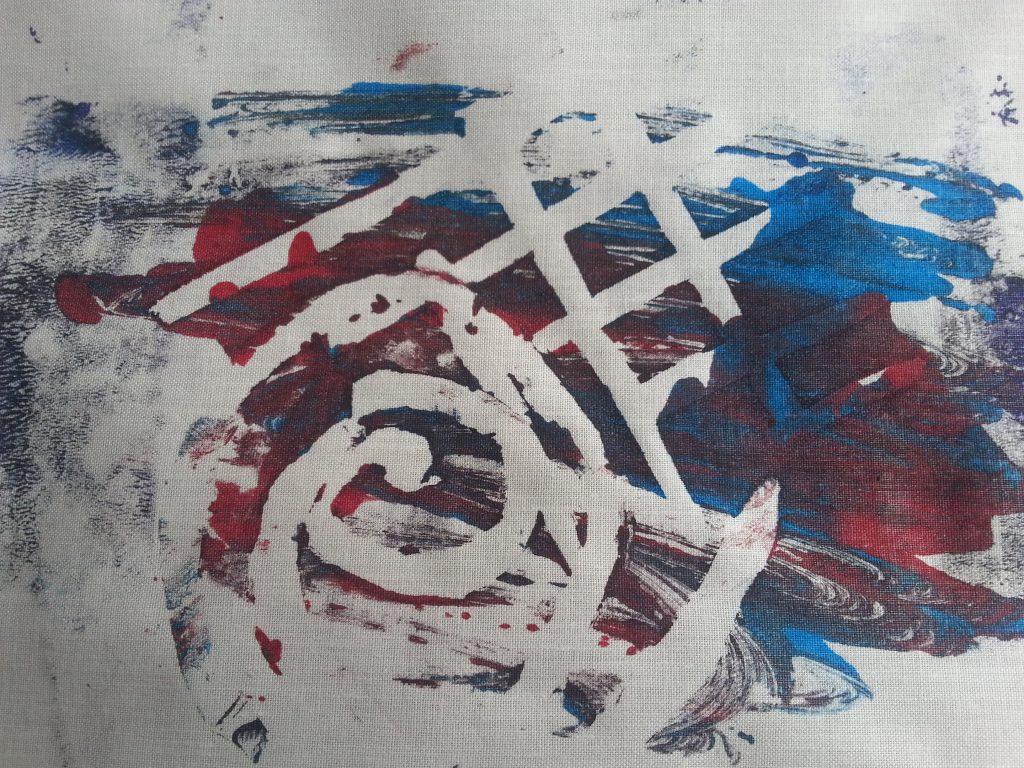
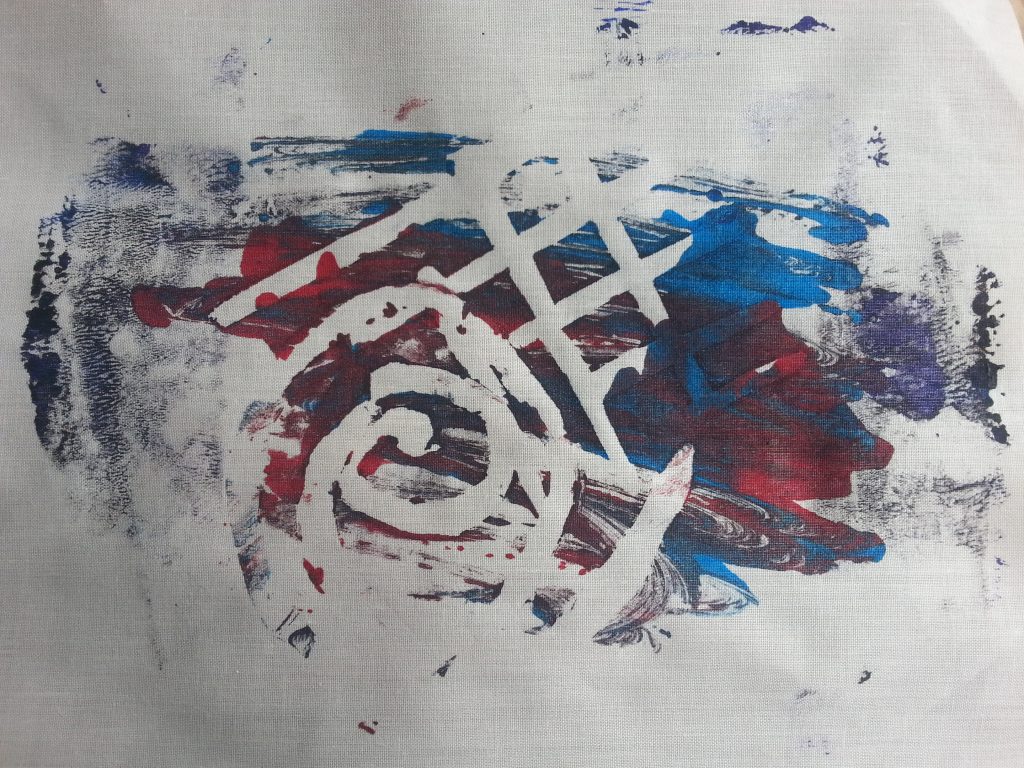
Combining stencils
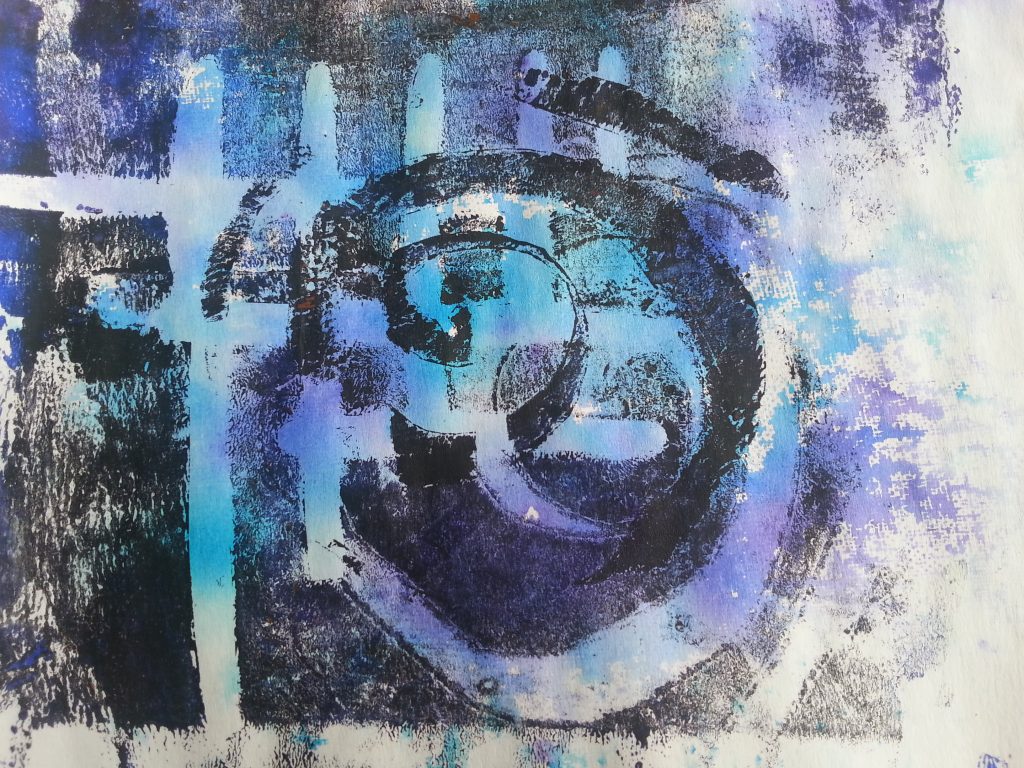
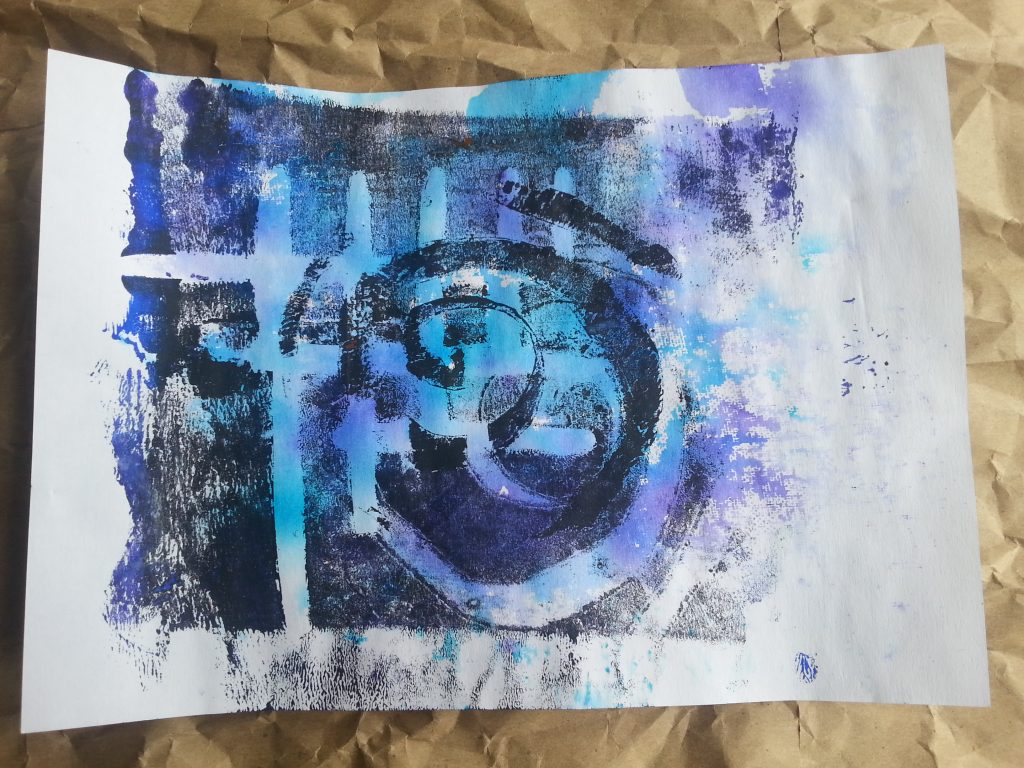
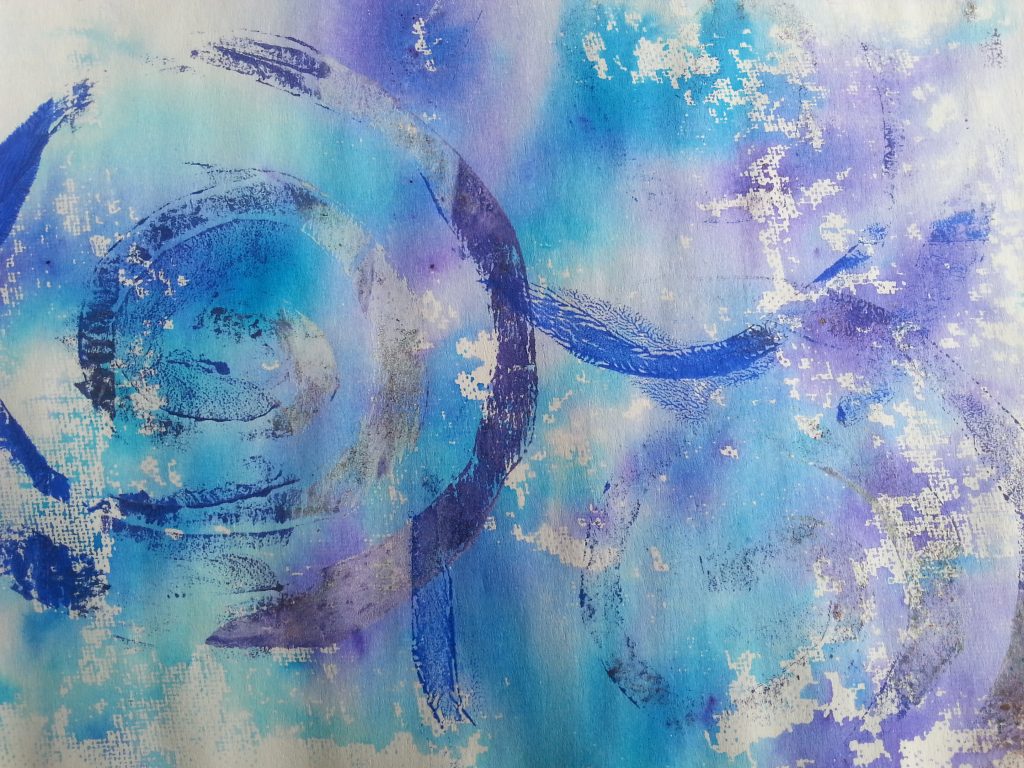
For this series I combined both the spiral and woven stencils, working on paper and fabric. I also did repeat pulls over some of the prints and combined negative and positive stencils for different impressions.
-
- MMT Assignment 4 – Monoprinting
-
- MMT Assignment 4 – Monoprinting
-
- MMT Assignment 4 – Monoprinting – Exercise 4 – Working with stencils
-
- MMT Assignment 4 – Monoprinting – Exercise 4 – Working with stencils
-
- MMT Assignment 4 – Monoprinting – Exercise 4 – Working with stencils
-
- MMT Assignment 4 – Monoprinting – Exercise 4 – Working with stencils
-
- MMT Assignment 4 – Monoprinting – Exercise 4 – Working with stencils
-
- MMT Assignment 4 – Monoprinting
-
- MMT Assignment 4 – Monoprinting – Exercise 4 – Working with stencils
-
- MMT Assignment 4 – Monoprinting – Exercise 4 – Working with stencils
-
- MMT Assignment 4 – Monoprinting
-
- MMT Assignment 4 – Monoprinting
-
- MMT Assignment 4 – Monoprinting
-
- MMT Assignment 4 – Monoprinting
-
- MMT Assignment 4 – Monoprinting
-
- MMT Assignment 4 – Monoprinting
-
- MMT Assignment 4 – Monoprinting
-

- MMT Assignment 4 – Monoprinting
-
- MMT Assignment 4 – Monoprinting
-
- MMT Assignment 4 – Monoprinting
Conclusion
In this series, I combined the stencils and the lay of paint on the plate. This has created much bolder approach, livelier and more satisfying prints. The colours are more striking, the shapes have movement and depth and the impact is much greater than in the simple prints. These were my favourite prints of this set.
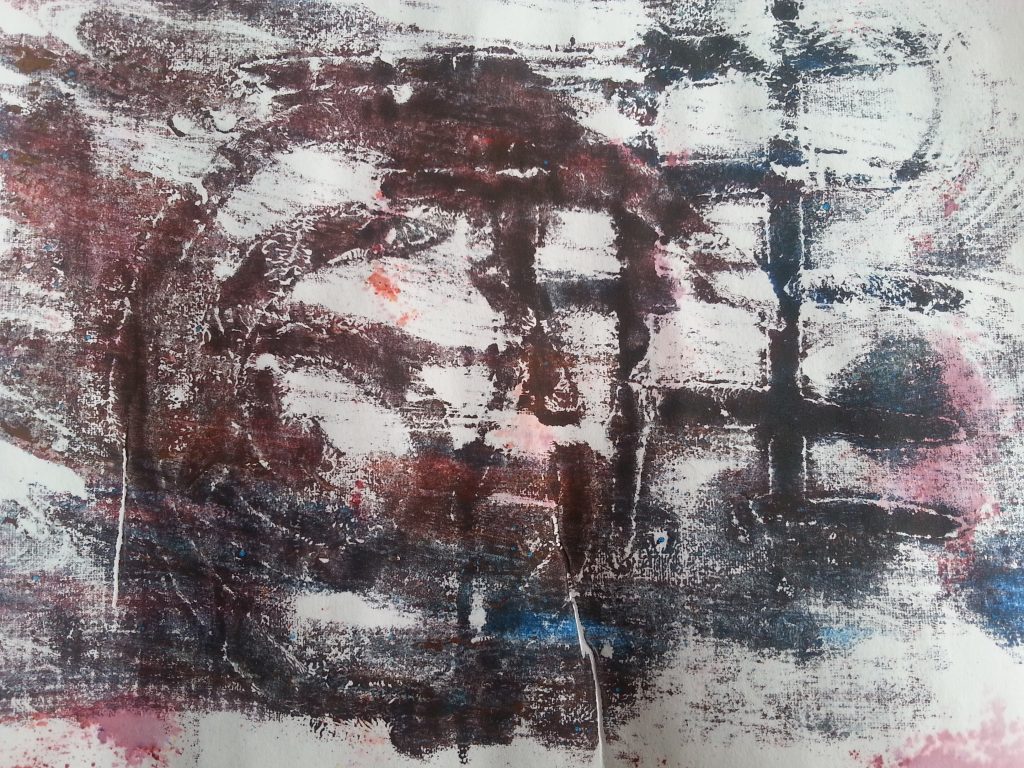
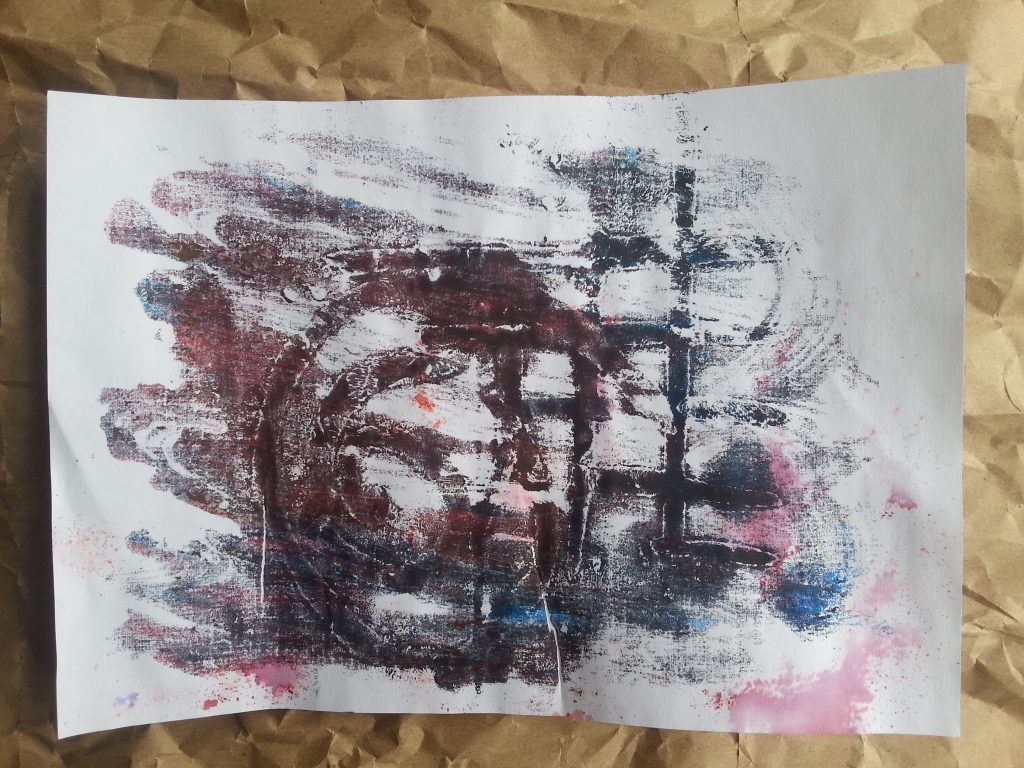
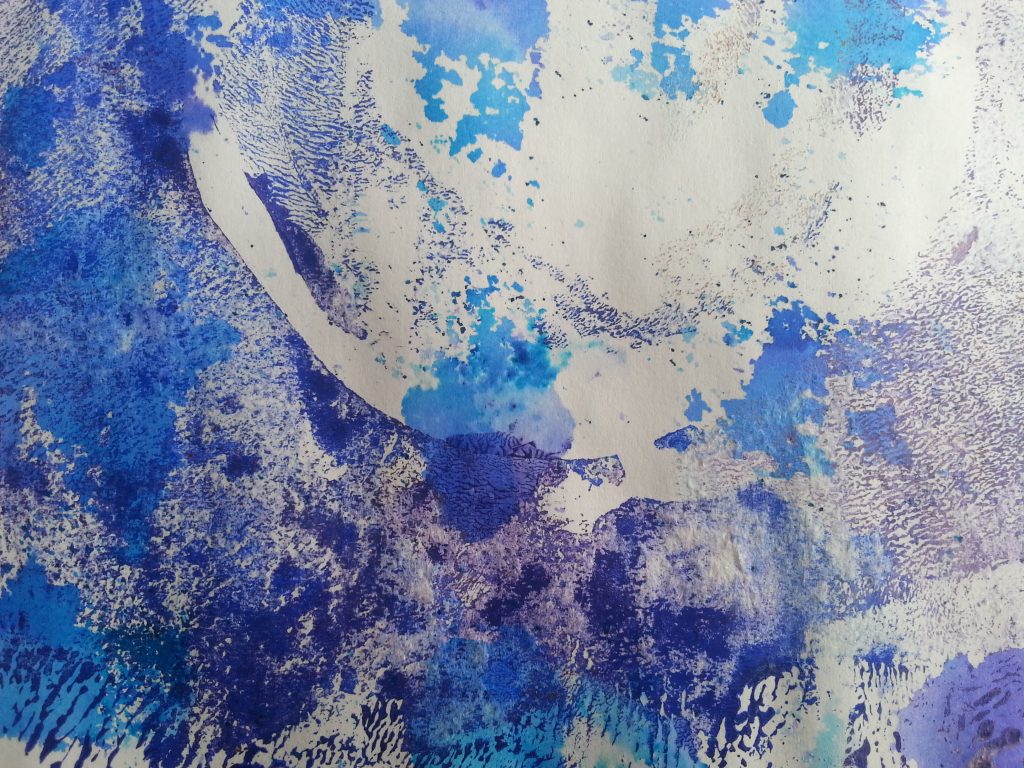
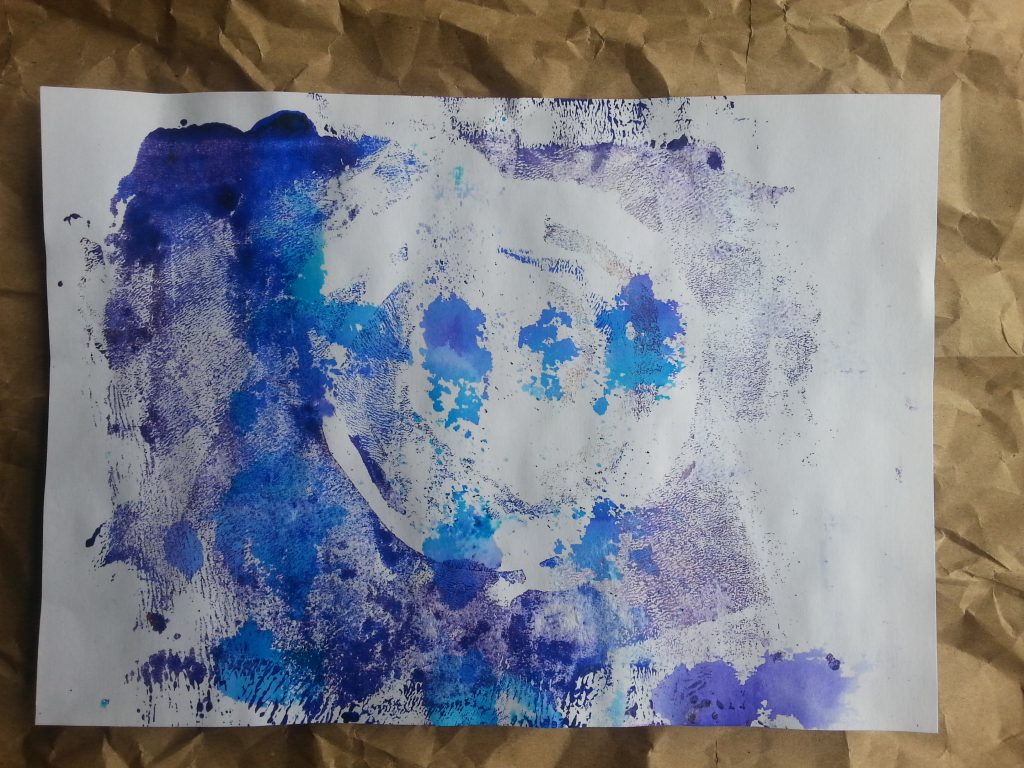
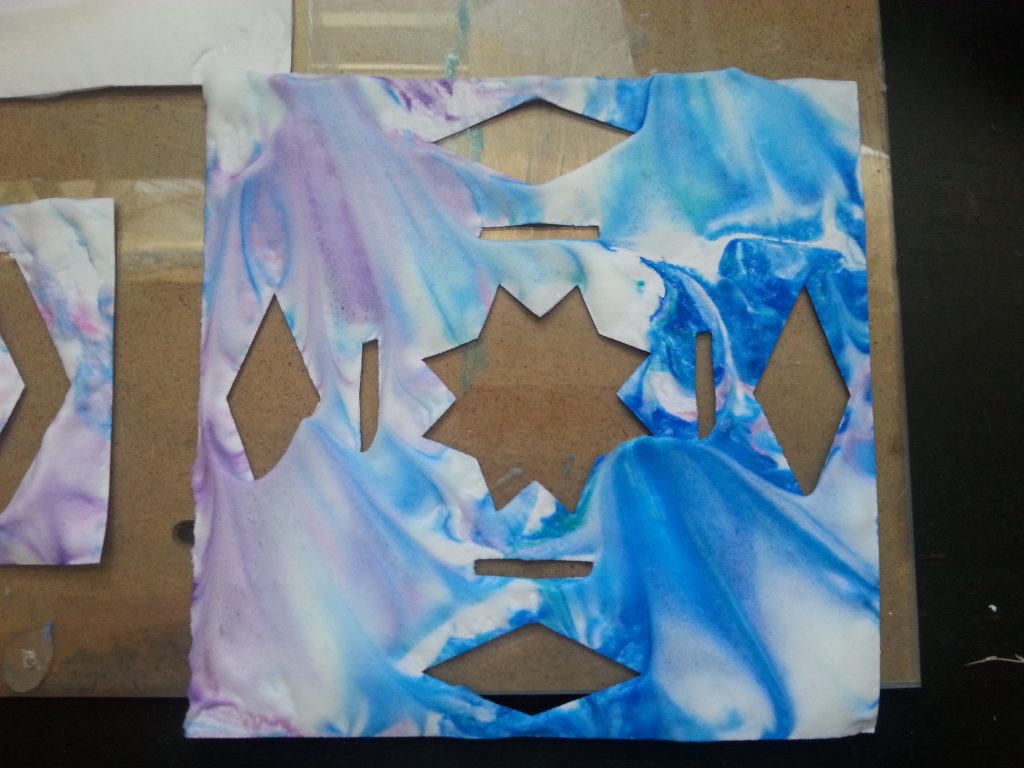
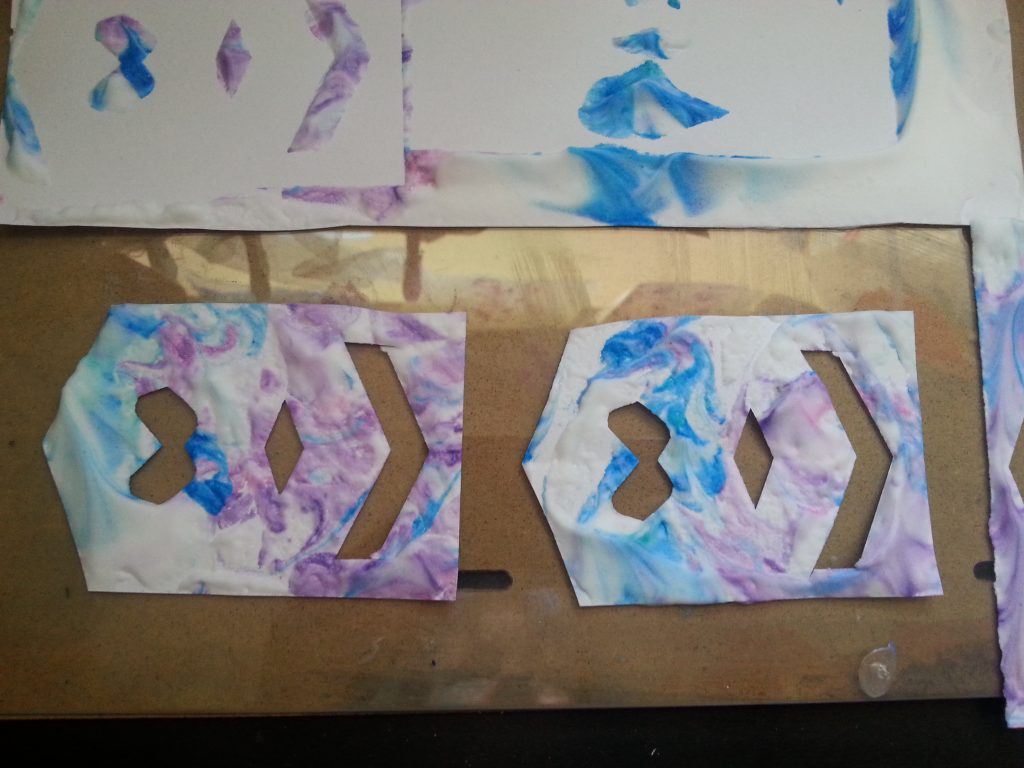
Stencils on foam print plate
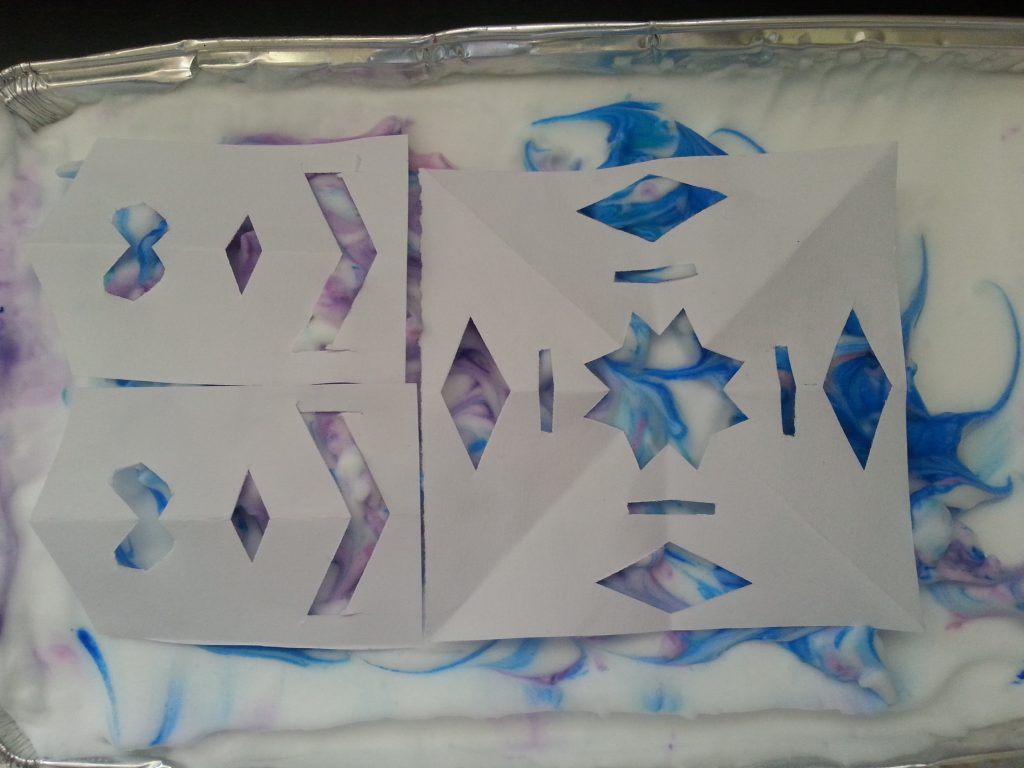
As I had paint left over from the drawing on the plate exercise, I decided to experiment with the interaction of stencils with a more fluid plate to see whether the softness of the plate would still allow for a stencil to be visible. I added a small amount of new fabric paint and cut paper stencils using simple fold and cut techniques for symmetry (like the snowflakes and cut out people we made a primary school). The ink was re-swirled for a marble effect and the paper stencils simply laid on the ‘plate’.
-

- MMT Assignment 4 – Monoprinting – Exercise 4 – Working with stencils
-
- MMT Assignment 4 – Monoprinting – Exercise 4 – Working with stencils
-
- MMT Assignment 4 – Monoprinting – Exercise 4 – Working with stencils
-
- MMT Assignment 4 – Monoprinting – Exercise 4 – Working with stencils
Conclusion
Ironically, the stencils were actually more effective than the actual print in this series. This may have been due to the rather uneven surface of the foam ‘plate’ and the fact that the smaller pieces made more regular contact with the print surface. The stencils do look effective and the cut areas break up the patterning in an interesting way.
Final conclusion, reflection and ideas for further development
There is considerable scope for further experimentation with stencils. The acetate was an excellent medium for the actual stencil as it was re-usable and could be readily cleaned between prints for clear re-prints/overprinting. Simple single prints in all media were rather unexciting, but combining and over-printing/masking was a successful way to develop much more lively prints. Experimenting with the laying of ink on the print and adding marks to the print surface further enlivens the print.
The foam prints also offer good scope for future projects, particularly as they lend themselves well to fabric paints and give good value for money. The ability to use metallics and iridescent fabric paints add light and extra interest.