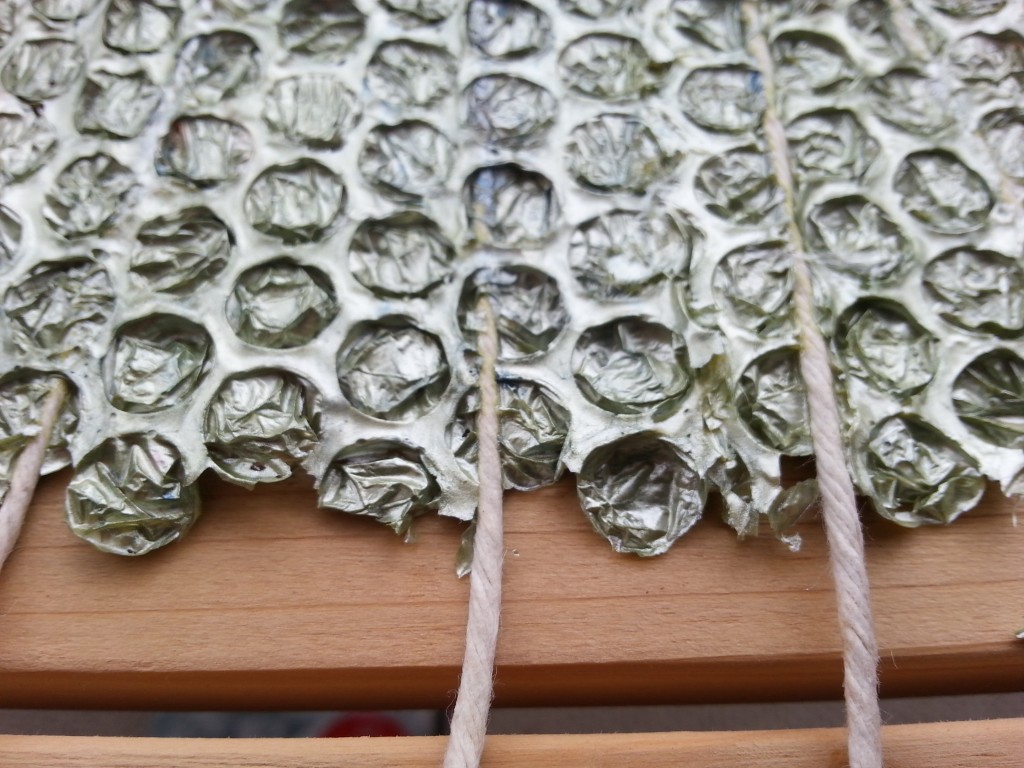
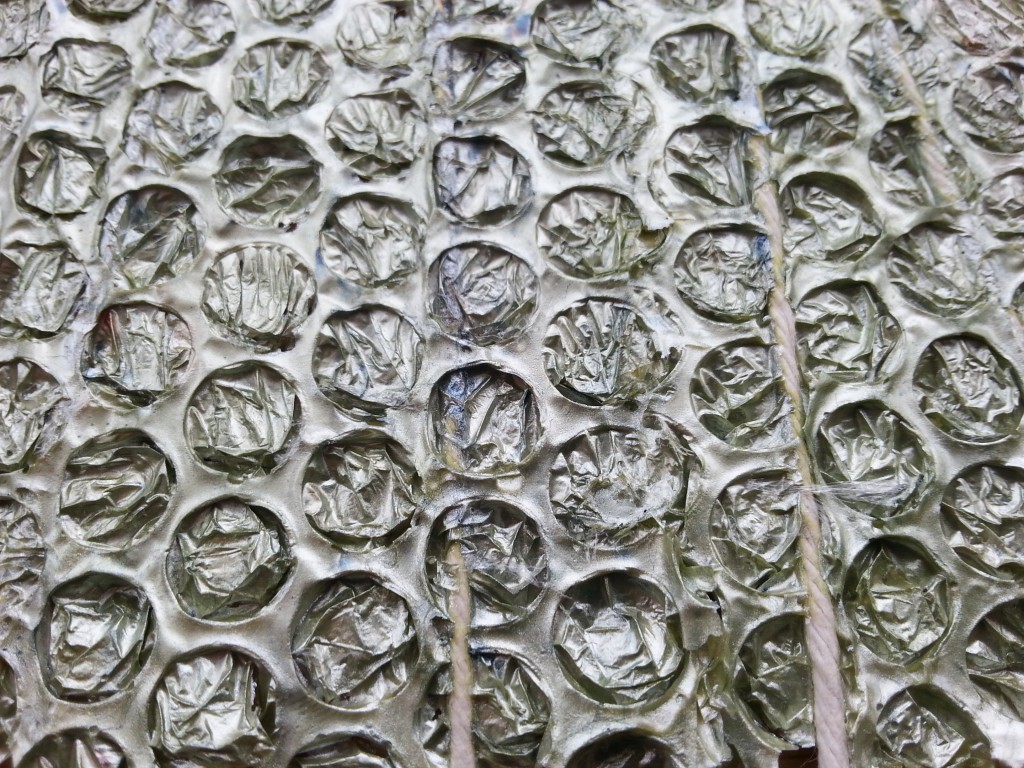
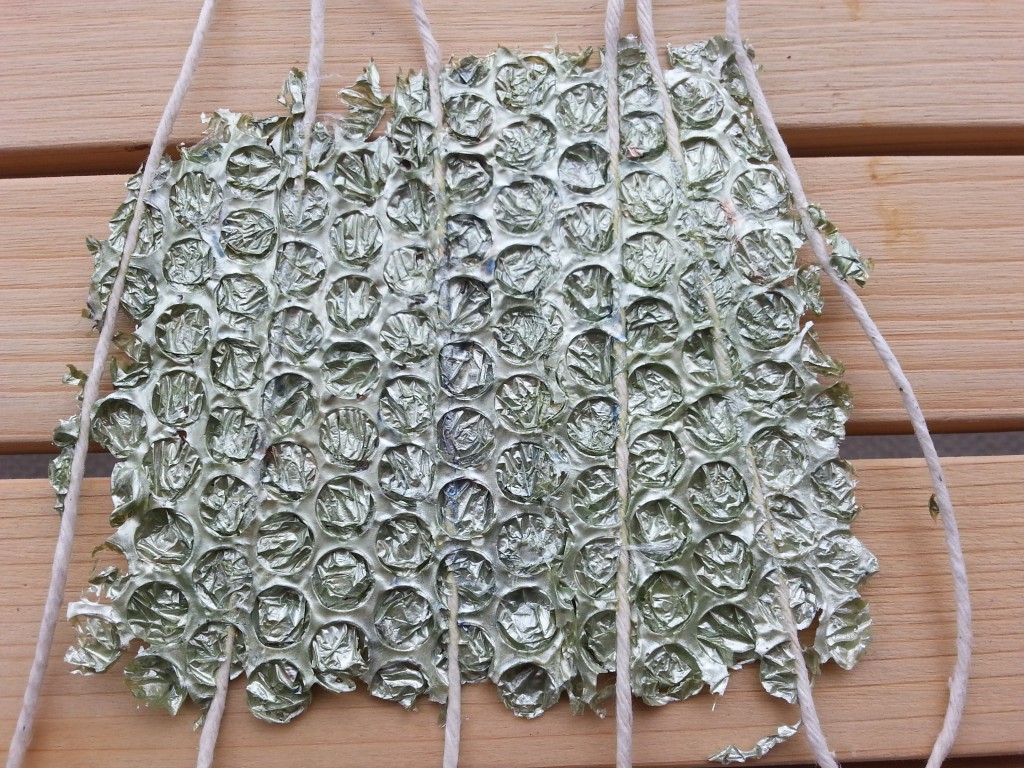
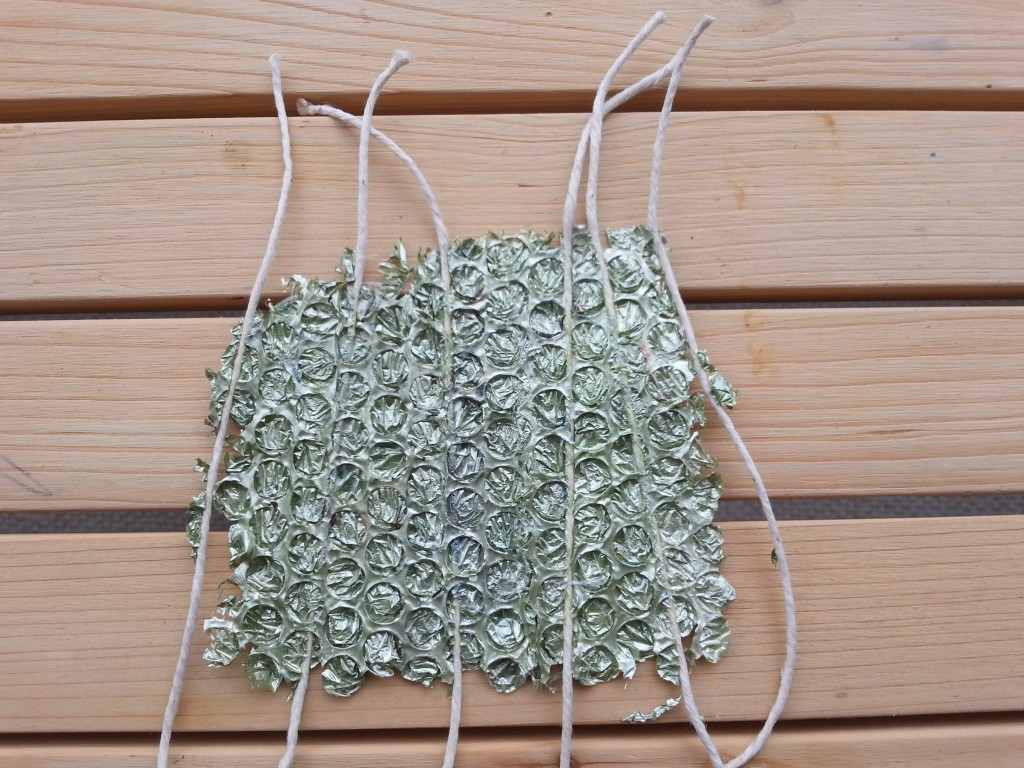
Relief paste was also something I experimented with in Assignment Two where I used it with a stamp and bubble wrap to create very successful impressions.
-
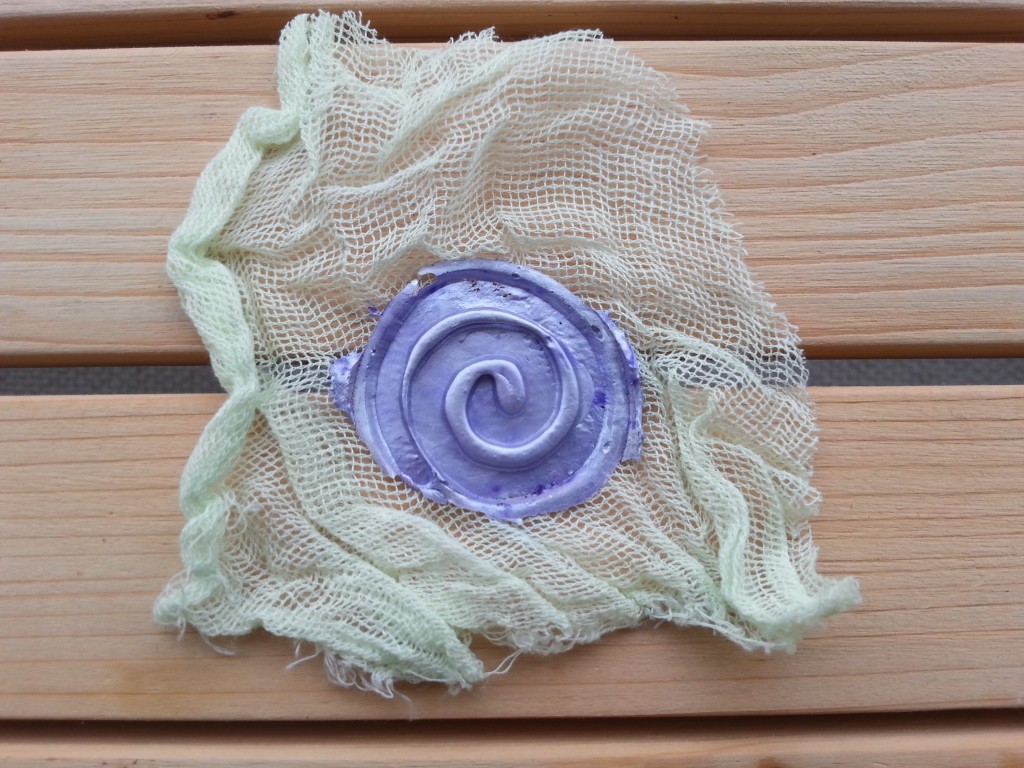
- Embossing with golden medium
-

- Embossing with golden medium
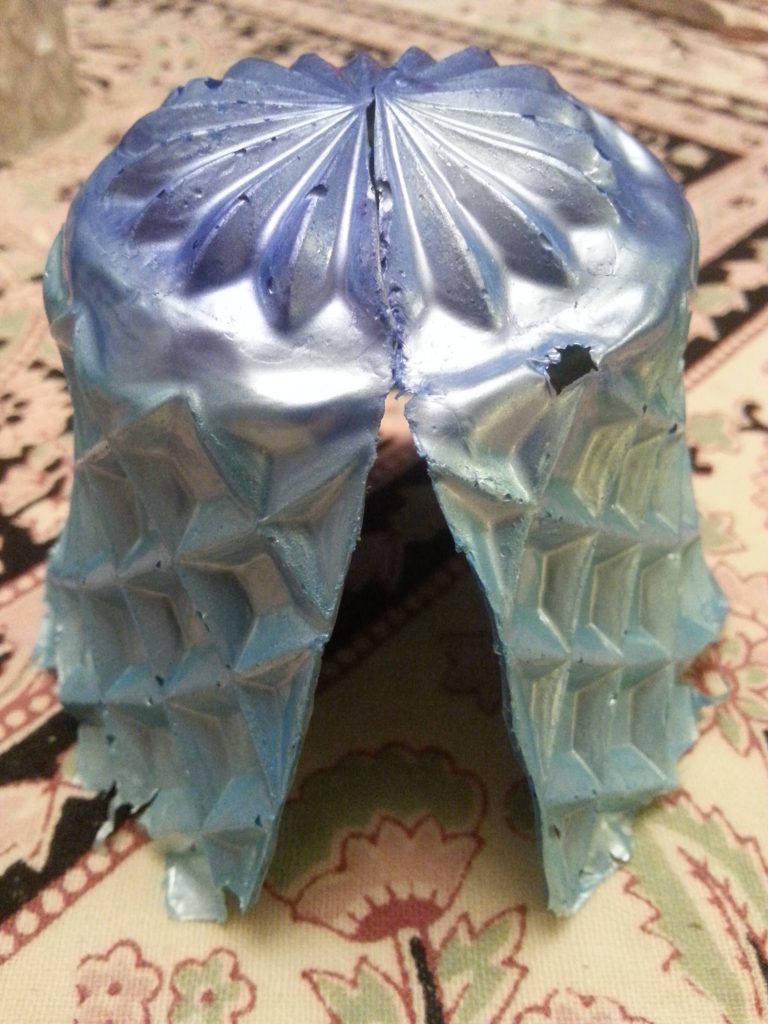
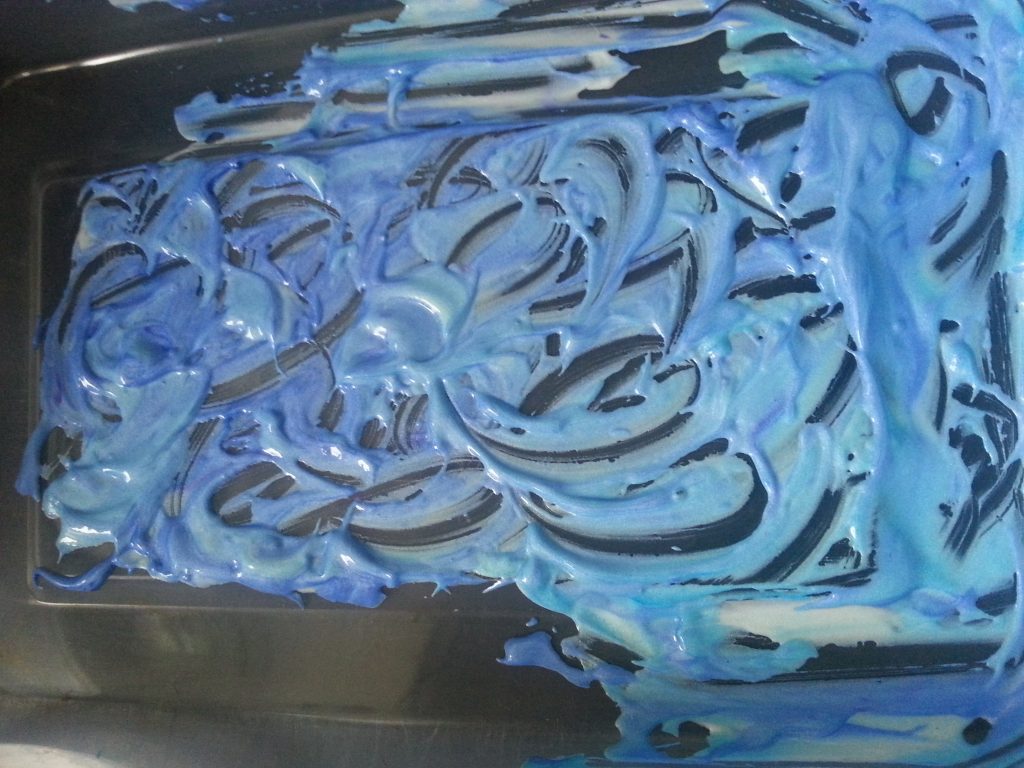
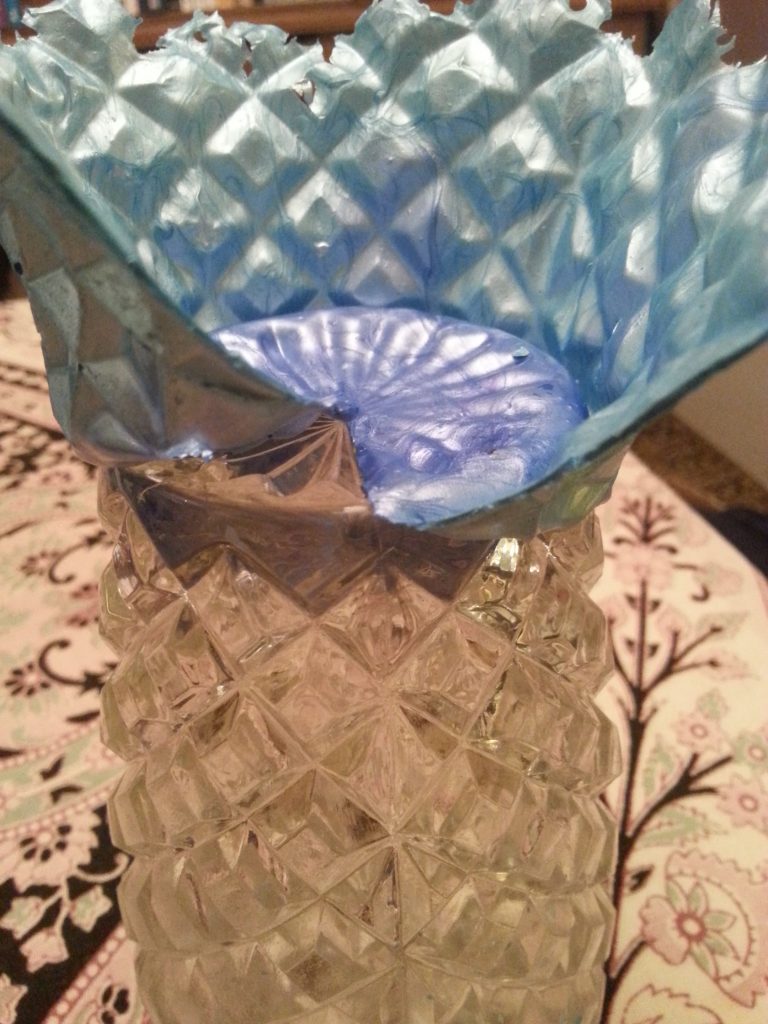
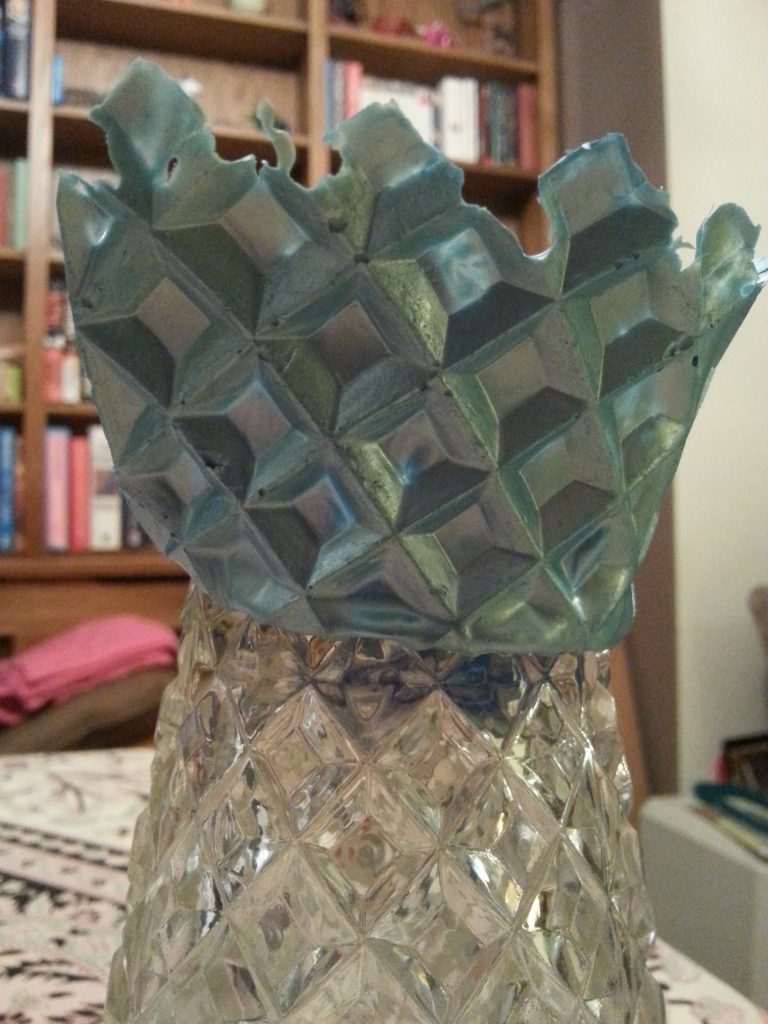
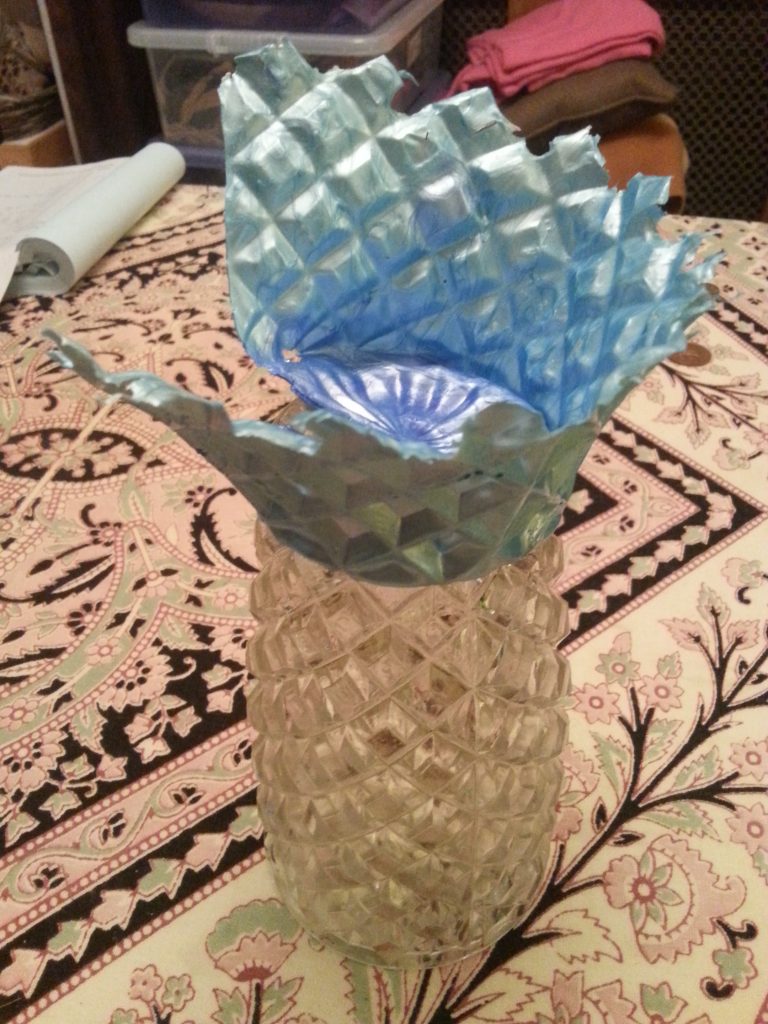
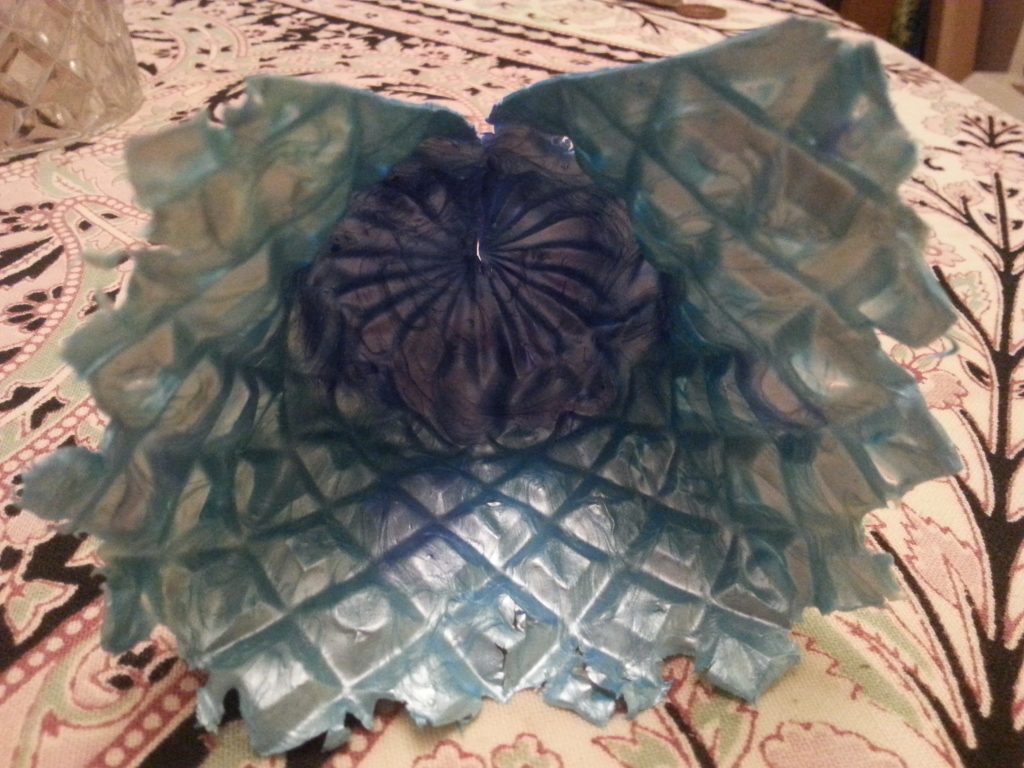
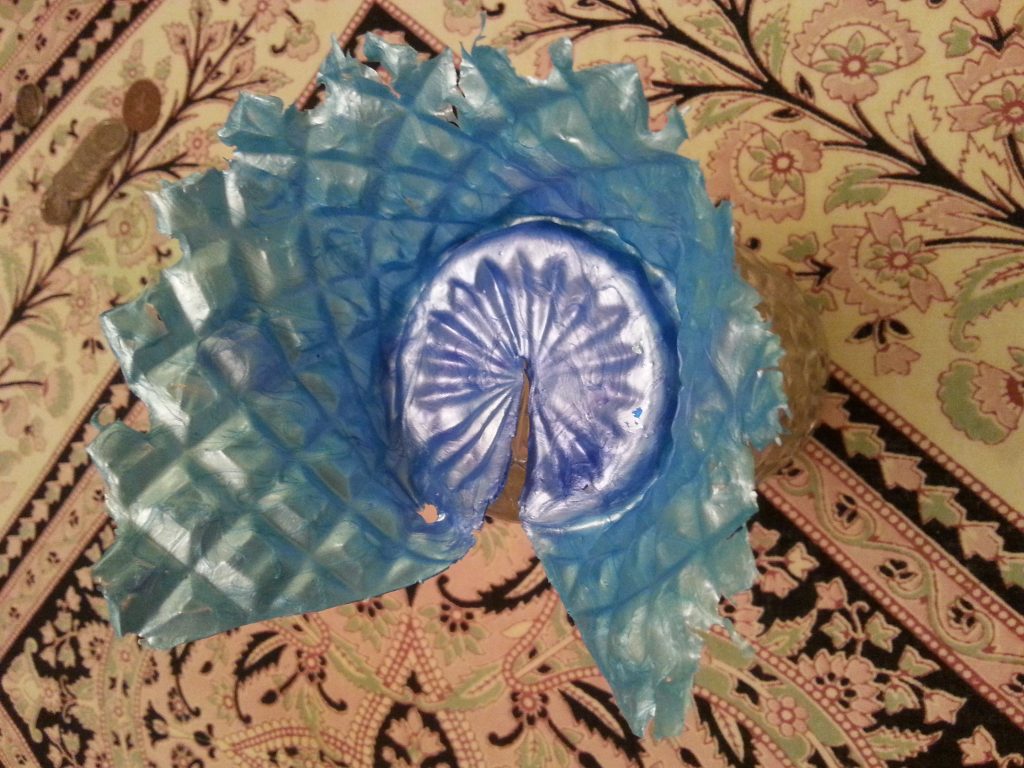
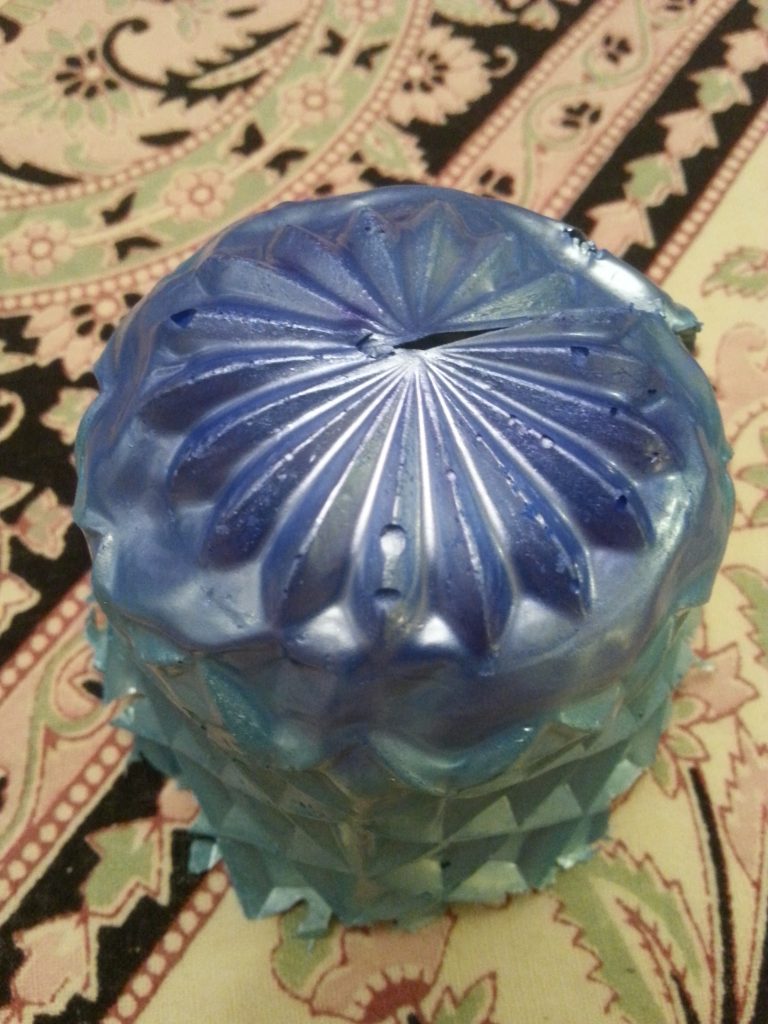
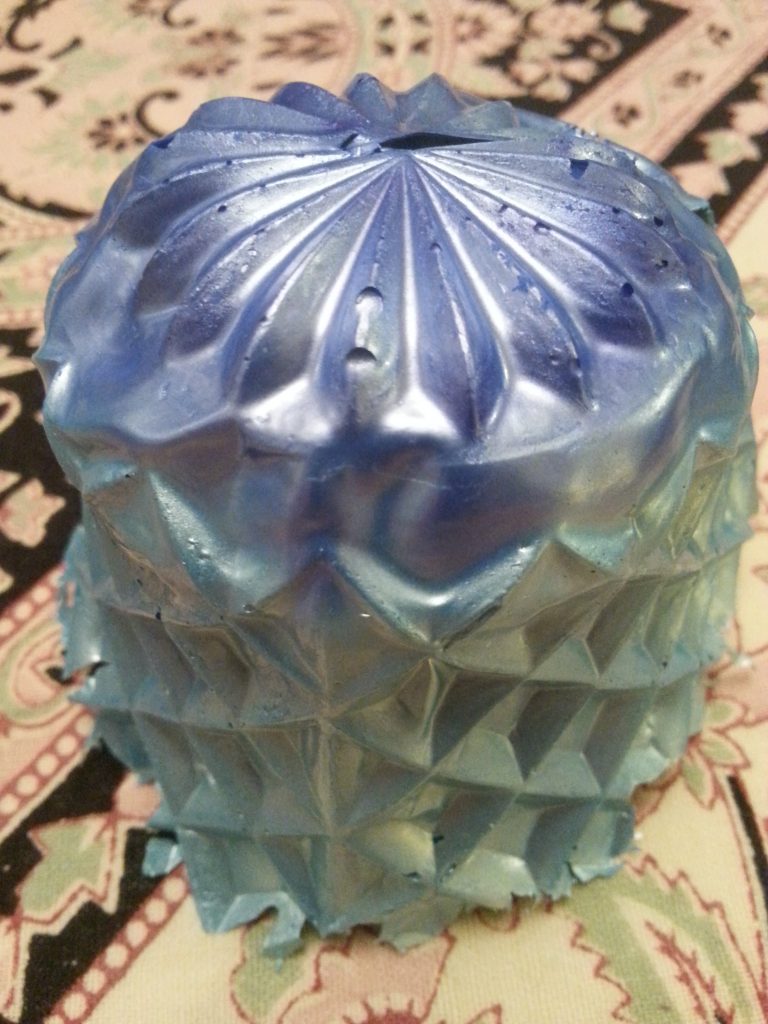
I mixed relief paste with Brusho for colour, keeping the colours marbleised by not over-blending. I spread the paste thickly over a heavily textured glass vase. The remaining paste was spread over the base of the dish and a piece of card pressed onto it to see what would happen and whether the card would pick up the pattern/paste.
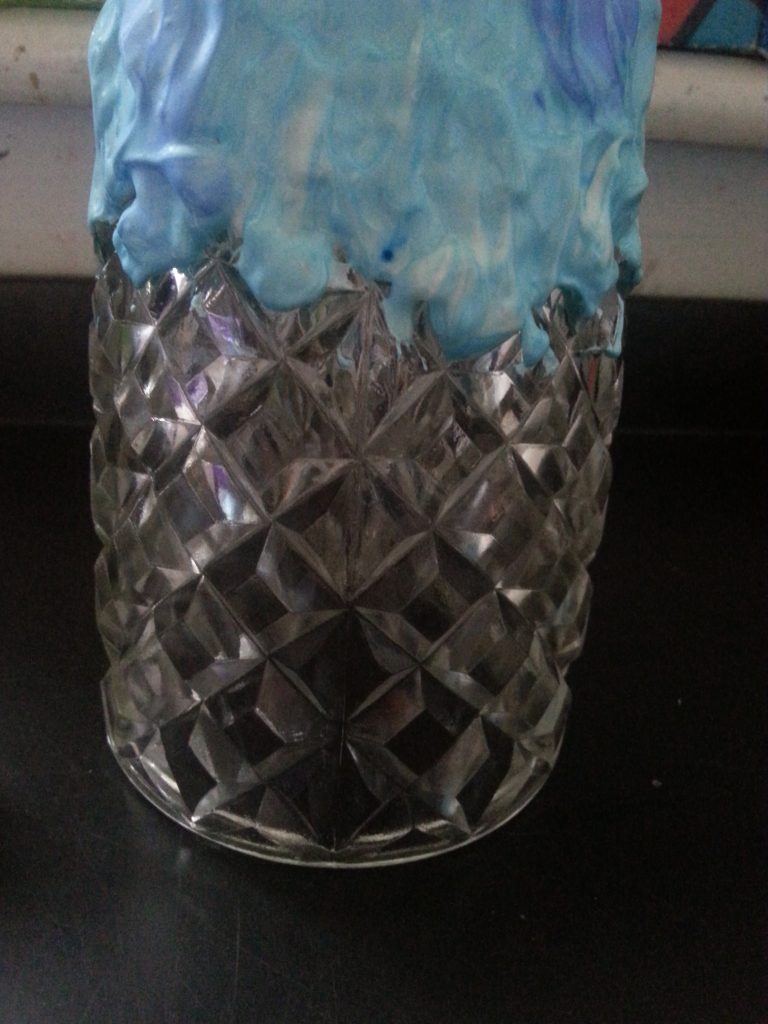
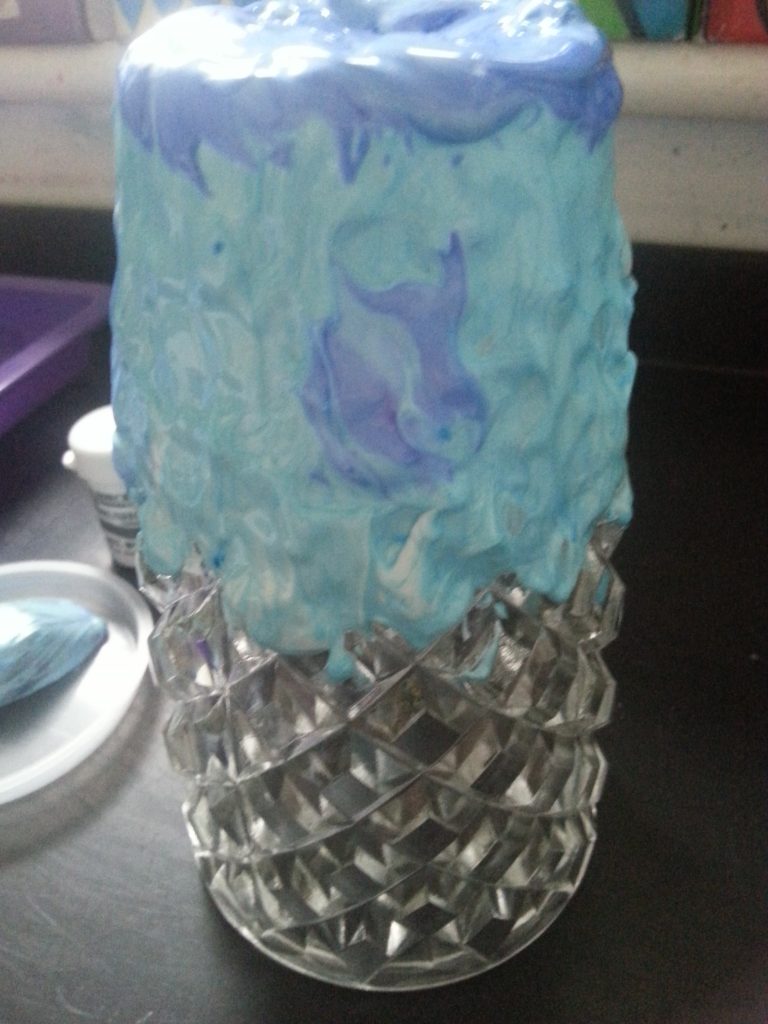
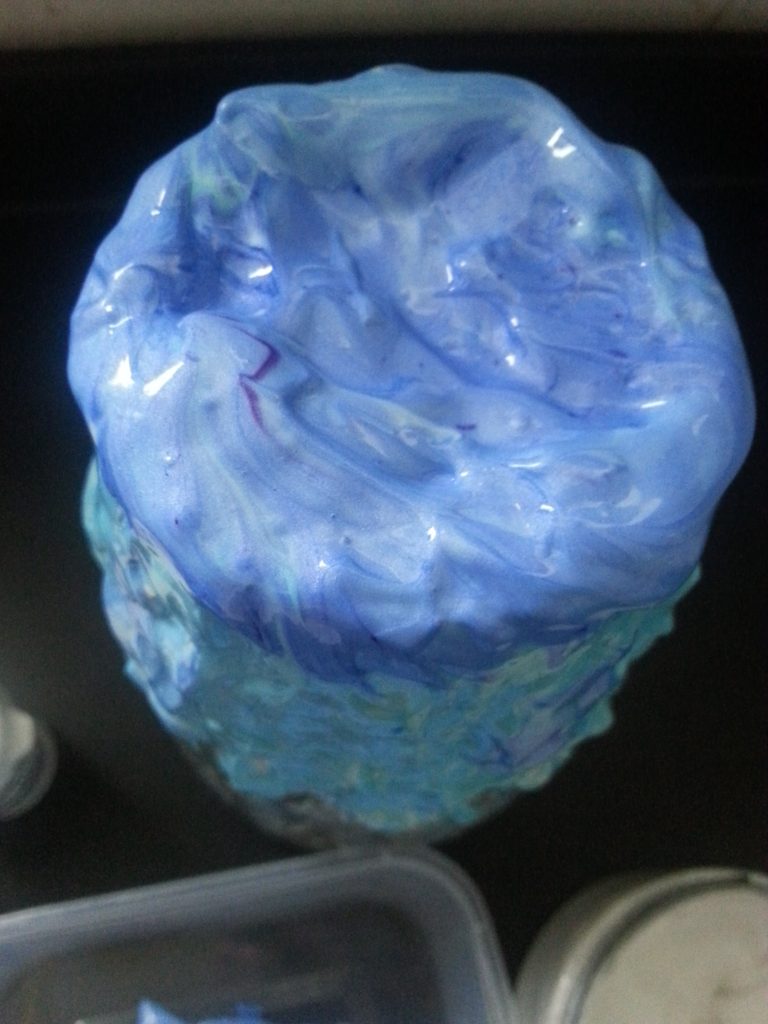
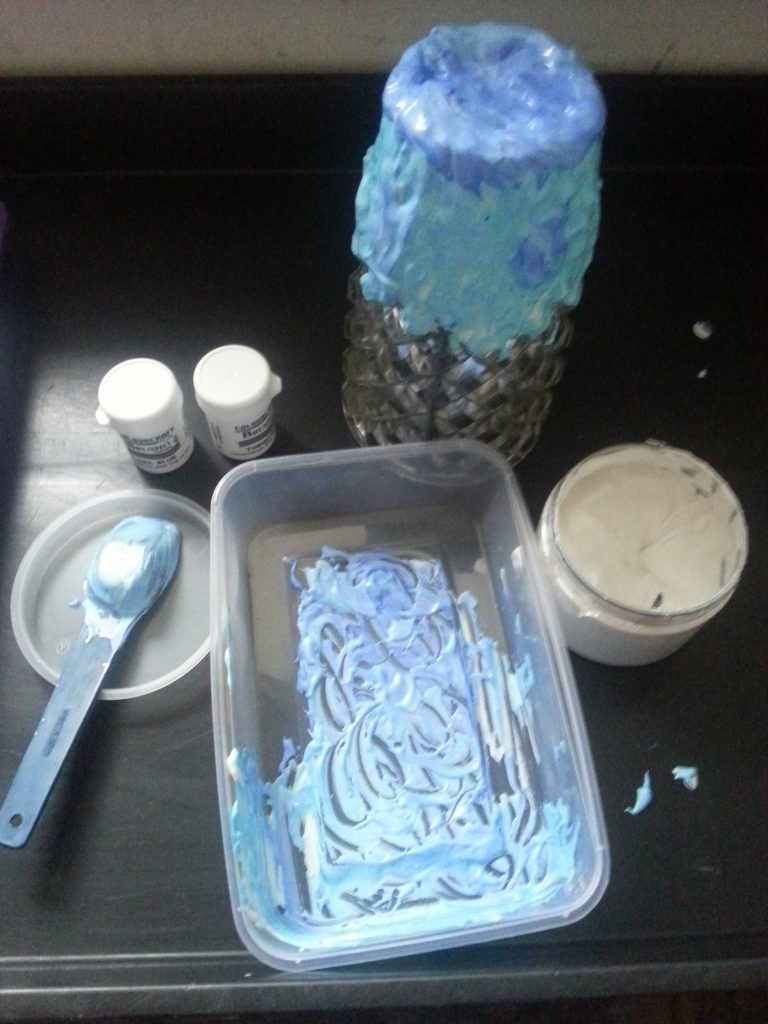
The paste took quite some time to dry due to the thickness but was worth the wait. As with the bubble wrap and stamp samples, the paste picked up the texture of the vase beautifully. Getting the piece off the vase was quite tricky and I cut it off in the end. However, the shape and texturing was retained despite some fairly vigorous manhandling. The colouring stayed nicely marbled and didn’t all merge into one which I also liked.
Interestingly, the paste retains its plasticity and is quite malleable but strong. I think it would be possible, with care, to stitch or work into this material once it has set. As can be seen from the bubble wrap, it is also possible to embed materials in the paste and with the stamp, to stamp directly onto fabric. I really like the idea of creating a paste ‘fabric’, adding texturing then stitching or embossing into the resulting fabric. It would also be interesting to use some of the joining and folding techniques from Assignment One, joining the set paste to a different material, joining it to itself and using it as the bridging material between other materials.
The paste is also available in a non-pearlised finished which I may also explore for different finishes.
-
- Moulding from a surface – soft form relief paste

-
- Moulding from a surface – soft form relief paste
-
- Moulding from a surface – soft form relief paste
-
- Moulding from a surface – soft form relief paste