Introduction
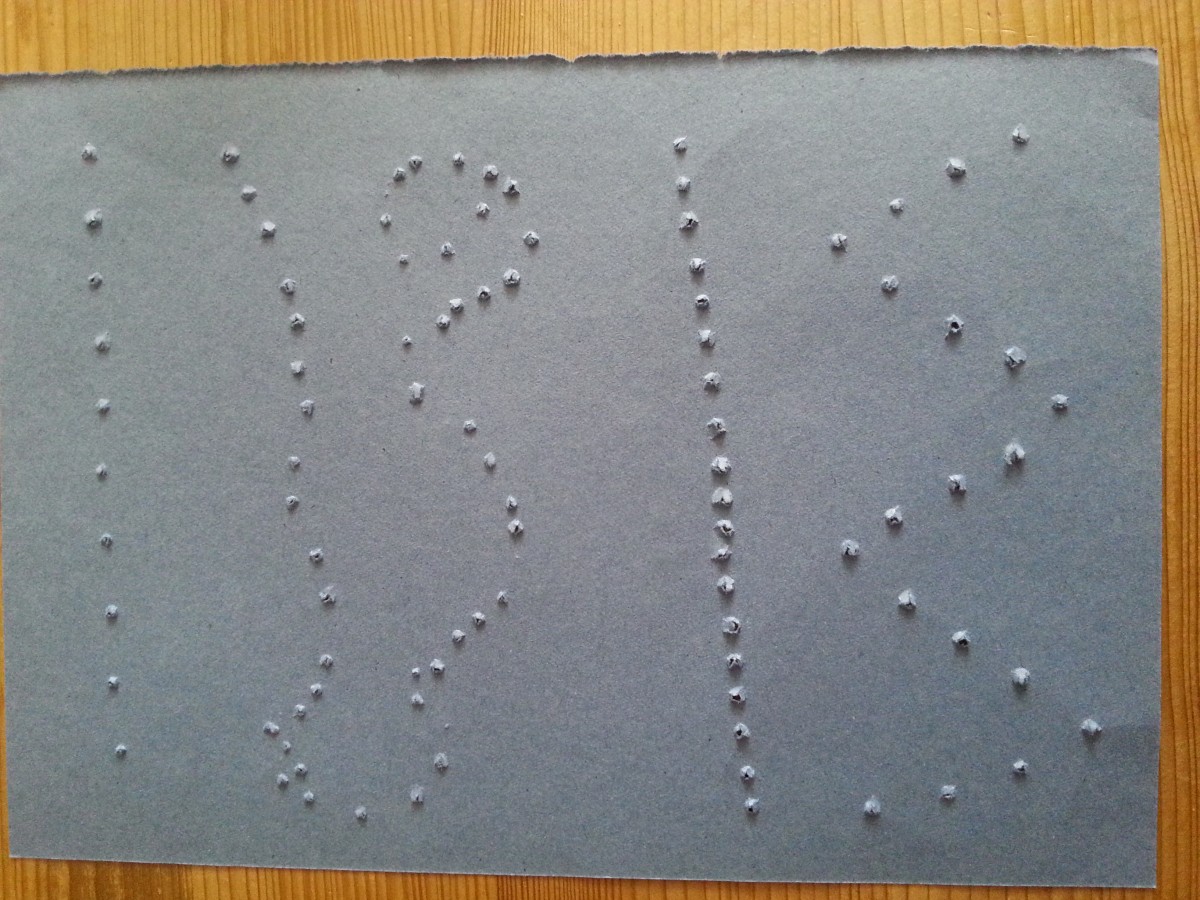
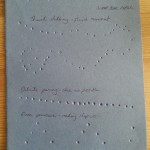
For this exercise I chose a selection of puncturing tools, knitting needles, fondue fork, craft punches, hole punch, bookbinding awl. I also used a range of techniques, varying the speed, angle, spacing and depth of piercing. I also considered both sides of the work to see which produced more attractive and interesting textures.
i) Puncturing paper
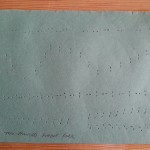
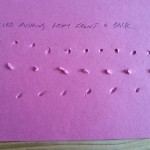
I began this exercise with standard A4 copier paper and a range of implements.
-
- Puncturing 3.01
-
- Puncturing 3.02
-
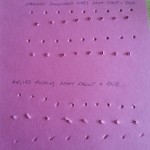
- Puncturing 3.03
-
- Puncturing 3.04
-
- Puncturing 3.05
-
- Puncturing 3.06
-
- Puncturing 3.07
-
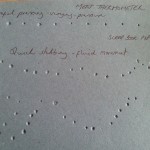
- Puncturing 3.08
-
- Puncturing 3.09
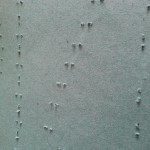
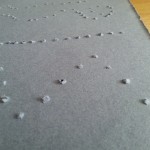
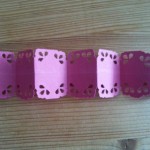
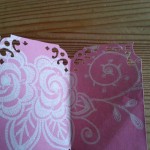
ii) Puncturing other materials – scrapbook paper, gift wrap
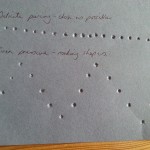
I continued experimenting with different papers, using a coarser scrapbooking paper and gift wrap.
-
- Puncturing 3.10
-
- Puncturing 3.11
-
- Puncturing 3.12
-
- Puncturing 3.13
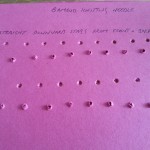
I also incorporated folding and punching gift wrap to explore the effect of combining techniques. The patterning on the gift wrap was quite delicate so I used craft punches (normally used to add decorative edges on card) that I picked up at a car boot sale.
-
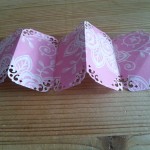
- Puncturing 3.14
-
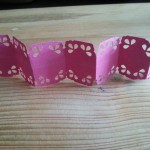
- Puncturing 3.15
-
- Puncturing 3.16
-
- Puncturing 3.17
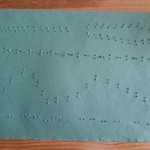
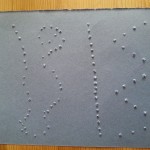
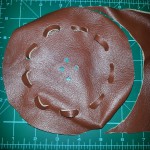
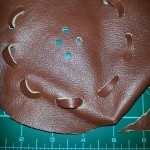
iii) Puncturing – other materials – leather
I used a piece of leather leftover from an earlier module to experiment with puncturing heavier fabrics. The intention was to cut the piece into a circle and pierce the edges of the circle to see if it could be threaded up and drawn up into an umbrella/teepee shape. The holes were pierced with a bookmaking awl, using a coaster as a template. Afterwards I cut the leather circle with a rotary cutter. I used strips of leather to thread through the holes.
-
- Puncturing 3.18
-
- Puncturing 3.19
-
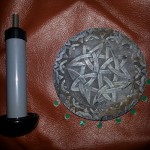
- Puncturing 3.20
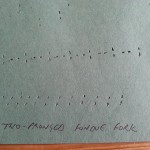
iv) Puncturing – other materials – bubble wrap and fibre
For this sample I chose bubble wrap packaging with large holes. The intention was to see if it was possible to puncture the bubbles and stuff them with other materials. After piercing the bubbles with a skewer (which was much harder than I anticipated), tiny tufts of hand-dyed fibre were pushed into the holes.
-
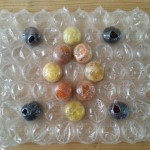
- Puncturing 3.21
-
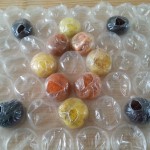
- Puncturing 3.22
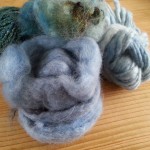
v) Puncturing – other materials – needlefelting
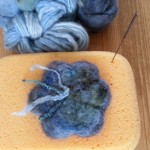
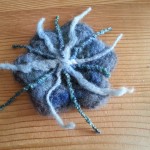
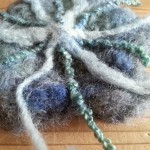
For this part of the exercise I took a broader interpretation of the idea of puncturing, exploring the ways in which puncturing can be used to push one material into another. Arguably there is a fine line here between puncturing and fusing but the essential nature of needlefelting as distinct from wet/nuno felting is the use of the fine needles to force the fibres to mesh together. I took inspiration both from the fungi shapes and the 3-dimensional forms of Anneke Copier in producing this sample:
-
- Puncturing 3.23
-
- Puncturing 3.24
-
- Puncturing 3.25
-
- Puncturing 3.26
I began with a selection of naturally indigo-dyed and commercial fibres and yarns. Using a cookie cutter I needlefetled into the cutter as a template for the outer mushroom shape, filling the shape with layers of coloured fibres.
Once the shape was largely felted, I added short strands of yarns in a range of materials to create the flutes of the underside of the “mushroom”, felting these into the fibre shape.
Thoughts and conclusions
The use of different implements yielded a range of results and puncturing the materials at different angles and speeds also created a variety of effects. The reverse of the papers also gave a range of diverse textures. Using the craft punches in conjunction with folding the gift wrap was delicate and detailed, however, the punches were quite limited as they were only able to be used on the edges of the paper.
The leather was too thick to achieve much texture as it wouldn’t pull into any kind of shape. Perhaps a thinner leather, a much larger piece or experimenting with alternative “threads” would yield more satisfactory results.
The bubble wrap was surprisingly awkward to pierce as the bubbles are all interconnected. This made it difficult to maintain the bubble structure around the areas where the holes were made. The plastic was also very soft once pierced so easily tore as the tufts of fibre were inserted. The holes can’t be resealed of course, either, so this would potentially restrict the usefulness of this as a technique if the pieces had to remain inside the plastic bubble.
The needlefelting was the most satisfying piece of the exercise – it has good texture, took the concept of puncturing in a more creative direction and produced an interesting 3-dimensional piece with lots of scope for future experiments.
All in all this wasn’t my favourite exercise as I felt that the results overall were not exciting or particularly interesting. Puncturing can easily cause damage to the surrounding material (the bubble wrap and the punctured paper for example) making a piece look flawed. This can give the impression that the outcome is the result of error rather than design.
Future ideas
I was disappointed that the bubble wrap experiment wasn’t more successful as I did like the general look (if it hadn’t looked so messy) and find the idea of trapping objects interesting. I wonder if it may be possible to adapt the stuffed bubble wrap idea by piercing from the flat reverse and “resealing” by ironing/melting plastic onto the back of the wrap. This might also offer the opportunity to iron layers of different colour acetate/plastic onto the back to create interesting colour effects. The needlefelting, my most successful piece from this exercise, has many opportunities for future development.