Introduction
This exercise calls for the exploration of a different kind of pleats, box and knife pleats. Unlike accordion pleats, box pleats form “u”, “m” and “n” shapes when viewed from the end rather than the lopsided “V” shapes of the accordion pleat (I say lopsided because the sides of the “V” are unequal).
Knife, or accordion pleats, have a single peak and valley with one side of the pleat being longer than the other. Knife pleats have direction, that is to say, a series of knife pleats will always open from the same edge. Changing direction involves breaking the structure of the pleating. Roman blinds use horizontal knife pleats to achieve the folds.
Box pleats have a peak, flat section, valley, and flat section. Box pleats, frequently found in curtain headers, valances and shirts, open (usually in equal measure) at both sides.
A very familiar place to find pleats in textiles is in the kilt. This article explains how most kilts utilise the knife pleat, whereas more specialist kilts, such as those for certain military regiments, use the box pleat. However, as the pleat is in both cases pressed flat, the difference can be best appreciated when the pleats are viewed from the hem and in the behaviour during wear.

Knife pleated kilt

Box pleated kilt
References:
Kilt Pleating | How Kilts Are Pleated. 2015. Kilt Pleating | How Kilts Are Pleated. [ONLINE] Available at: http://buyakilt.com/info/kilt-pleating. [Accessed 30 August 2015].
i) Working with A4 copier paper
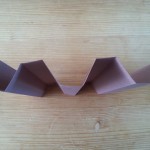
For my initial samples, I began with A4 copier paper;
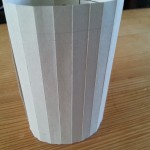
- Box pleat 04
- Box pleat 02
- Box pleat 01
- Box pleat 03
Thoughts and conclusions
Nice, crisp pleats which hold their shape well. The white paper also gives a clean look that creates interesting light and shade.
ii) Working with other materials – Scrapbook paper
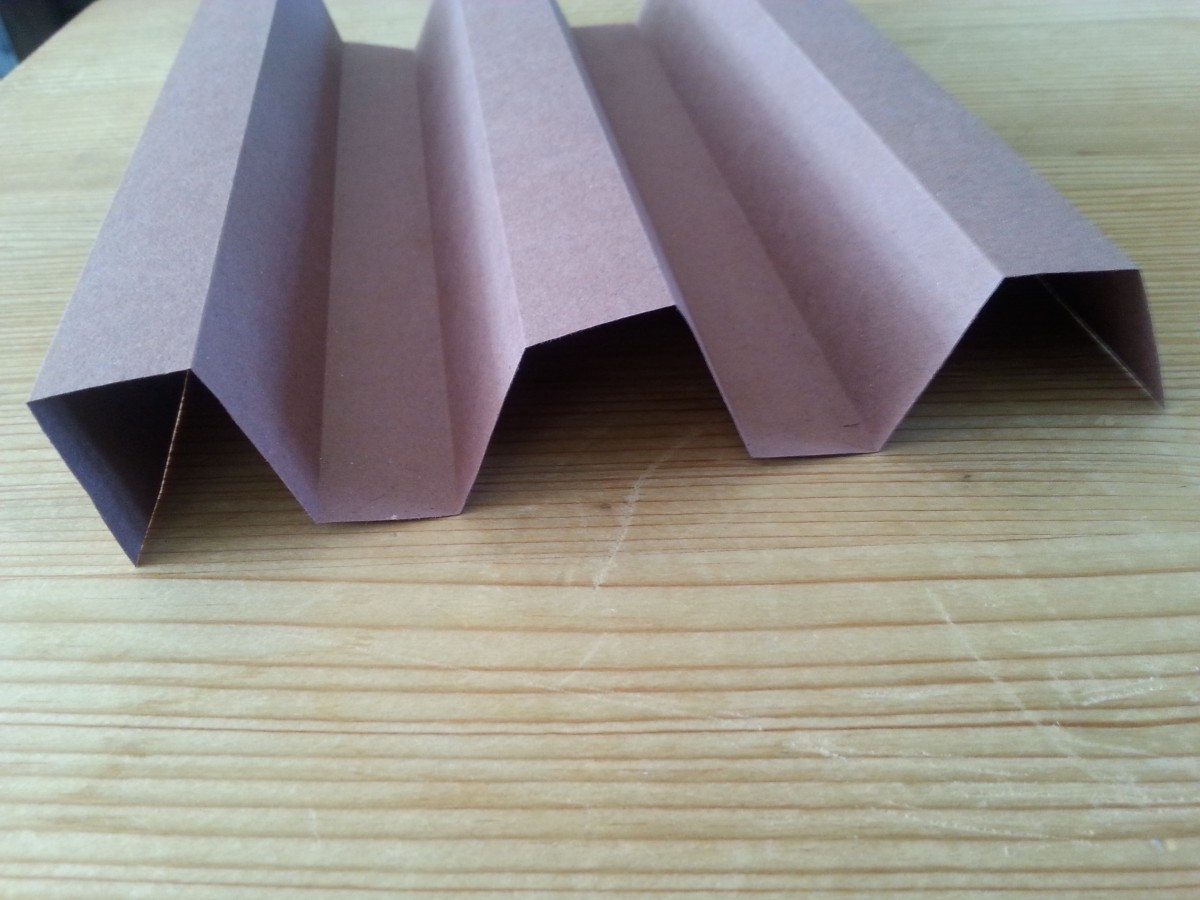
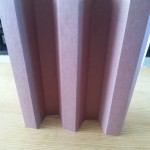
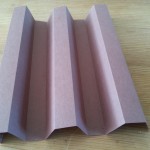
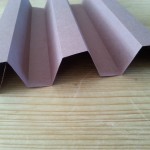
A thicker, more coarse paper was used to see how it would hold the folds.
Thoughts and conclusions
The thicker paper was successful and the effect pleasingly neat and ordered. Viewing the pieces from different angles could be interpreted 2-d in print patterns and shapes in addition to using the pleat structures to create texture.
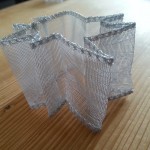
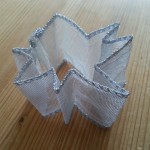
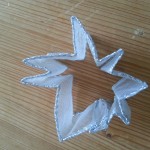
iii) Working with other materials – Wired metallic ribbon
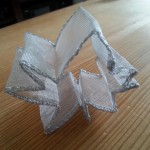
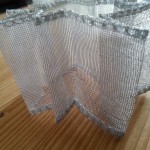
For this material I tried working with varying widths of knife pleat, turning the piece into an off-kilter, asymetric “starburst”.
- Knife pleat 01
- Knife pleat 02
- Knife pleat 03
- Knife pleat 04
- Knife pleat 05
- Knife pleat 06
- Knife pleat 07
Thoughts and conclusions
I like the energy of this piece. To me it says “boom”, particularly image 07! As discovered during the accordion pleats exercise, the wiring in the ribbon made exciting shapes with a good combination of maleability but also stability once it was moulded into shape.
iv) Working with other materials – Yarns
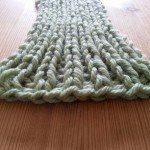
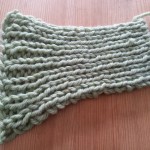
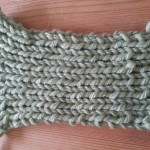
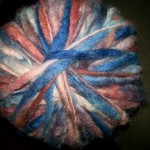
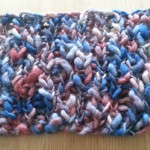
Whilst knitting a sample it occurred to me that knitted ribs create a form of box pleat. The interchange of knits and purls create the peaks and valleys of a classic box pleat. I chose two very different, hand-dyed yarns to test the properties of yarn for making textural pleats.
- Box pleat 1.01
- Box pleat 1.02
- Box pleat 1.03
- Box pleat 1.04
- Box pleat 1.05
- Box pleat 1.06
- Box pleat 1.07
- Box pleat 1.08
- Box pleat 1.09
- Box pleat 1.10
Thoughts and conclusions
For the knitted green samples (1.01-1.03 above) I changed needle sizes, increasing every 5 0r 6 rows to see how this impacted the pleat effect. As expected, the small needles created shallow, tight “pleats”, pulled in and only visible when tensioned. As the needle sizes increased, the pleats became more evident until the final size where, with a small amount of tensioning, the pleats were clearly evident. The width of the piece also increased down the swatch.
I find this is an interesting way to add width as it preserves the crisp, straight lines of the pleats without the need to make additional stitches that disrupt the lines.
For the next set of samples I chose a different hand-dyed yarn, this time with both texture and a wider range of colour in the yarn (1.04). Although I used the same rib stitch (this time using the same needles throughout), the neat pleat structure is clearly disrupted by the slubs in the yarn (1.05). However, this is further exacerbated by the multi-colour yarn which is distracting and takes the eye away from the straight lines. Although the texture felt pleasant, soft and supple, I didn’t feel this was a successful way to create visible pleats.
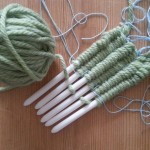
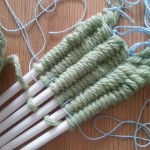
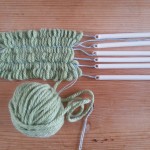
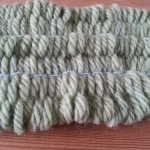
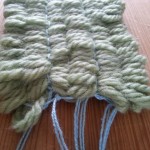
The final yarn samples were made using simple weaving sticks (1.06-1.10). To emphasize the “pleats”, made where the yarns intersected during weaving, I stitched firmly along the fabric between each pair of sticks.
Despite my best attempts, even strong stitching failed to produce much of a pleat! I think the yarn was too thick and the ridges too shallow to allow for any significant pleating effect. It would be interesting to try this exercise again, perhaps with a finer yarn or even a non-traditional “yarn” such as paper, grasses, foil or fabric.
Future ideas
Box and knife pleats make interesting forms, particularly in tubes and when viewed from the end. There is considerable scope here for experimentation with other fabrics, combining with other pleat and fold structures.
