
For this exercise I used a glass plate to lay out acrylic paints and used a brayer to roll out the paint and also to roll over the paper. The paint was laid onto the plate and paper (or other media) was laid onto the plate. A variety of implements was then used to make marks on the back of the media.
Potato Masher
The masher gave a surprisingly good impression. The flat base and simple shape gave good contact with the surface, providing an interesting print.
-
- MMT Assignment 4 – Monoprinting – Back drawing
-
- MMT Assignment 4 – Monoprinting – Back drawing
-
- MMT Assignment 4 – Monoprinting – Back drawing
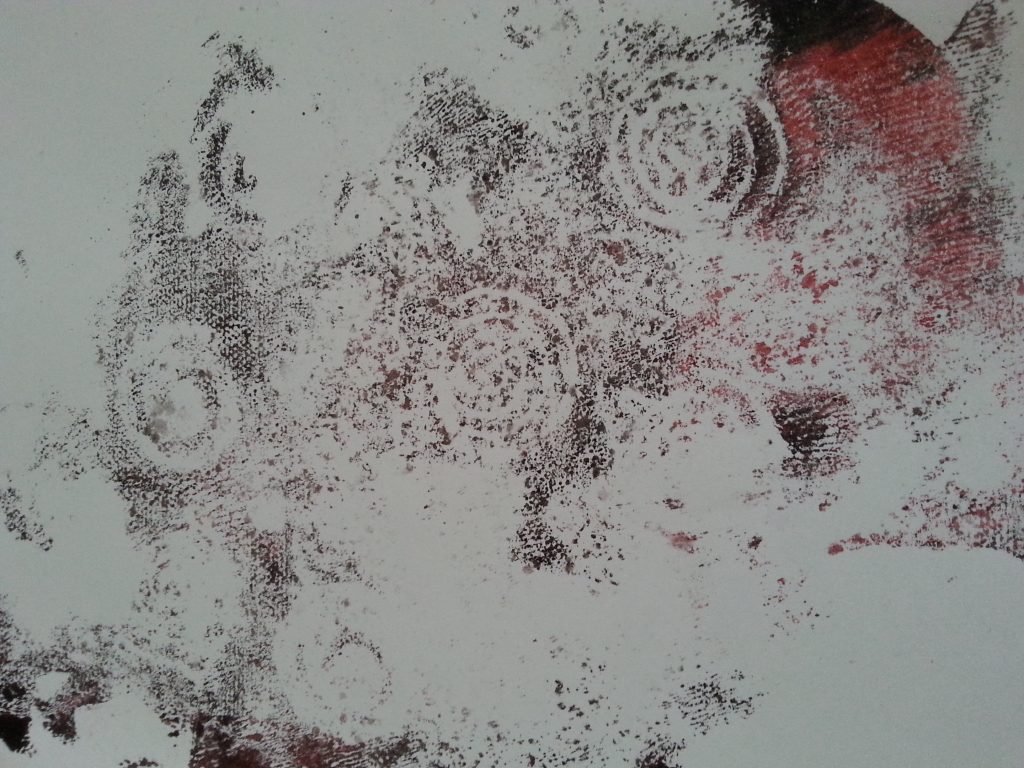
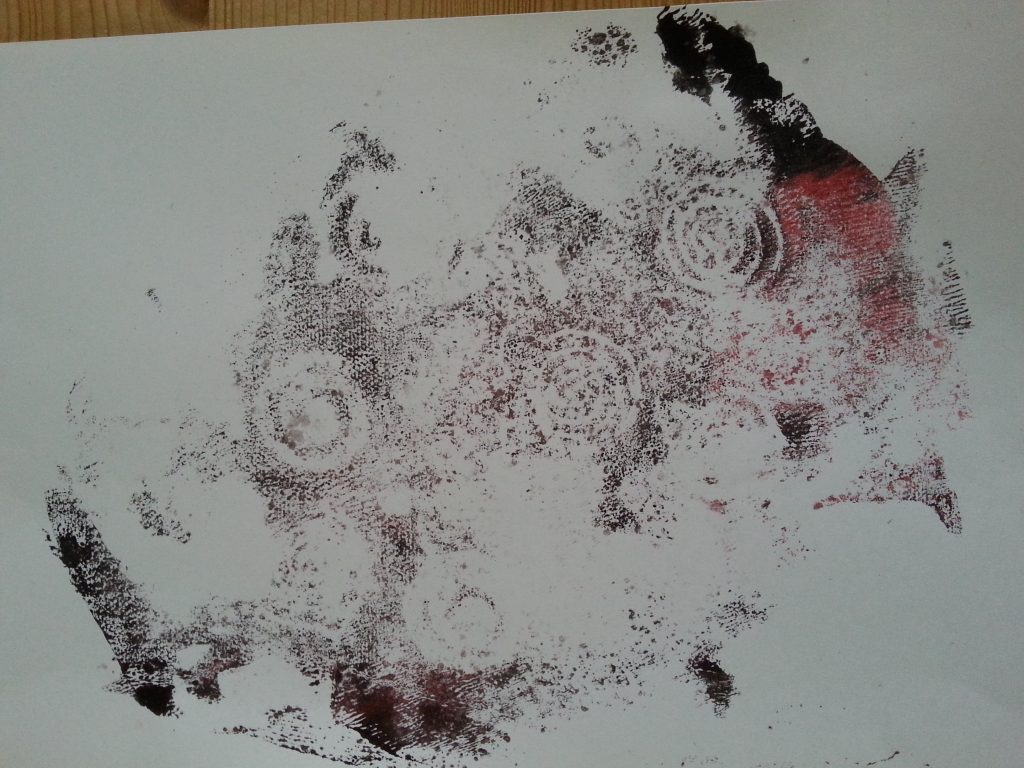
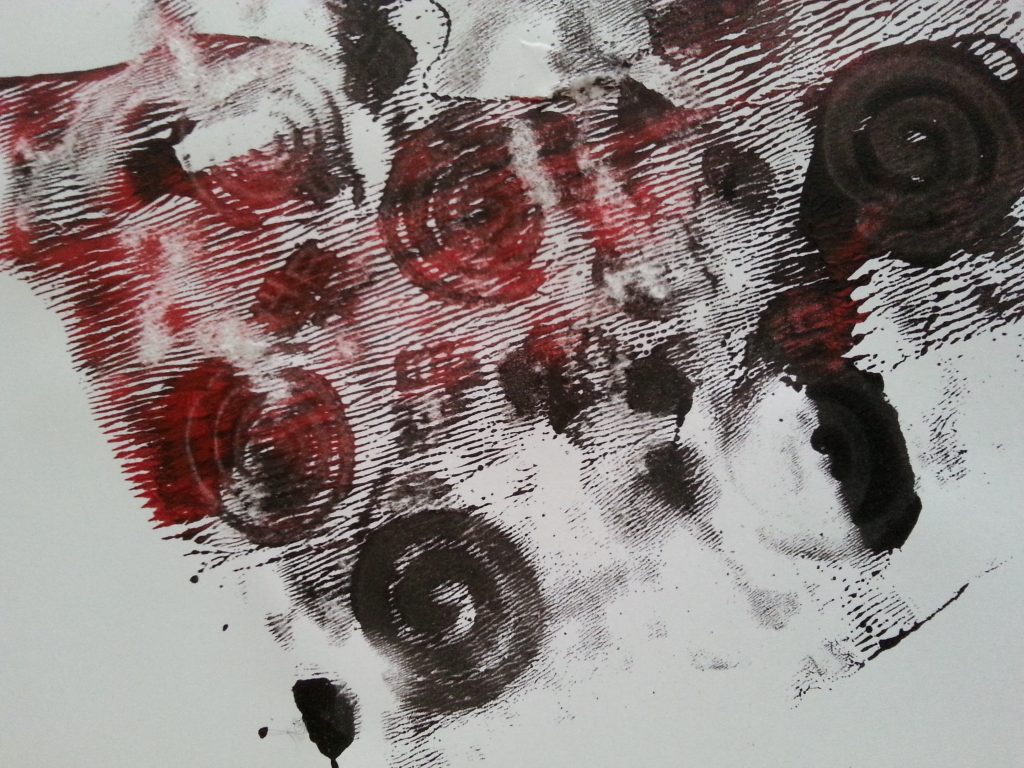
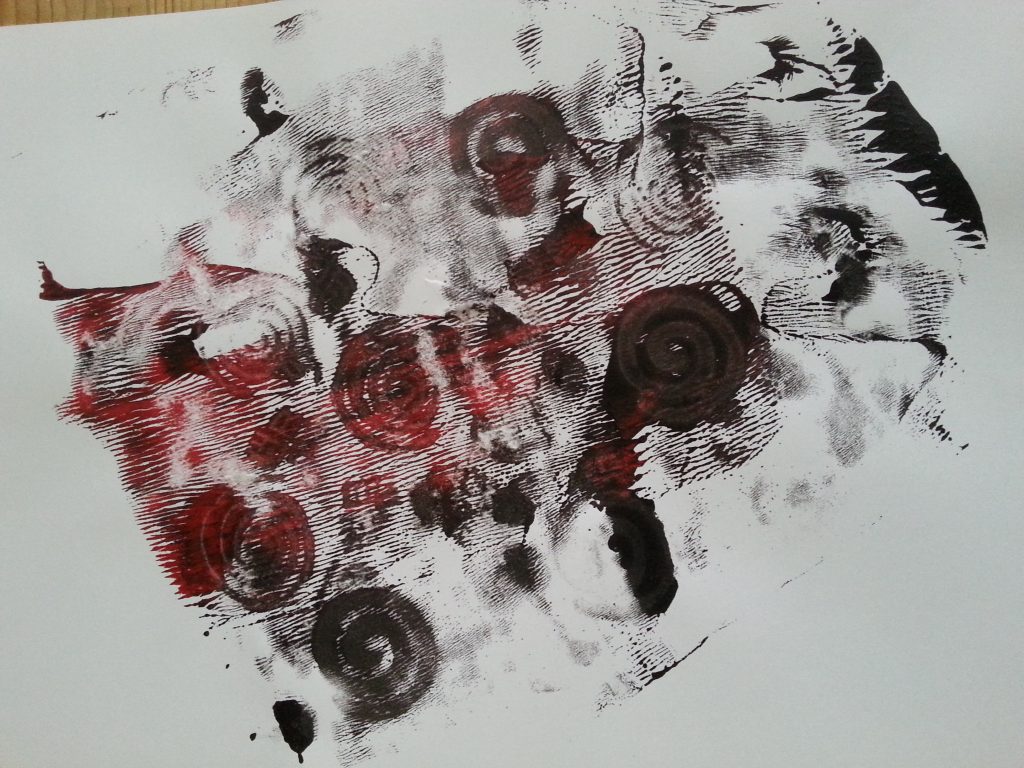
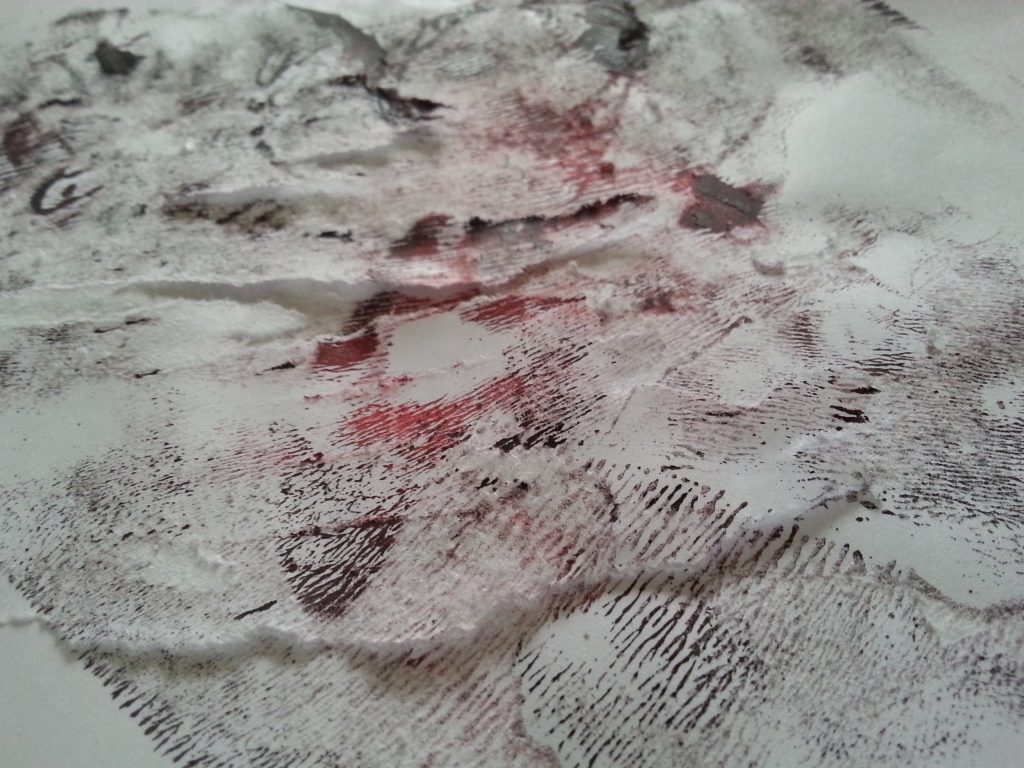
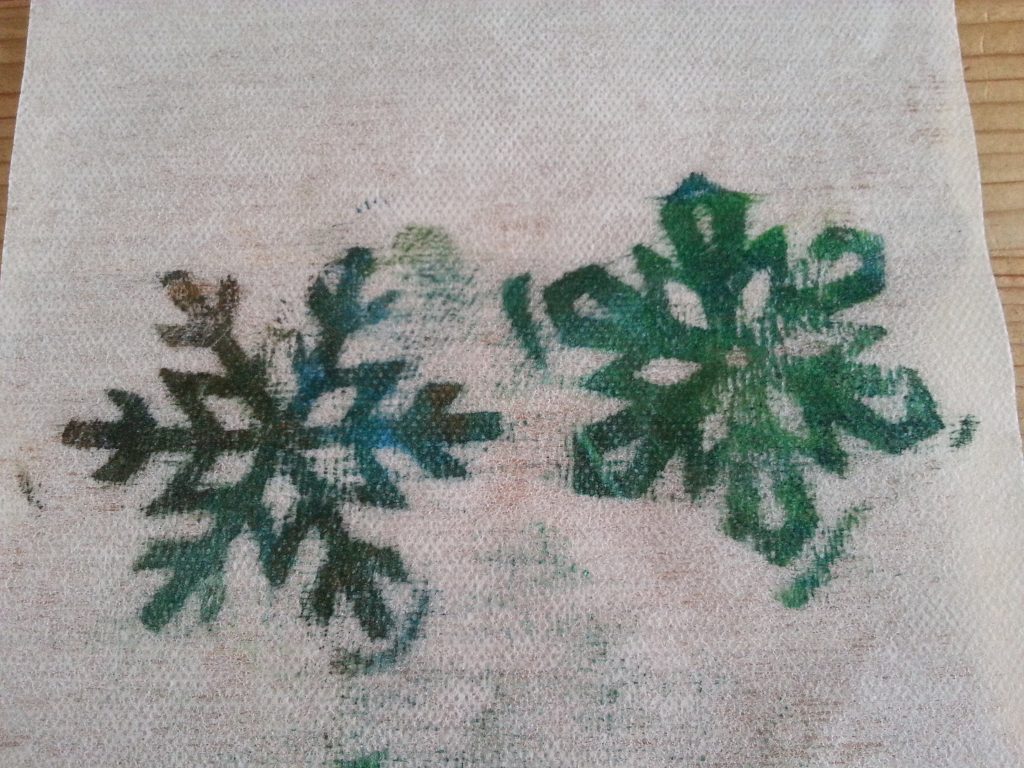
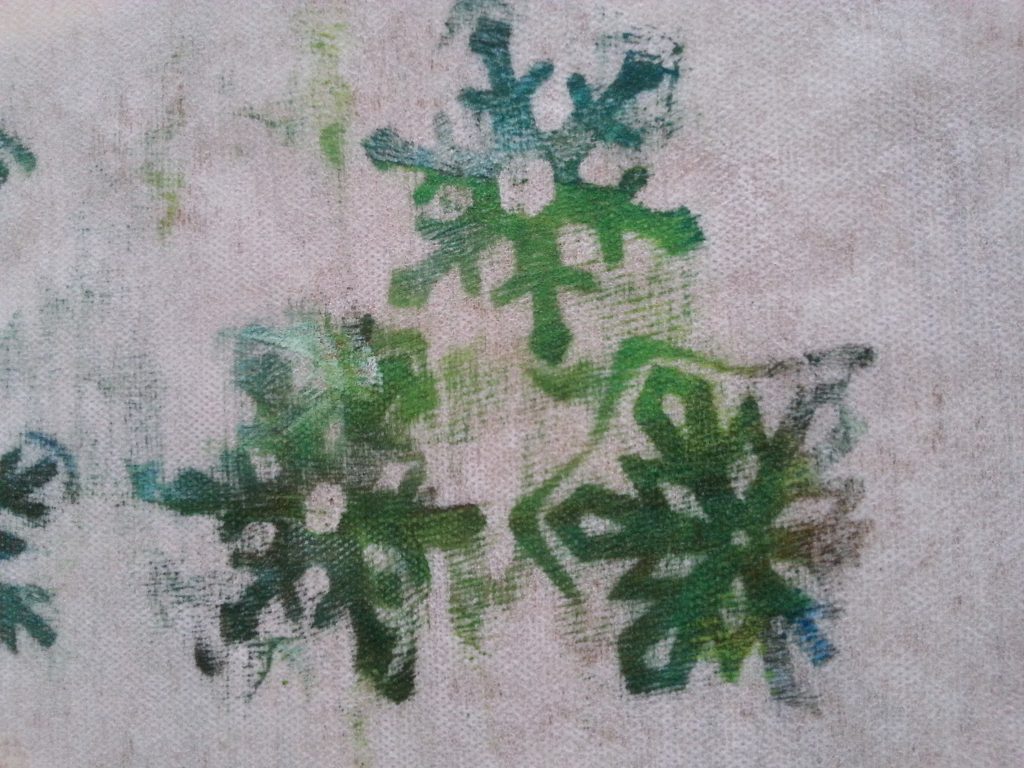
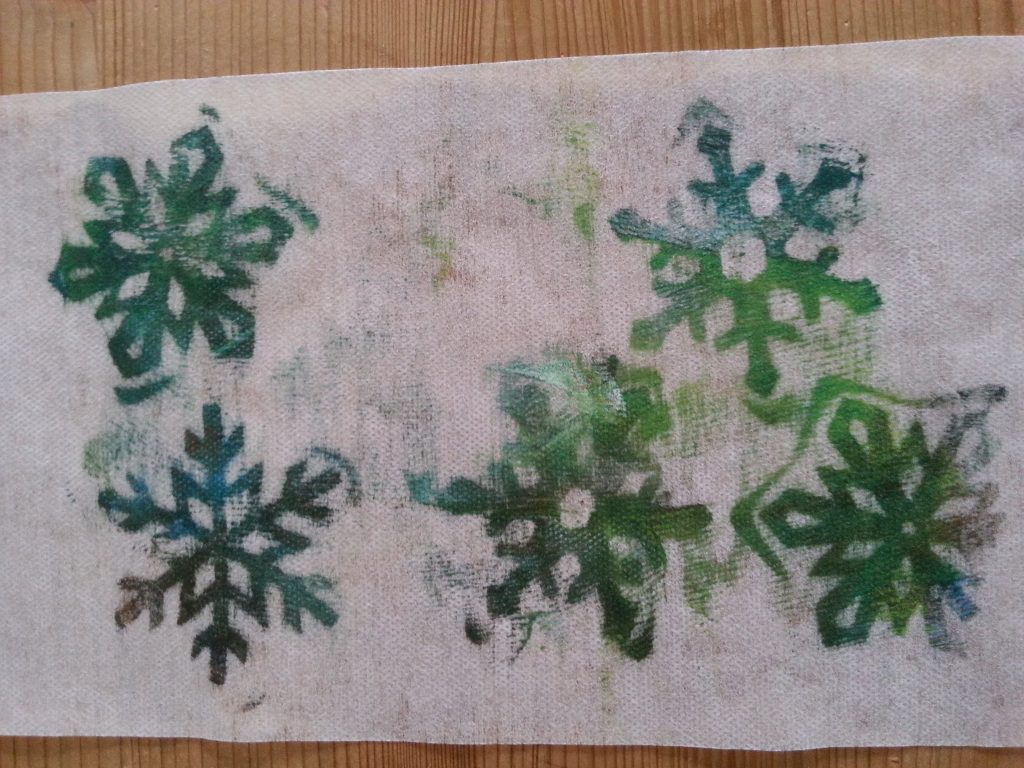
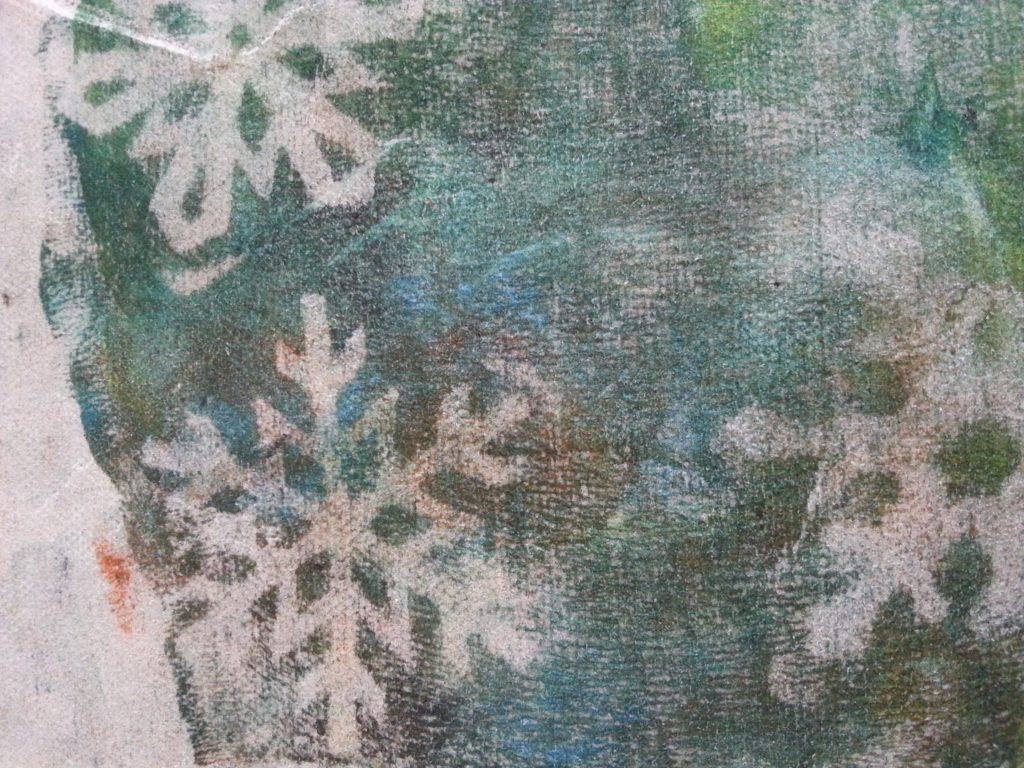
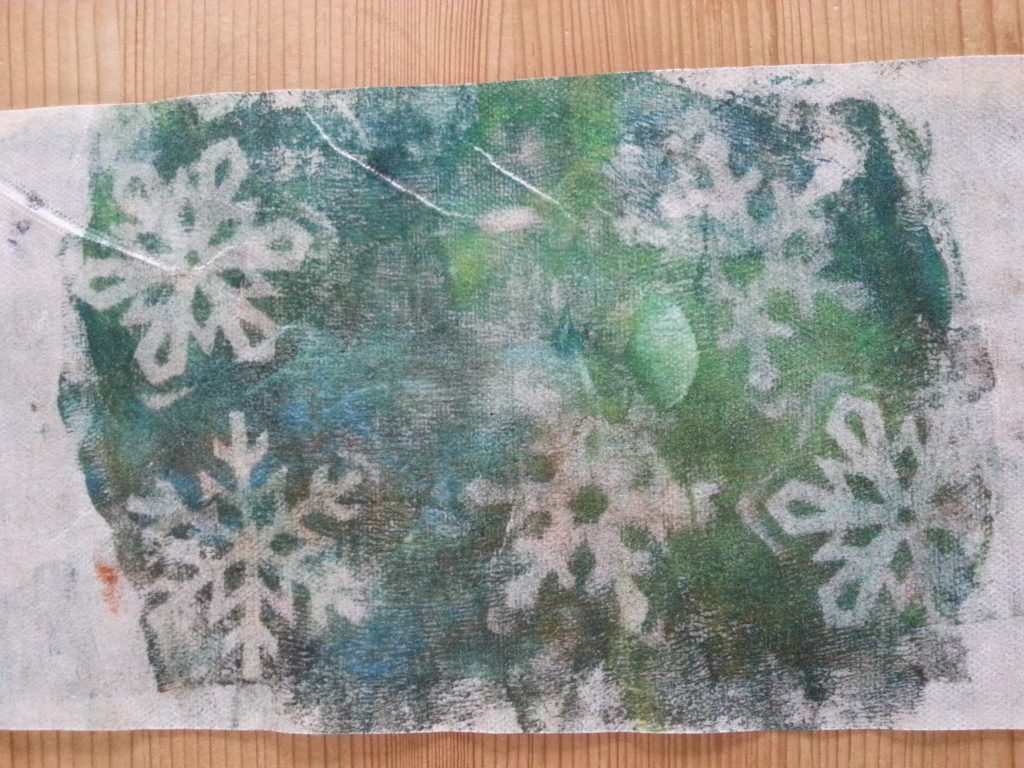
Rubber stamps
The stamps were standard craft stamps and were very effective. I used both rubber stamps and softer foam stamps, both of which worked well. It would be possible to design and mount foam onto an acrylic base and create a wide range of interesting patterns.
Because the stamps pulled most of the ink off the plate, it was possible to take a second pull from the plate and create an equally interesting negative image.
-
- MMT Assignment 4 – Monoprinting – Back drawing
-
- MMT Assignment 4 – Monoprinting – Back drawing
-
- MMT Assignment 4 – Monoprinting – Back drawing
-
- MMT Assignment 4 – Monoprinting – Back drawing
-
- MMT Assignment 4 – Monoprinting – Back drawing
-
- MMT Assignment 4 – Monoprinting – Back drawing
-
- MMT Assignment 4 – Monoprinting – Back drawing
-
- MMT Assignment 4 – Monoprinting – Back drawing
-
- MMT Assignment 4 – Monoprinting – Back drawing
-
- MMT Assignment 4 – Monoprinting – Back drawing
-
- MMT Assignment 4 – Monoprinting – Back drawing
-
- MMT Assignment 4 – Monoprinting – Back drawing
-
- MMT Assignment 4 – Monoprinting – Back drawing
-
- MMT Assignment 4 – Monoprinting – Back drawing
-
- MMT Assignment 4 – Monoprinting – Exercise Two – Back Drawing – Rubber stamp
-
- MMT Assignment 4 – Monoprinting – Exercise Two – Back Drawing – Rubber stamp
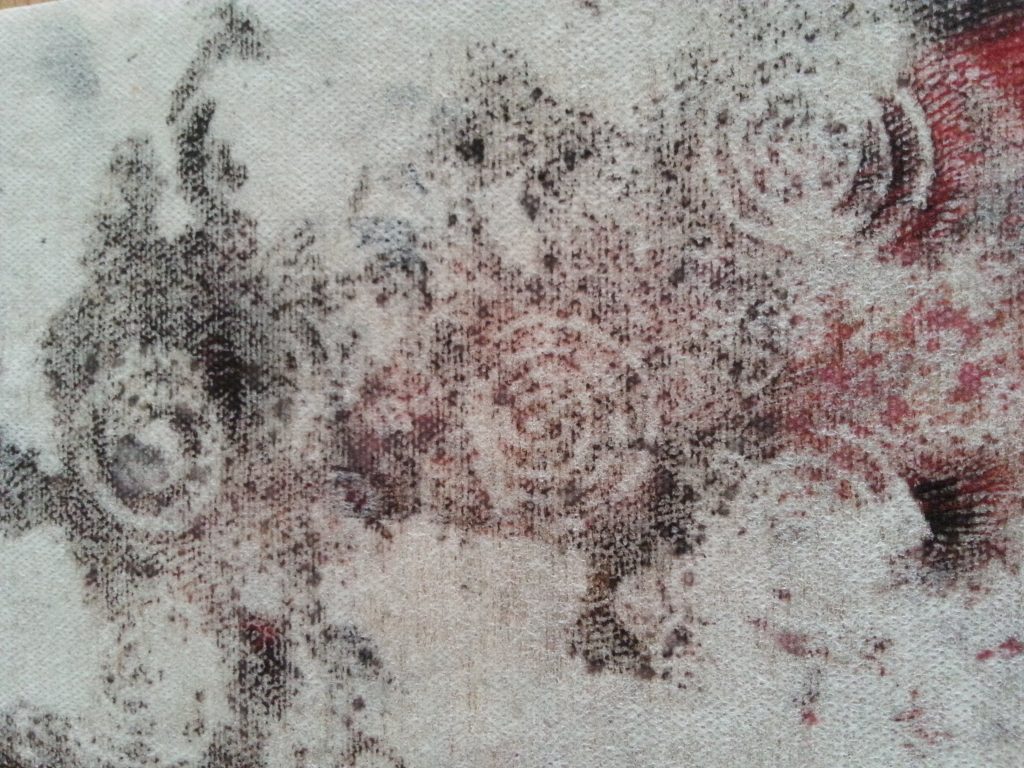
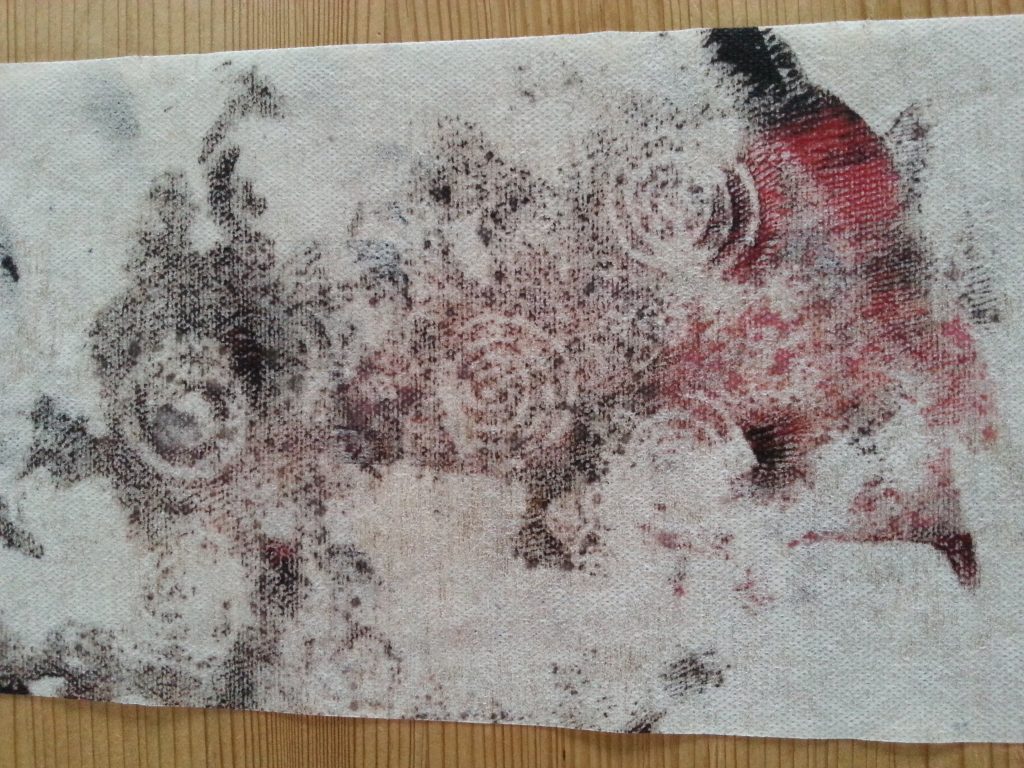
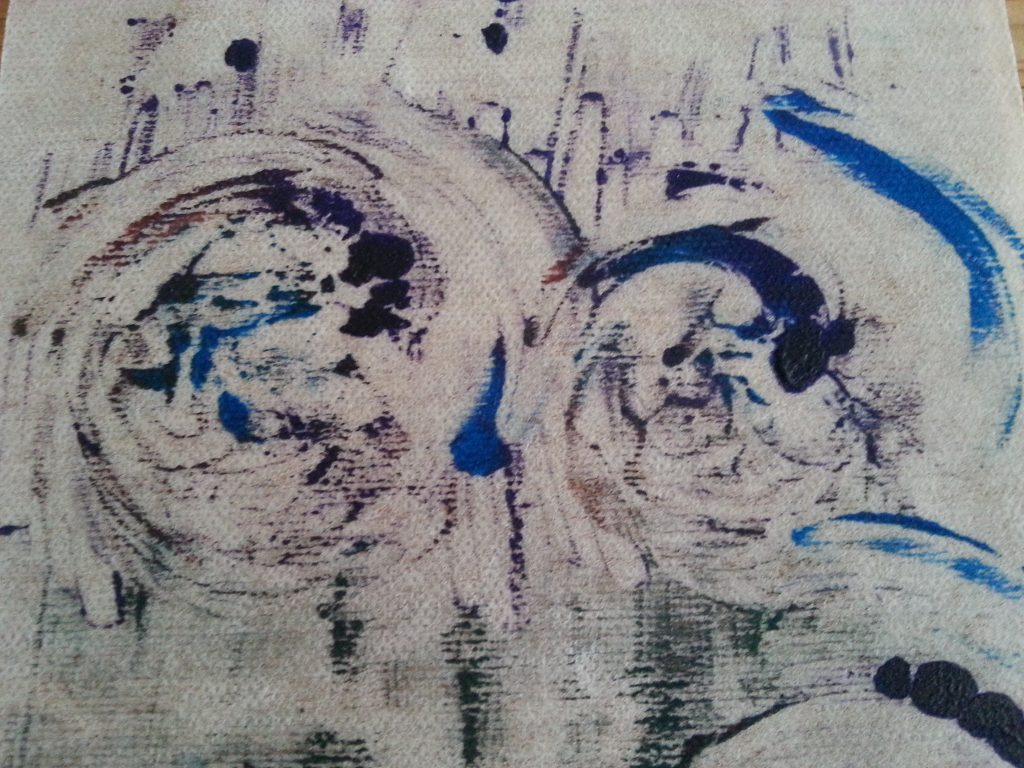
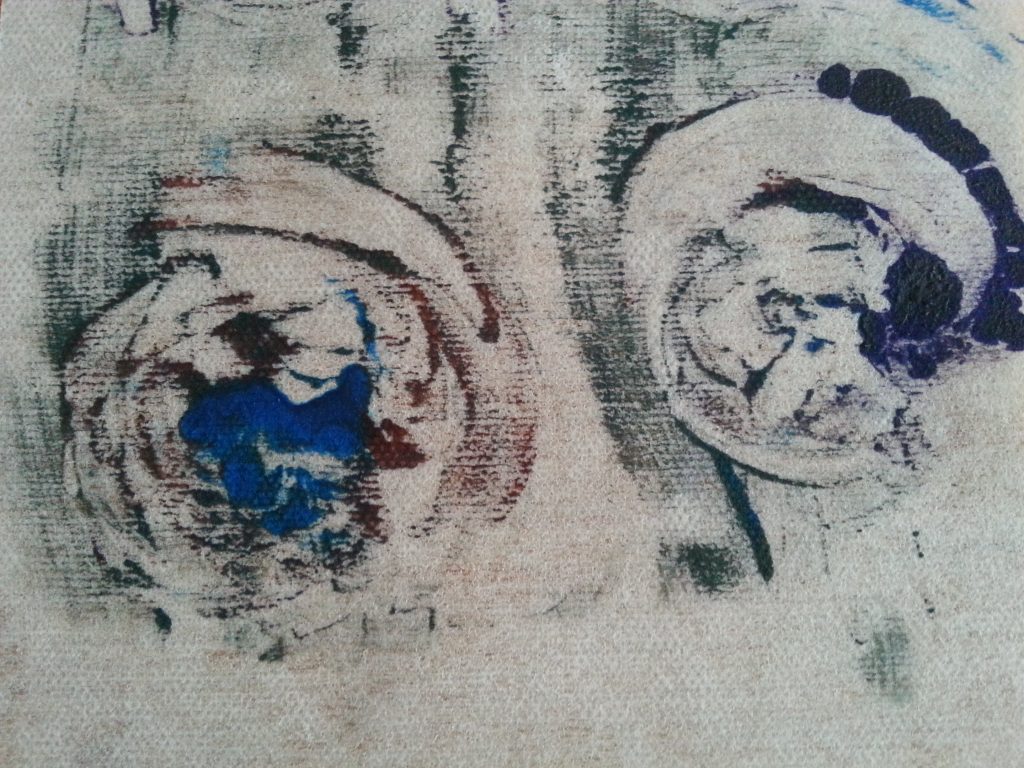
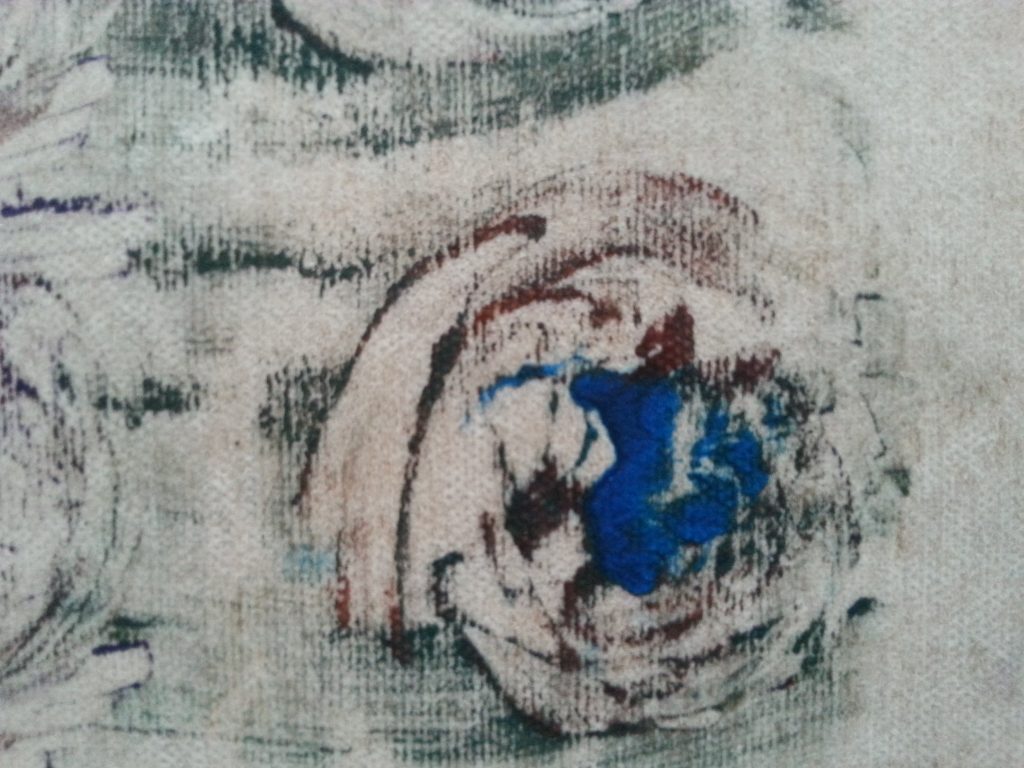
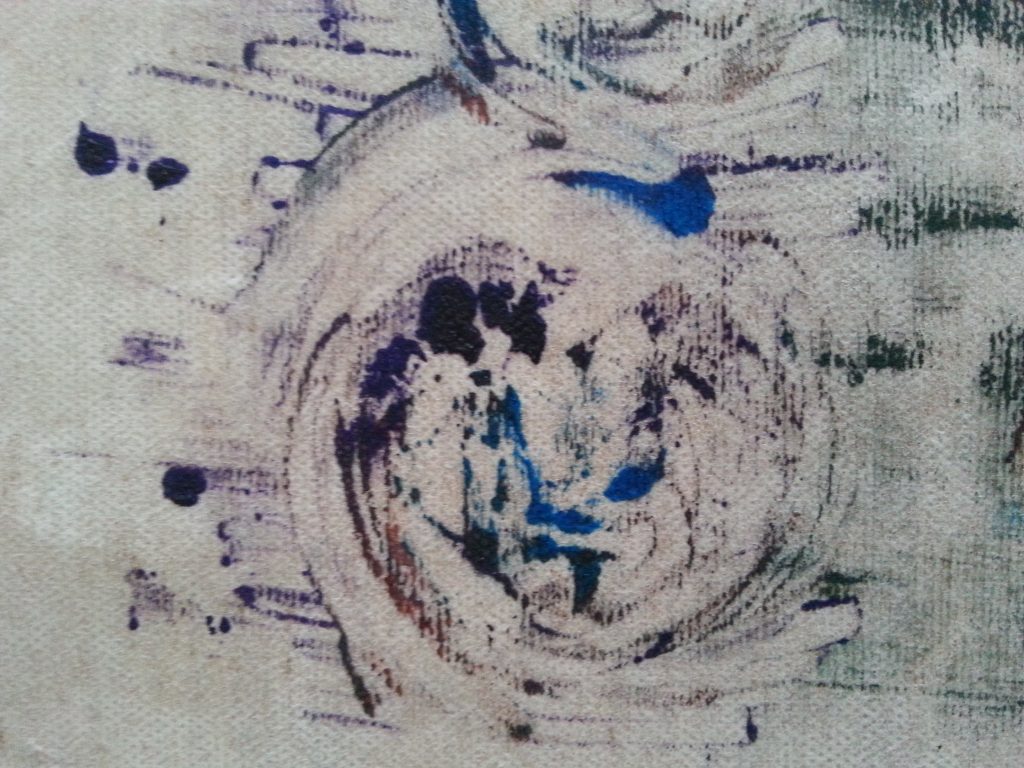
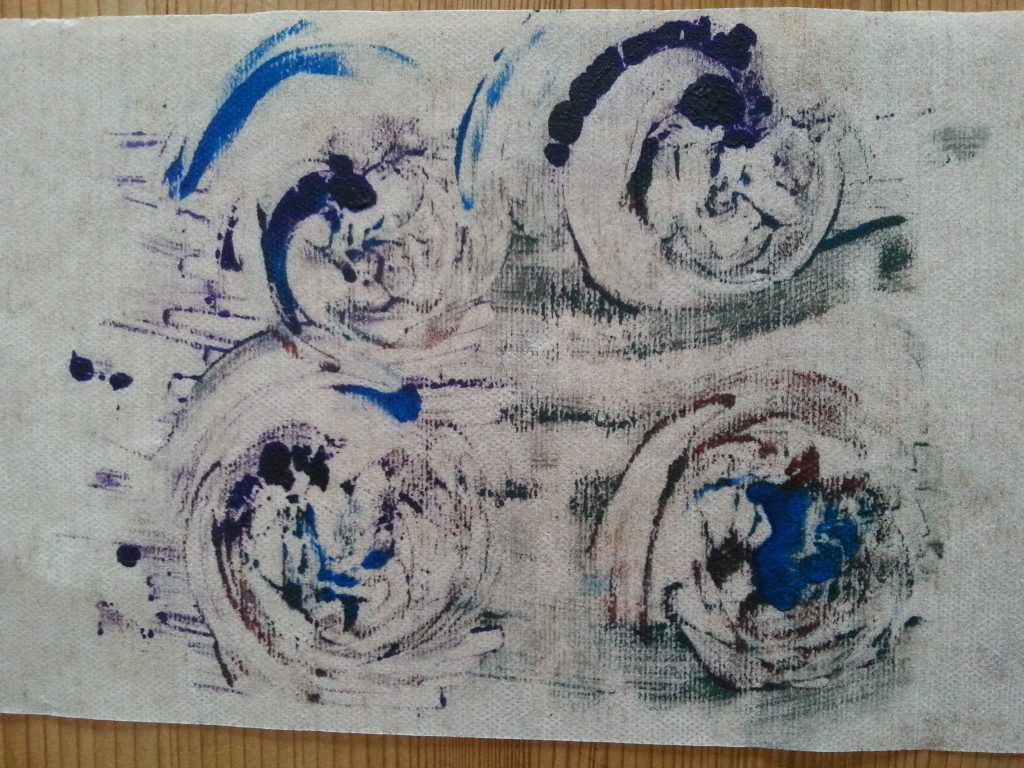
Finger painting
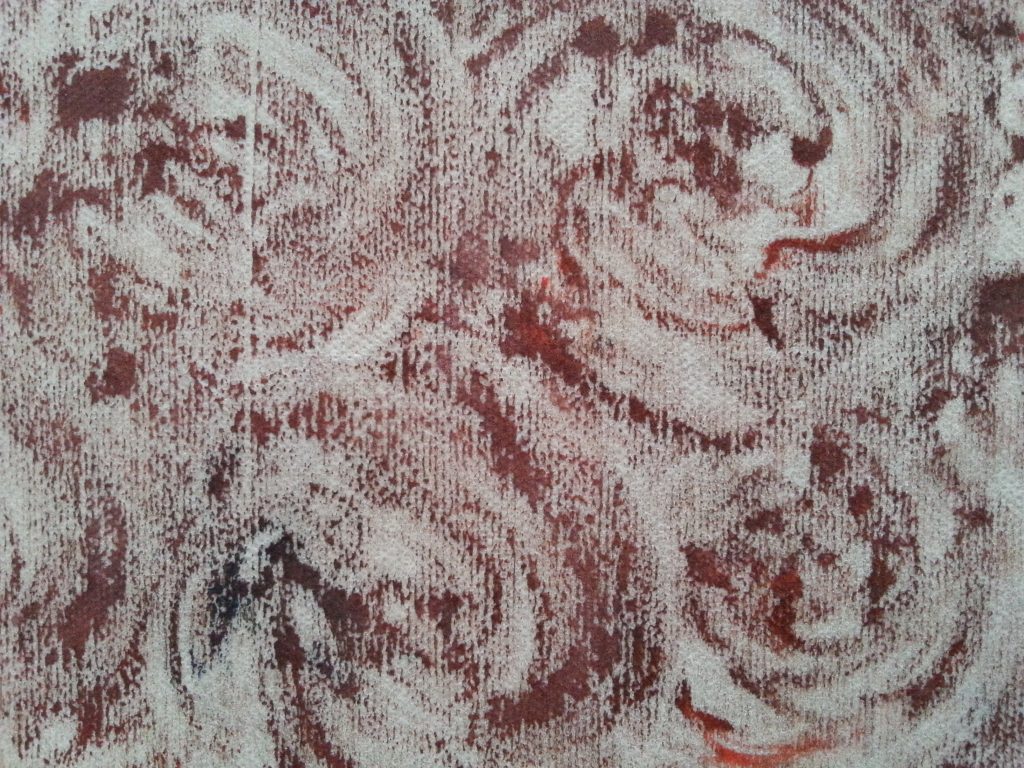
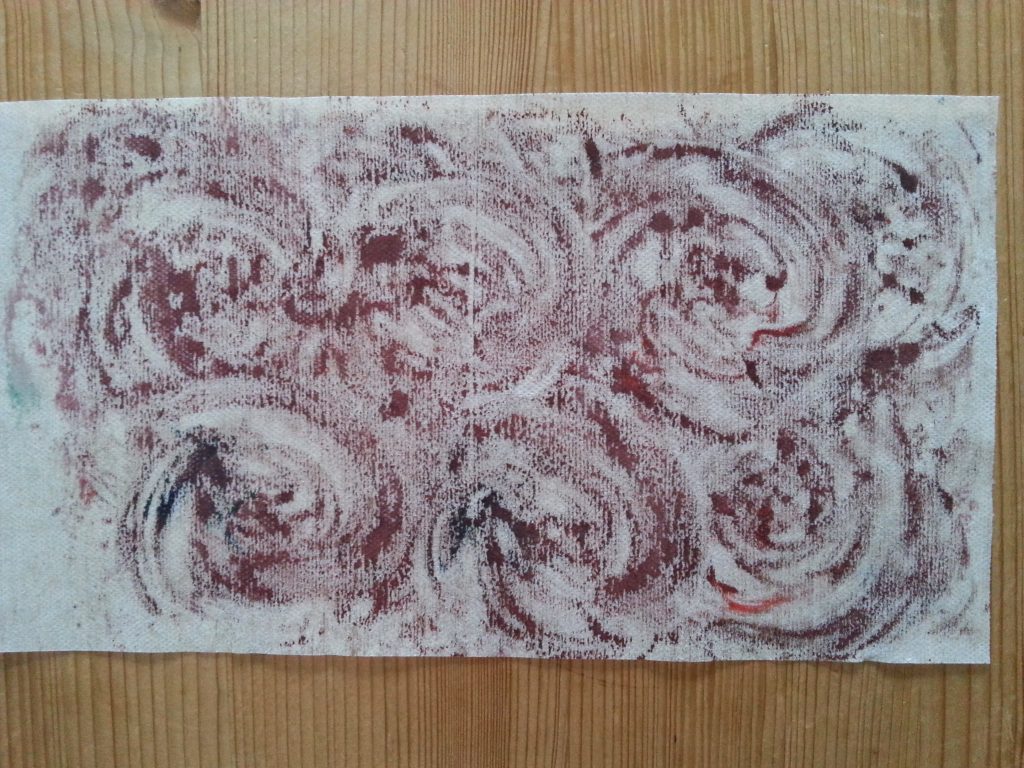
This was a late sample, mainly to use up the remaining ink! I had to press firmly to create these lively spiral shapes which made it a little limiting. However, it was also quite liberating to simply free-draw shapes.
-
- MMT Assignment 4 – Monoprinting – Exercise Two – Back Drawing – Finger printing
-
- MMT Assignment 4 – Monoprinting – Exercise Two – Back Drawing – Finger printing
-
- MMT Assignment 4 – Monoprinting – Exercise Two – Back Drawing – Finger printing
-
- MMT Assignment 4 – Monoprinting – Exercise Two – Back Drawing – Finger printing
-
- MMT Assignment 4 – Monoprinting – Exercise Two – Back Drawing – Finger printing
-

- MMT Assignment 4 – Monoprinting – Exercise Two – Back Drawing – Finger printing
-

- MMT Assignment 4 – Monoprinting – Exercise Two – Back Drawing – Finger printing
-
- MMT Assignment 4 – Monoprinting – Exercise Two – Back Drawing – Finger printing
-
- MMT Assignment 4 – Monoprinting – Exercise Two – Back Drawing – Finger printing
-
- MMT Assignment 4 – Monoprinting – Exercise Two – Back Drawing – Finger printing
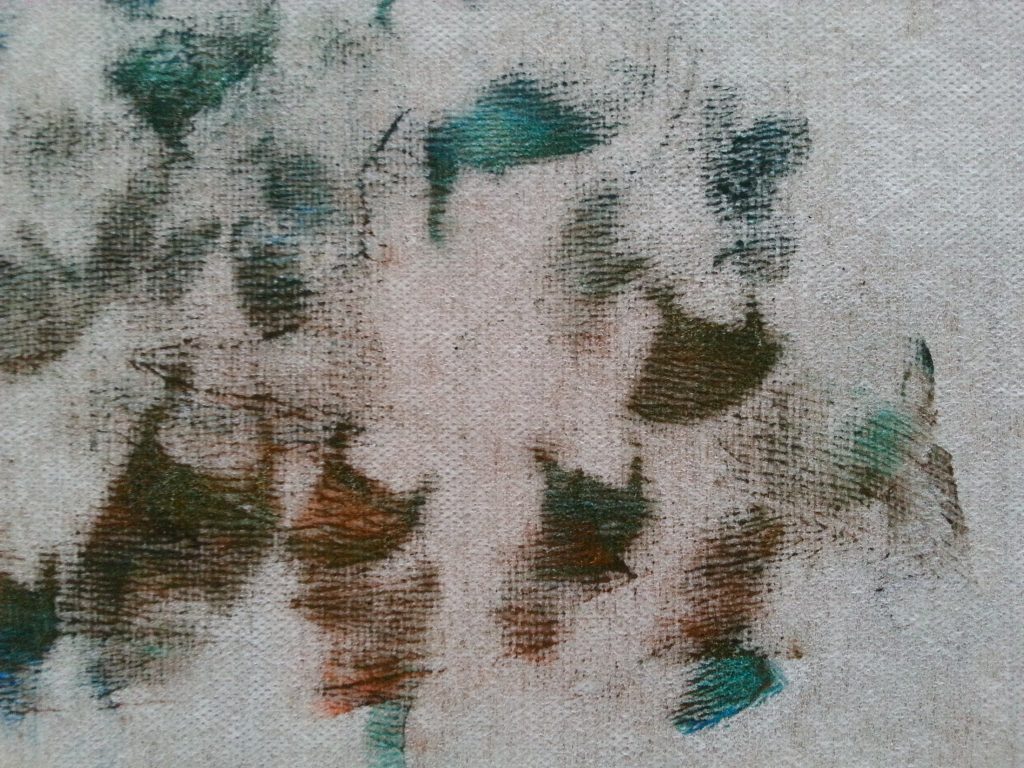
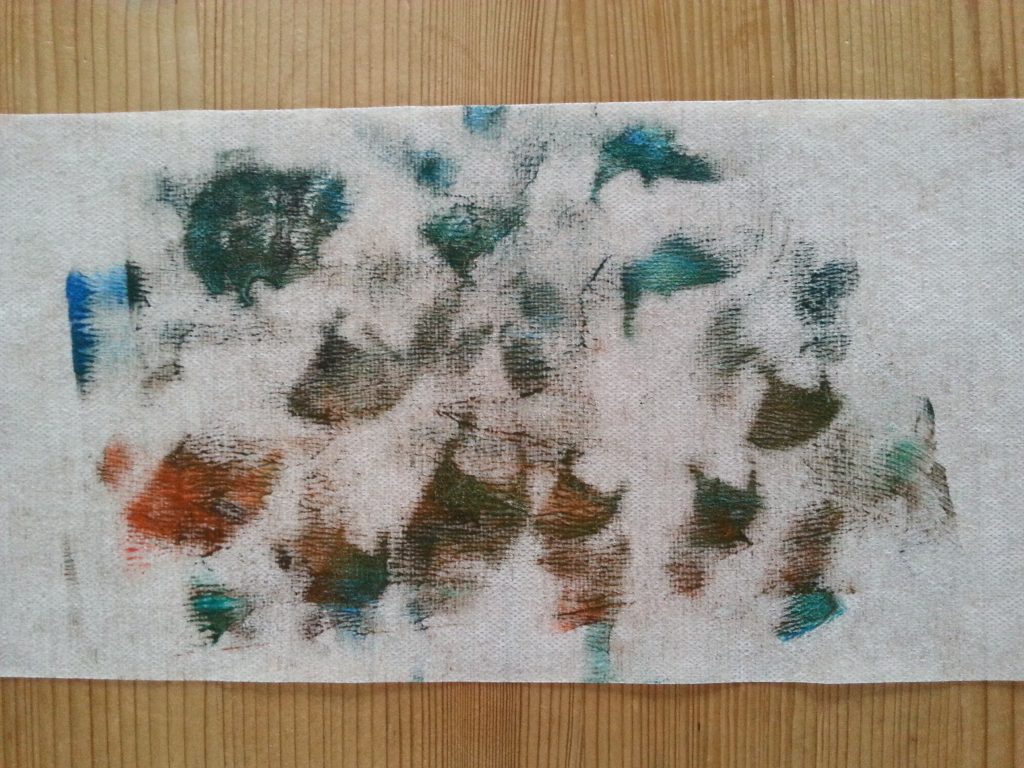
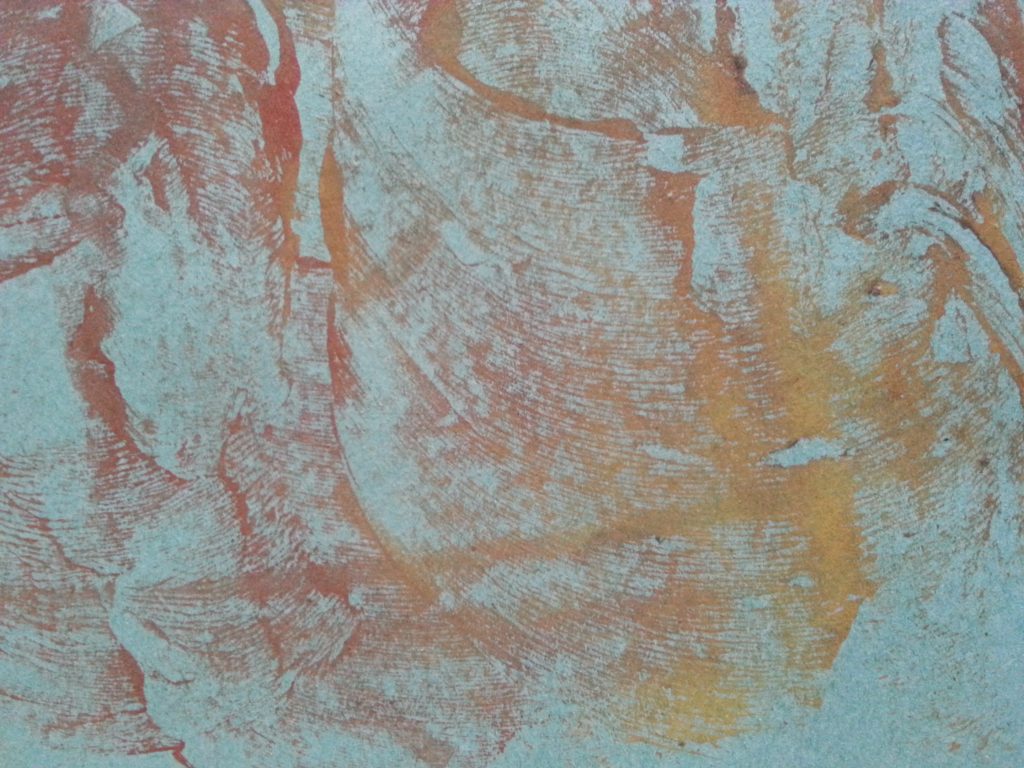
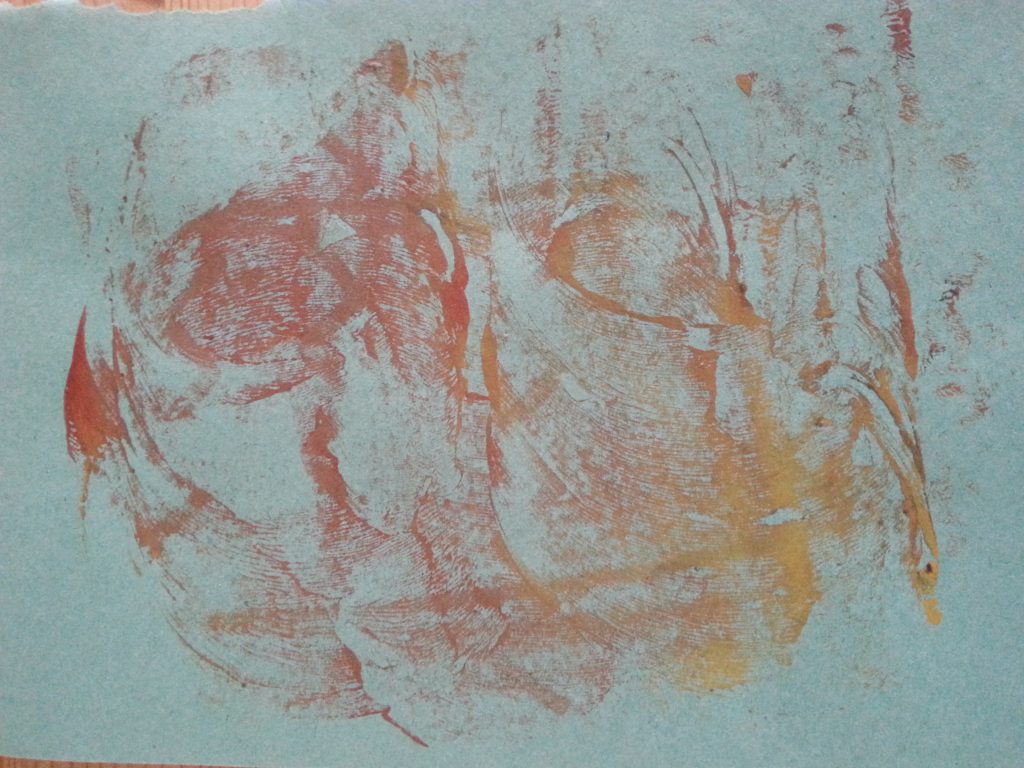
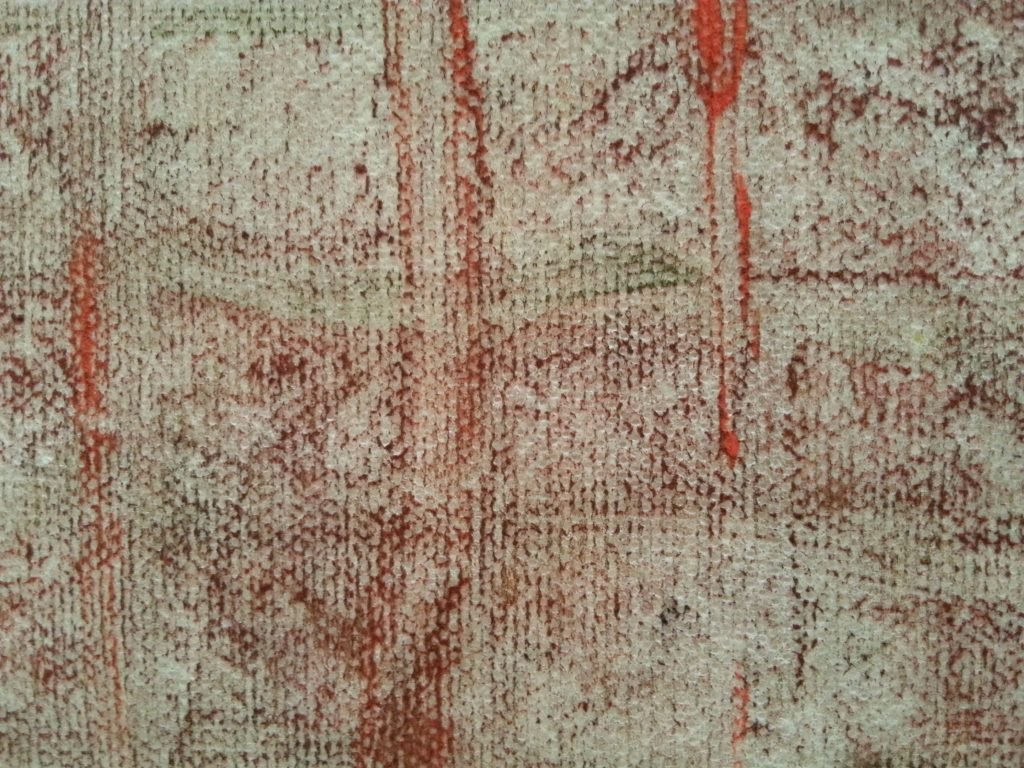
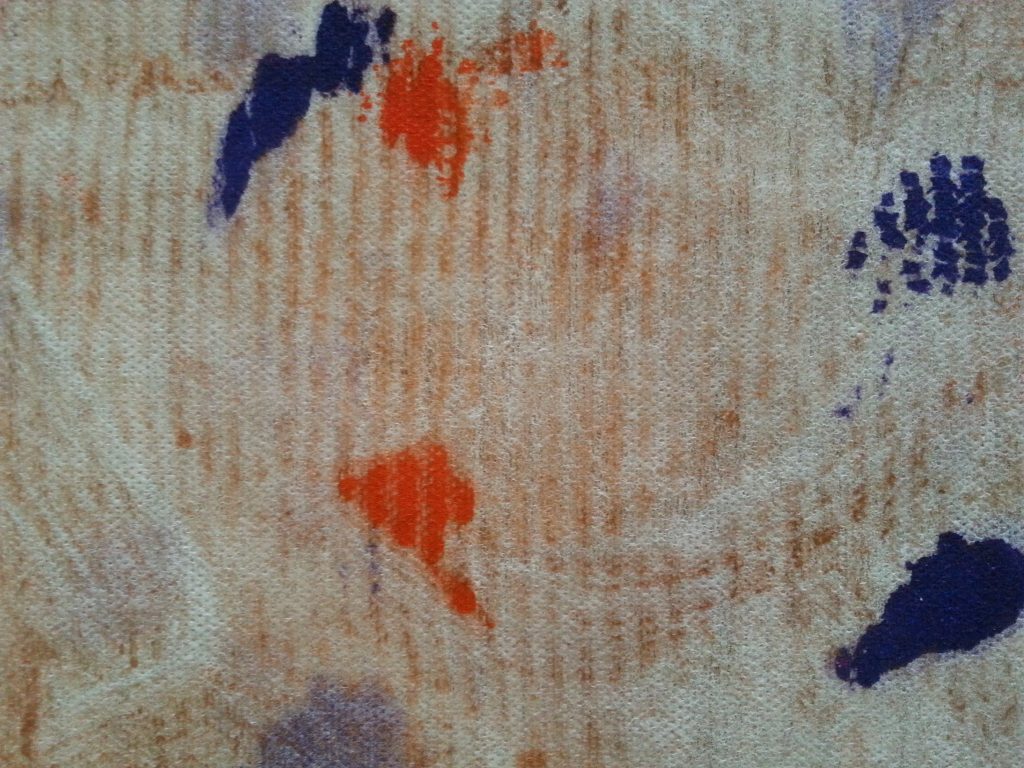
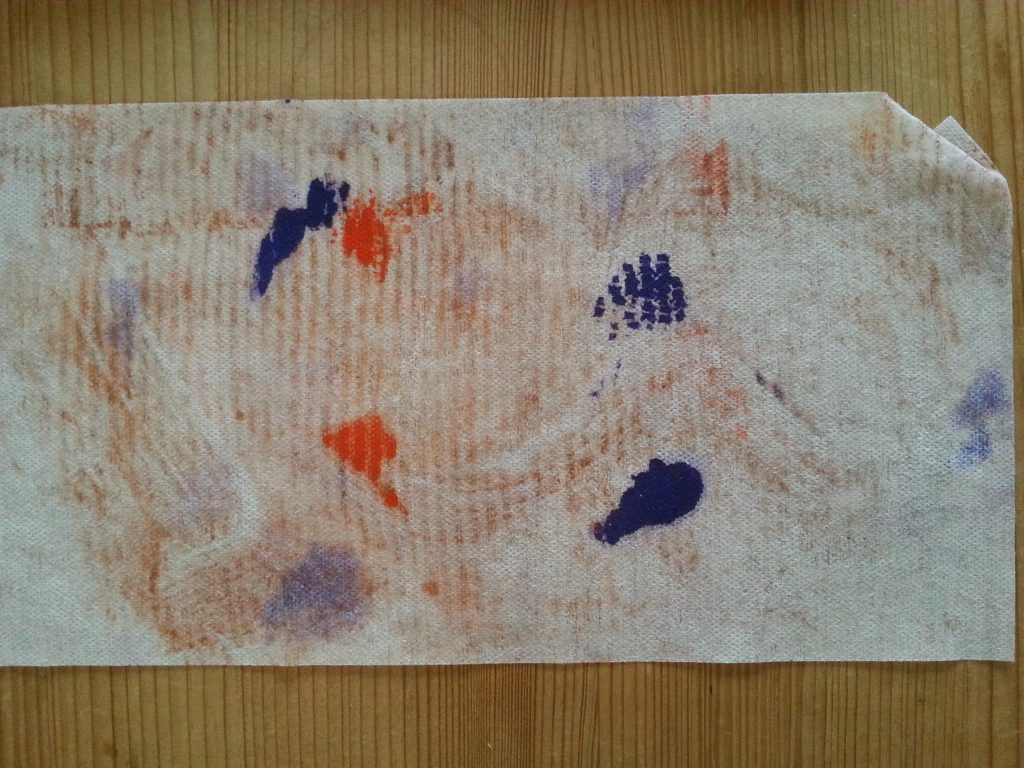
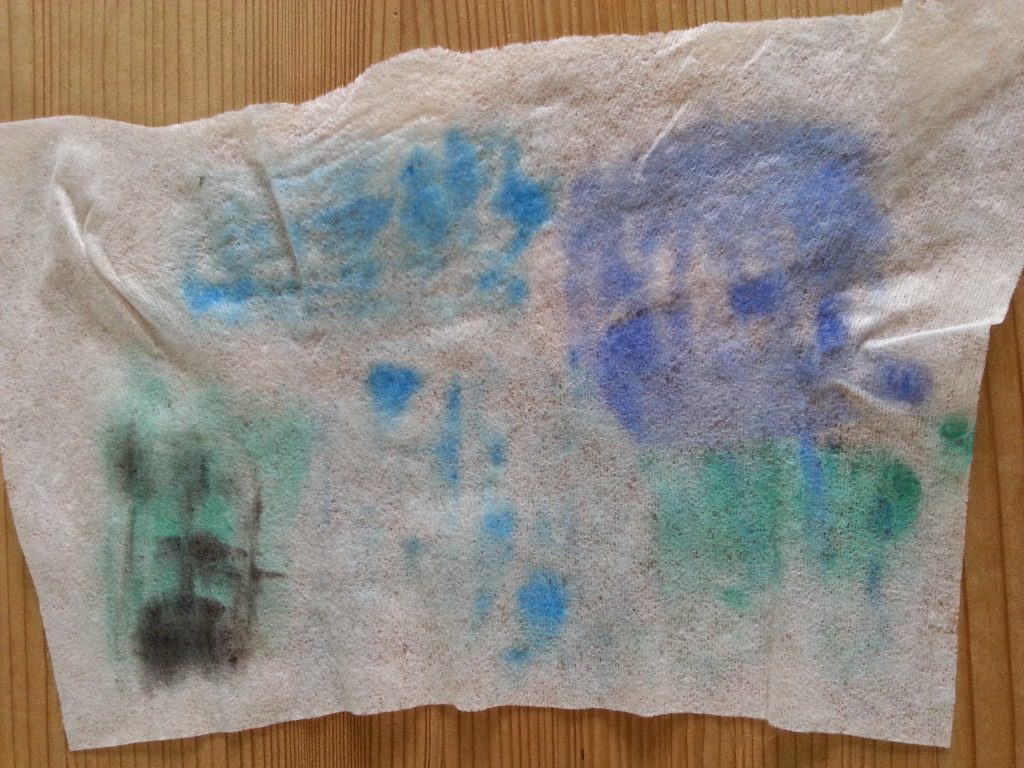
Paste spreader
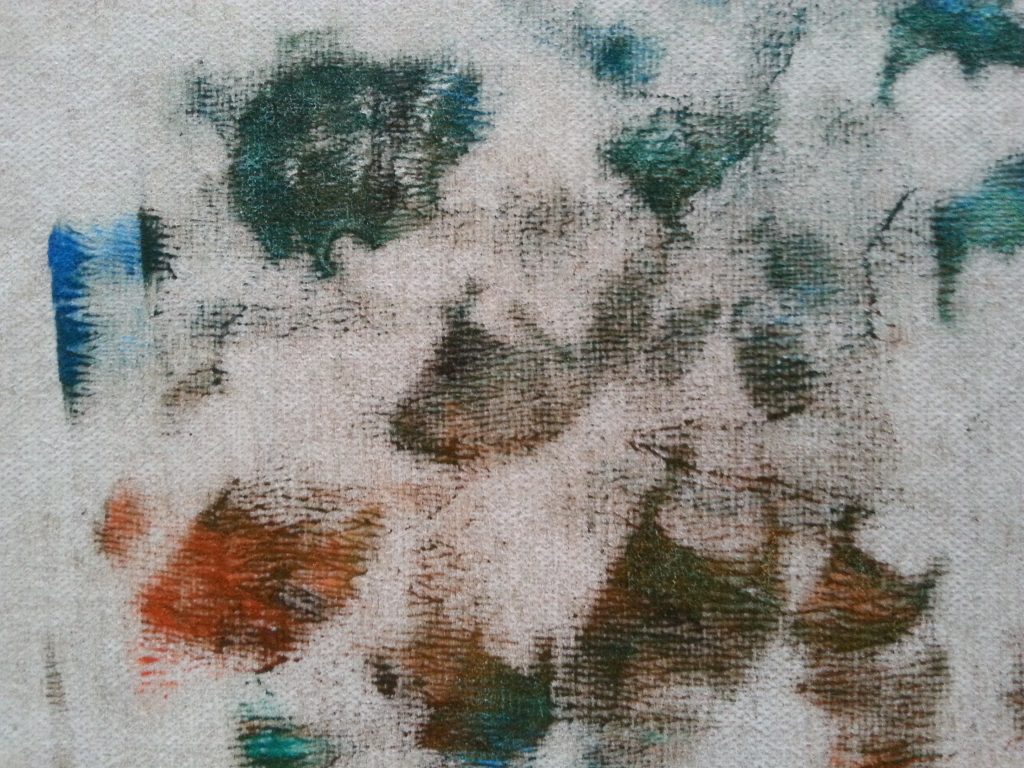
Flicks of the soft plastic paste spreader produced satisfying curves. By only applying pressure via the spreader in the first 3 samples, it allowed the remaining ink to stay on the plate creating the colourful flicks on a largely plain background.
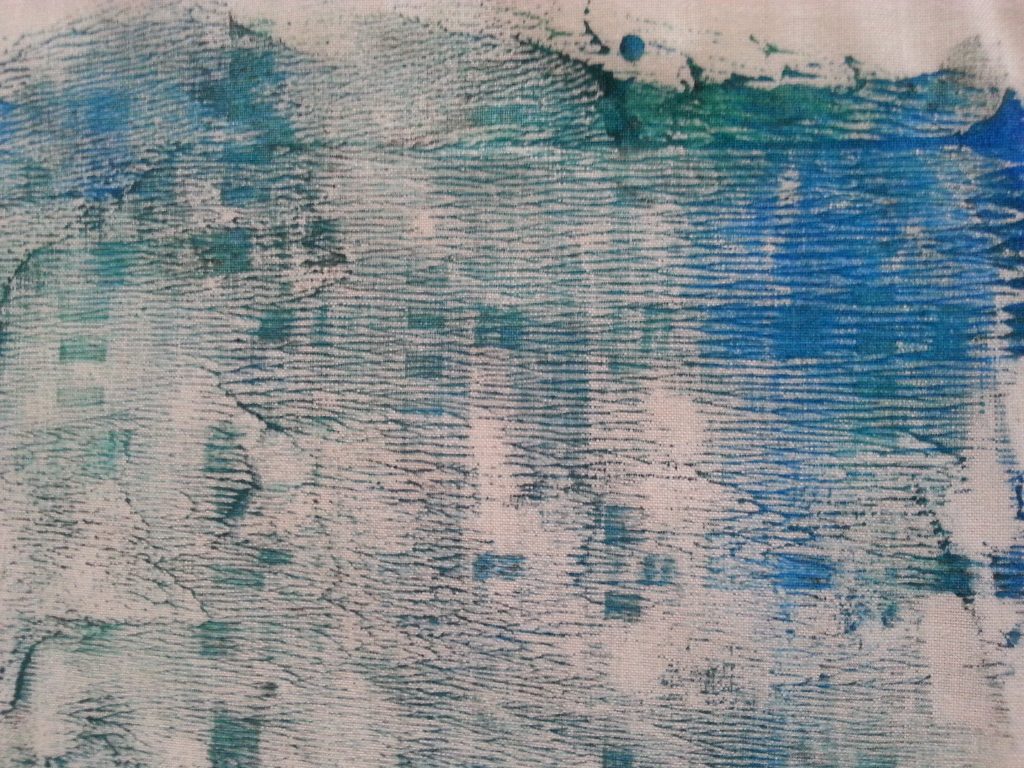
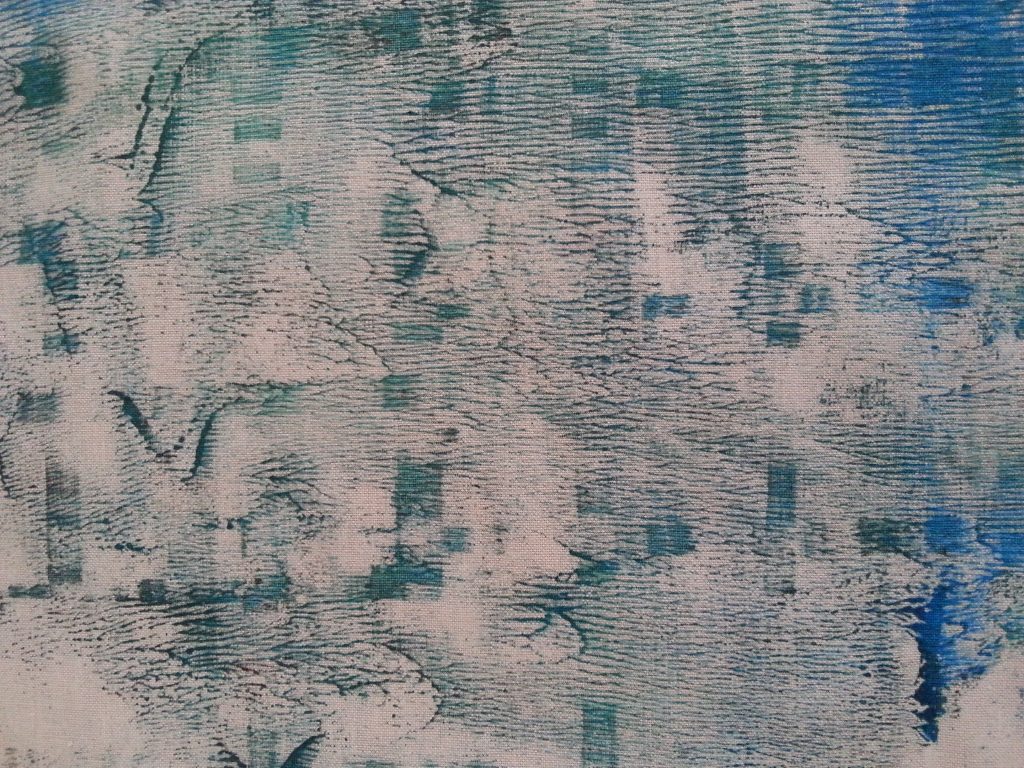
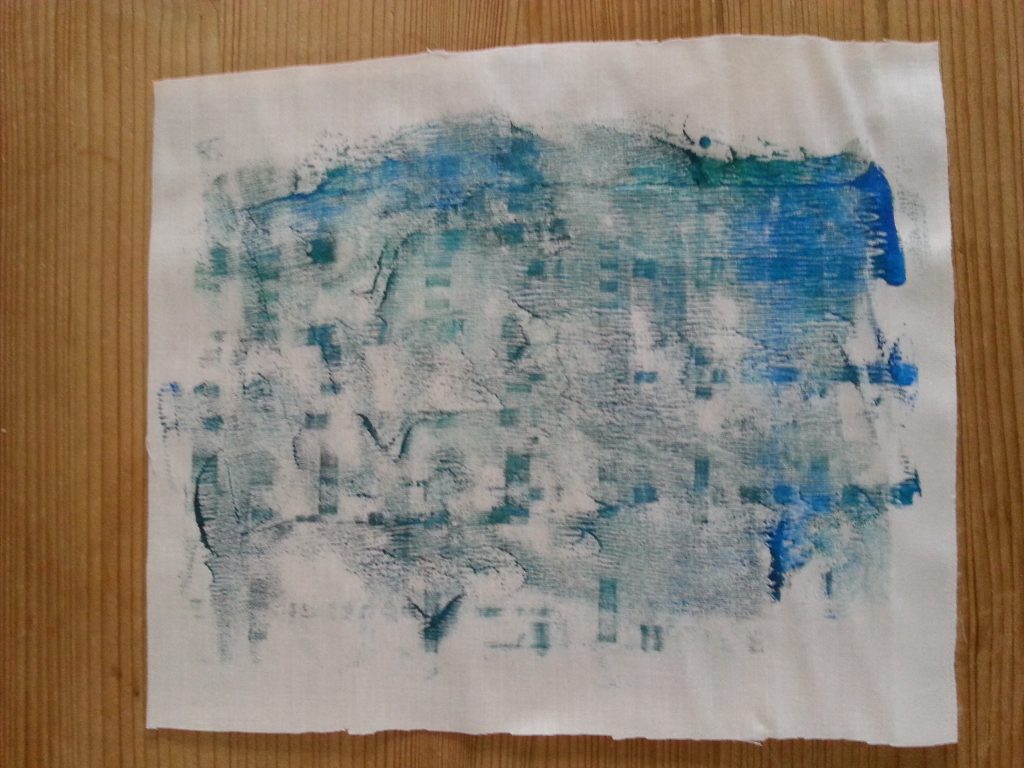
The blue samples were intended to re-create a woven texture. For this the spreader was used in short pulls worked in a warp/weft format. The result was surprisingly effective.
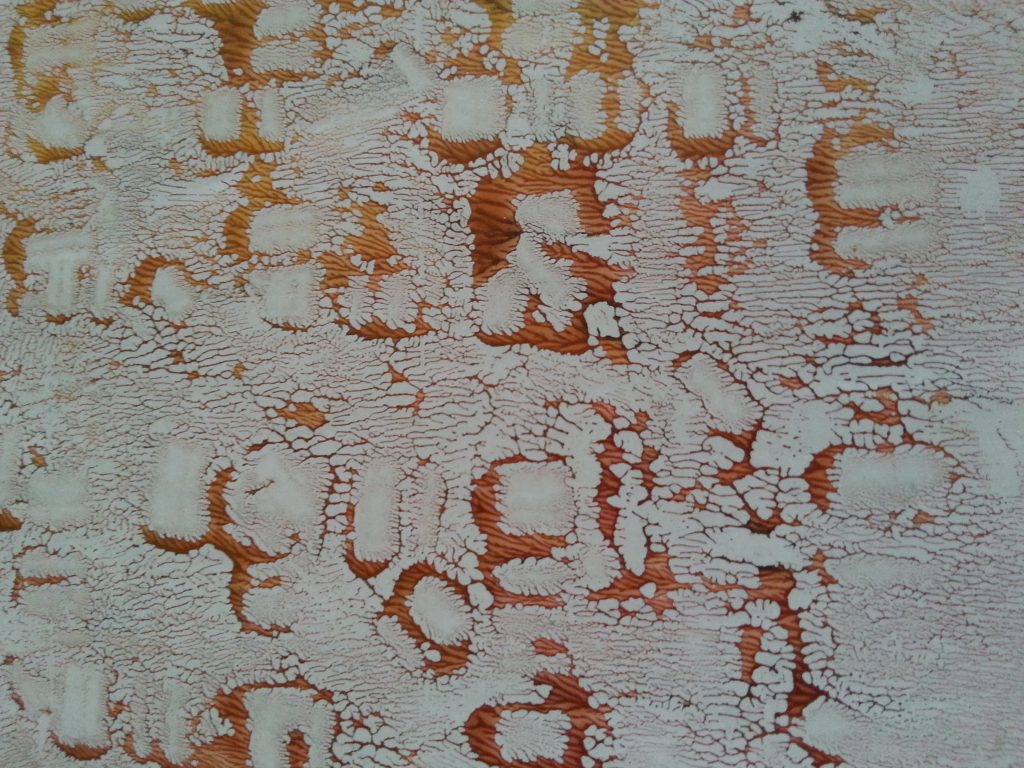
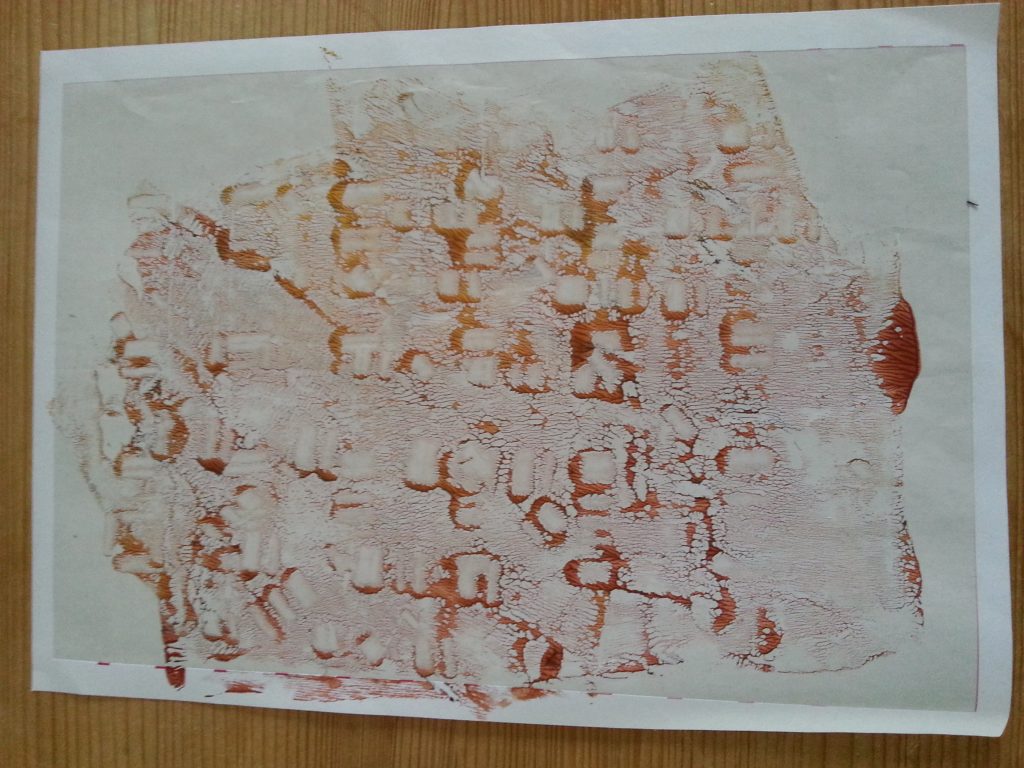
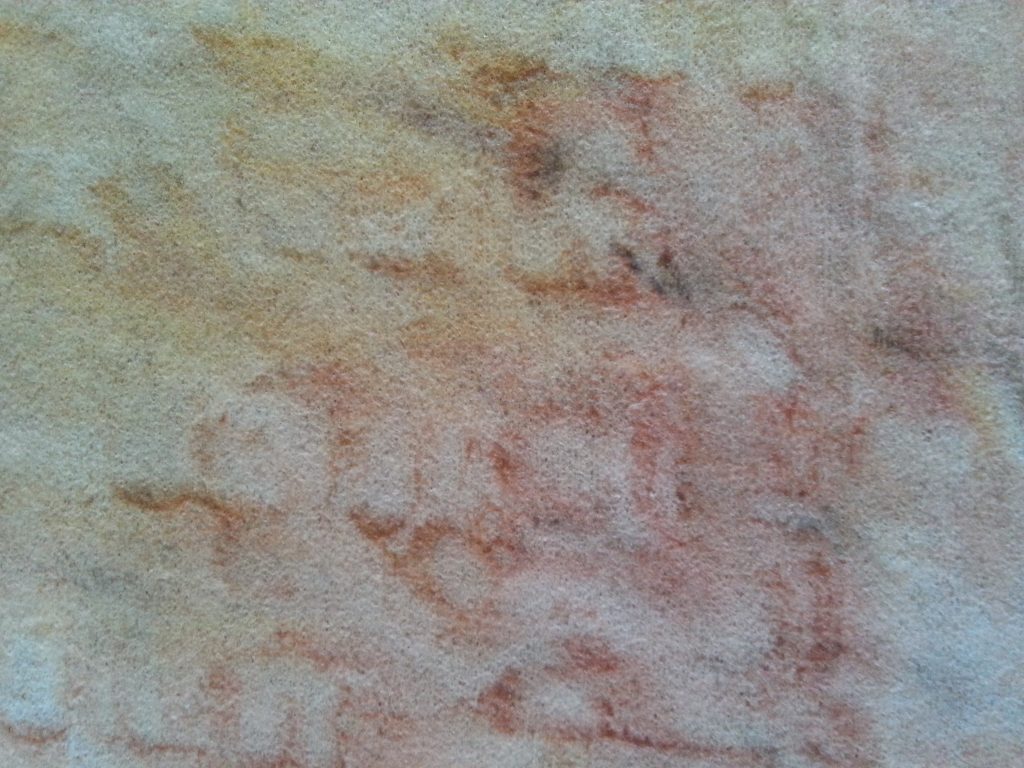
The final samples in red/orange were created using a plasticized paper (the remains of a page of stickers). The shiny plastic surface resisted the paint causing an interesting bubbled print. The remaining ink was pulled using tumble dryer sheets pressed over a grid. The softness of the sheets shaped around the grid, allowing it to retain a good, if somewhat fuzzy, impression.
-
- MMT Assignment 4 – Monoprinting – Back drawing
-
- MMT Assignment 4 – Monoprinting – Back drawing
-
- MMT Assignment 4 – Monoprinting – Back drawing
-
- MMT Assignment 4 – Monoprinting – Back drawing
-
- MMT Assignment 4 – Monoprinting – Back drawing
-
- MMT Assignment 4 – Monoprinting – Back drawing
-
- MMT Assignment 4 – Monoprinting – Back drawing
-
- MMT Assignment 4 – Monoprinting – Back drawing
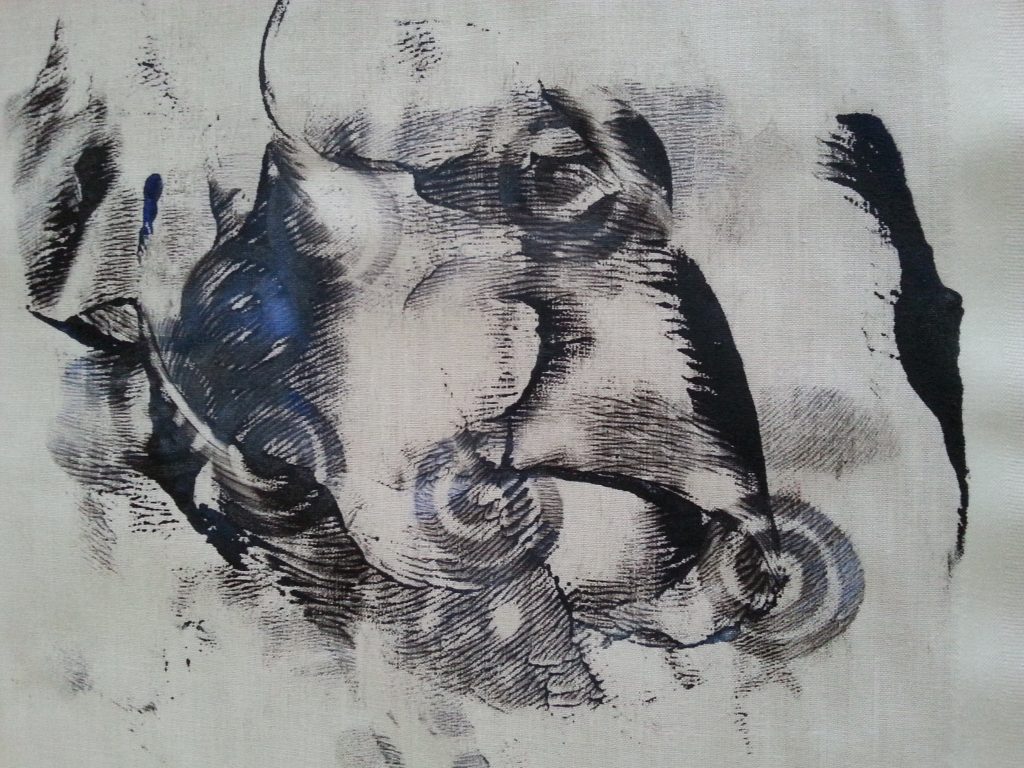
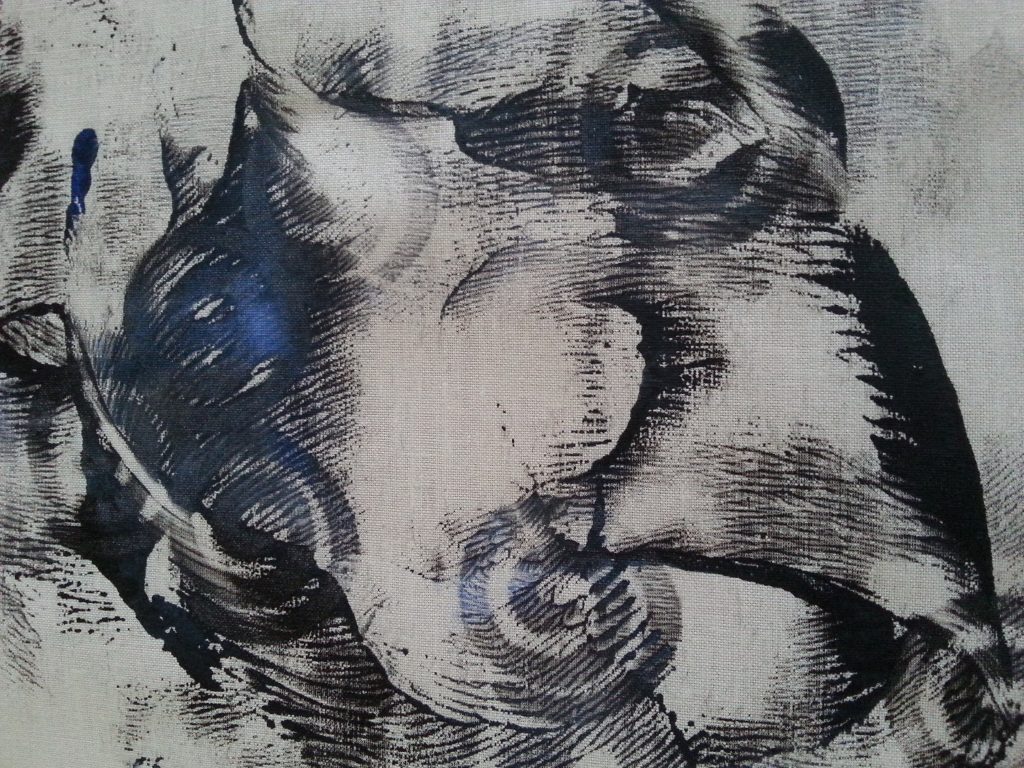
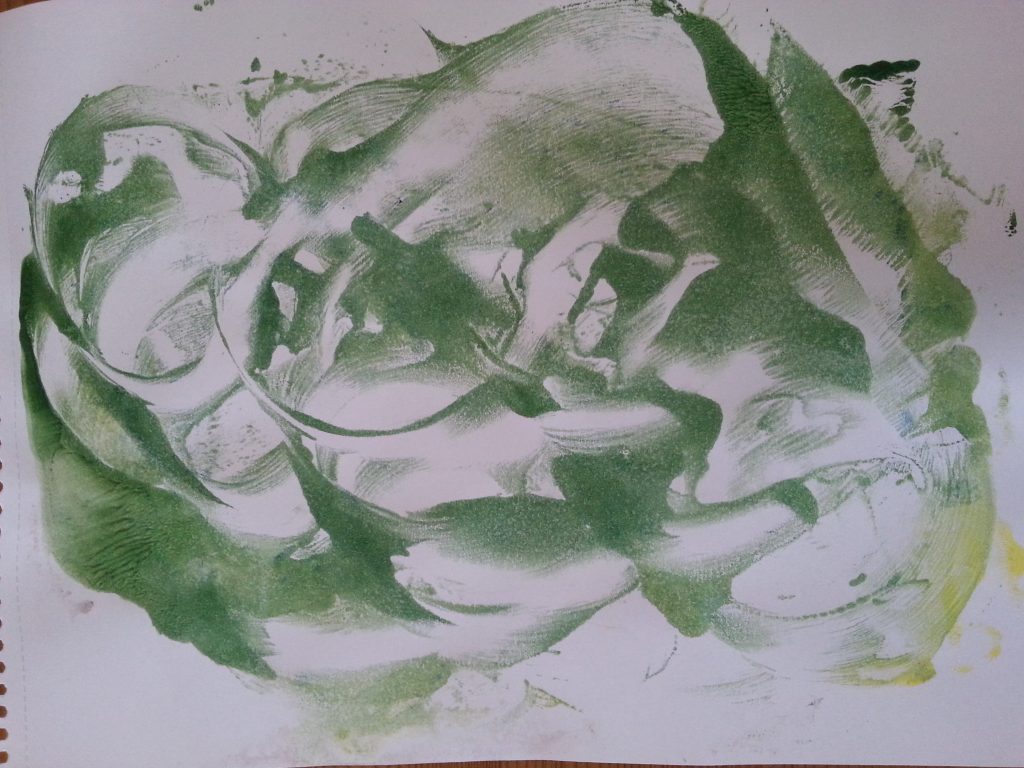
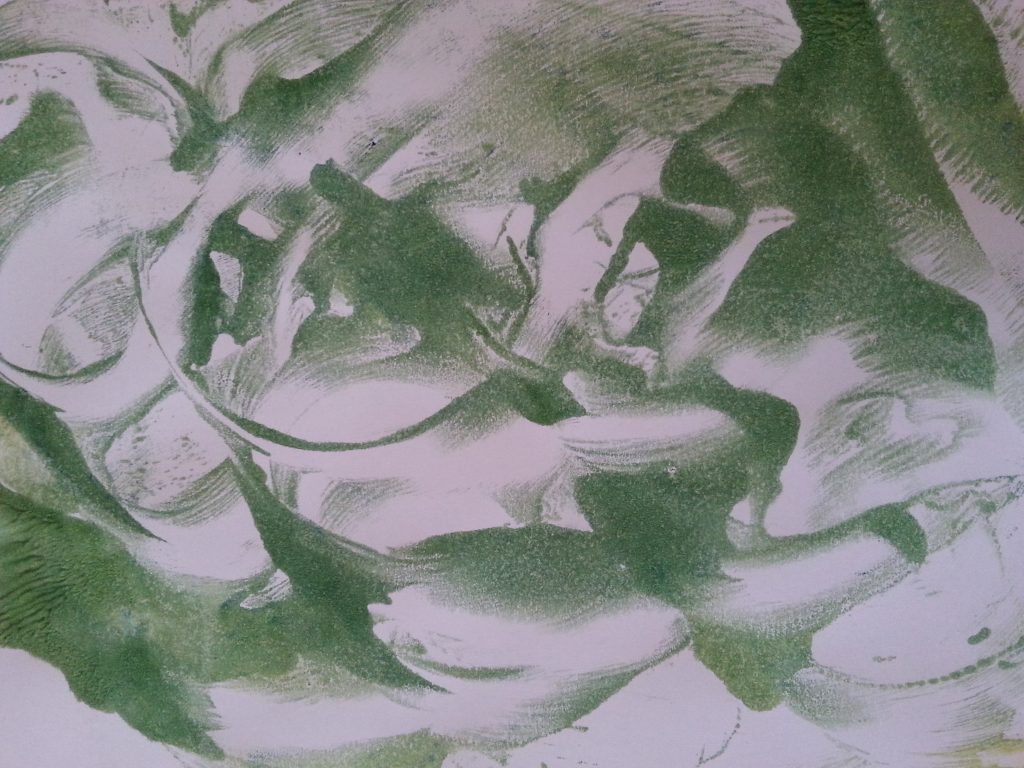
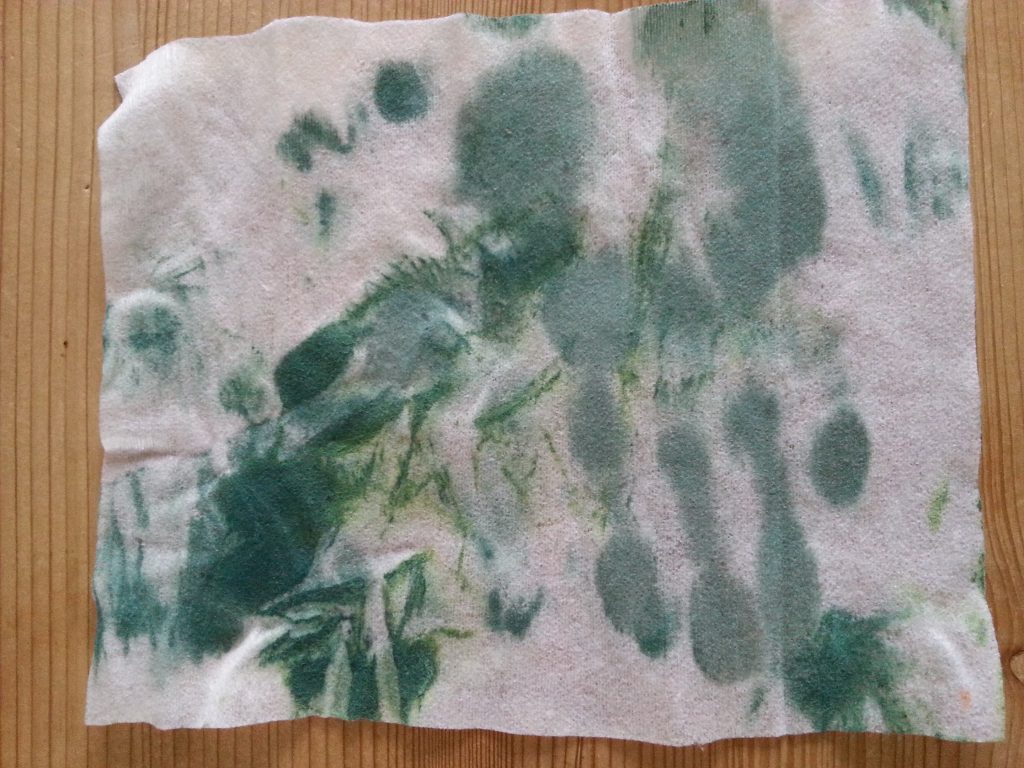
Credit card
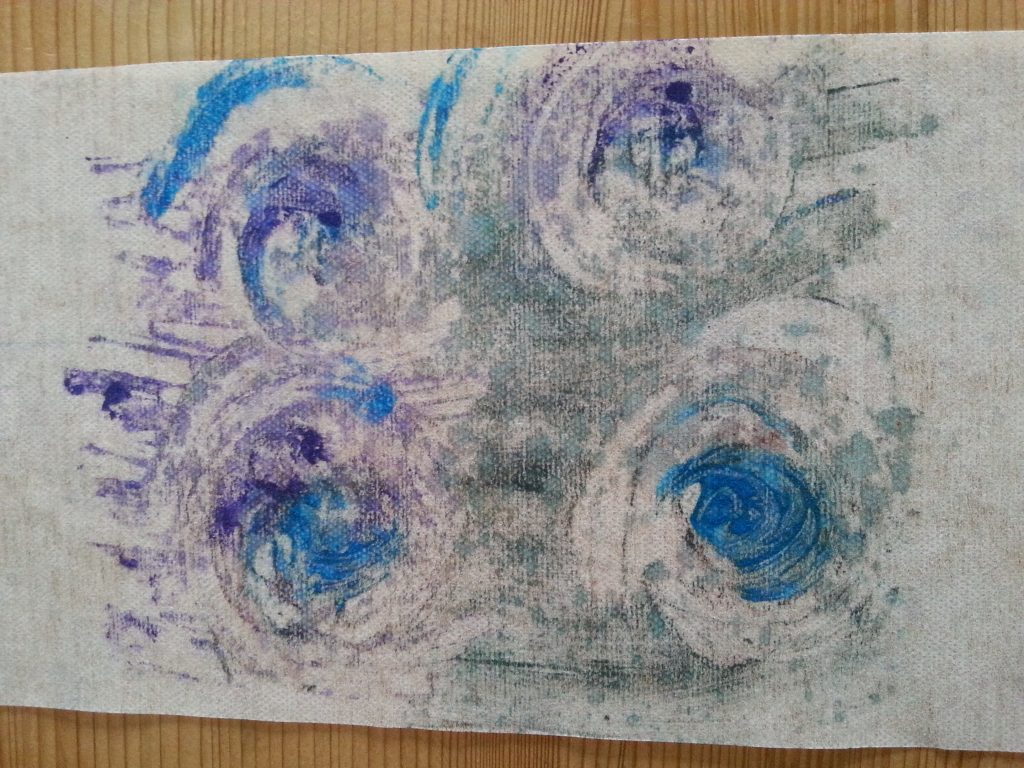
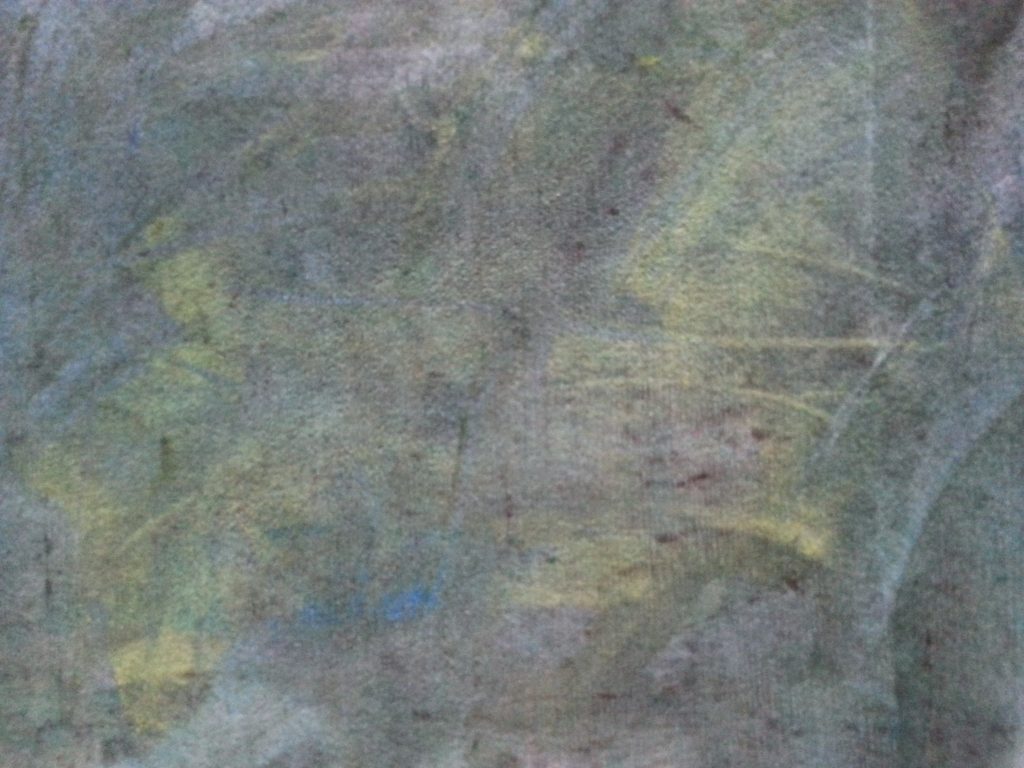
Freely sweeping the card in broad swirls gave lovely, natural shapes and deep highlights and shadows. The ink in the green samples was thinned a little to allow more movement of colour and shape.
-
- MMT Assignment 4 – Monoprinting – Exercise Two – Back Drawing – Credit card
-
- MMT Assignment 4 – Monoprinting – Exercise Two – Back Drawing – Credit card
-
- OCA MMT Assignment 4 – Monoprinting – Exercise One – Mark-making – Credit card
-
- OCA MMT Assignment 4 – Monoprinting – Exercise One – Mark-making – Credit card
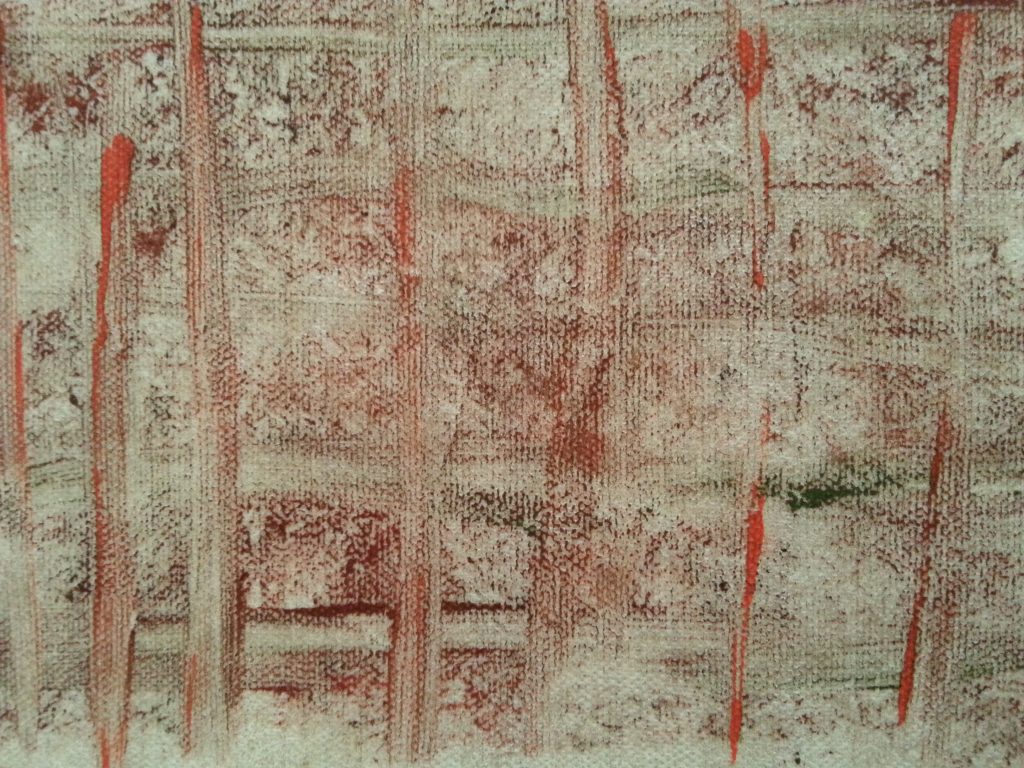
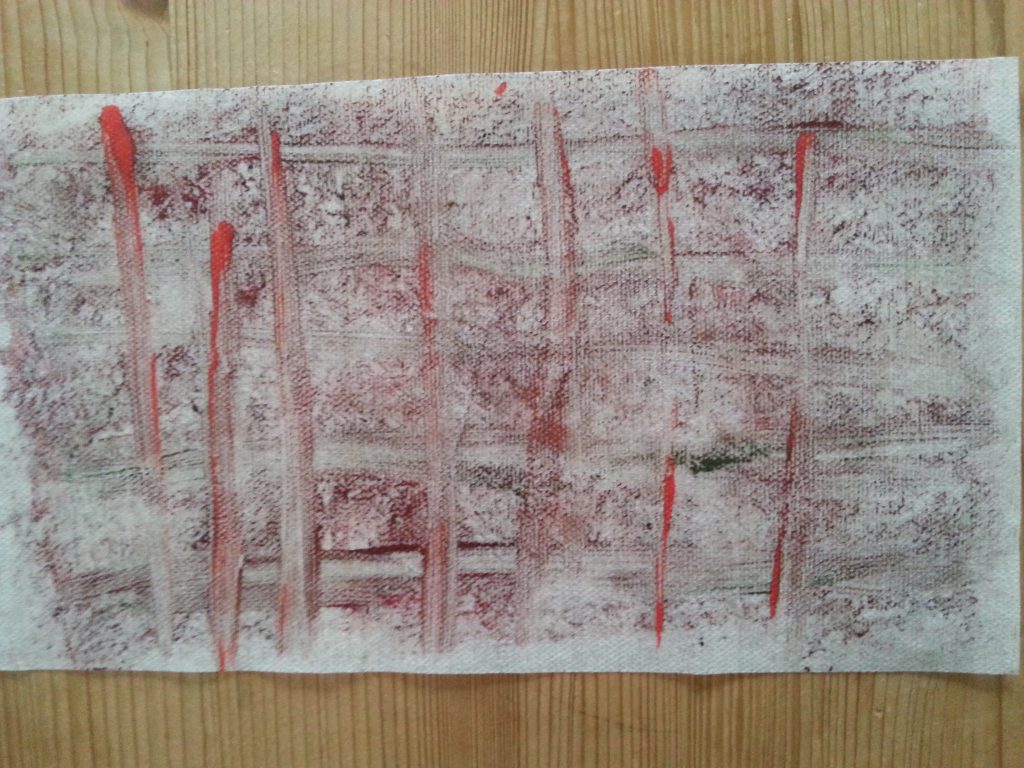
Lollipop stick
With the lollipop stick it was possible to etch out a strong, woven grid shape on the dryer sheets. The sheets also added a ‘woven’ texturing.
-
- MMT Assignment 4 – Monoprinting – Exercise Two – Back Drawing – Lollipop stick
-
- MMT Assignment 4 – Monoprinting – Exercise Two – Back Drawing – Lollipop stick
-
- MMT Assignment 4 – Monoprinting – Exercise Two – Back Drawing – Lollipop stick
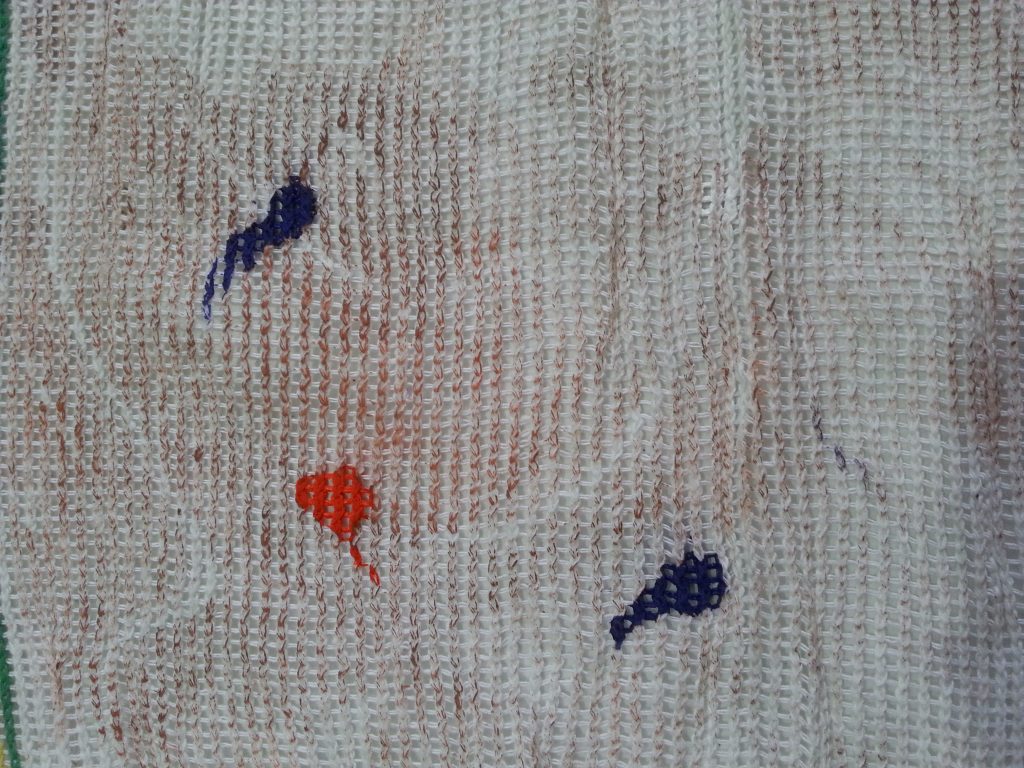
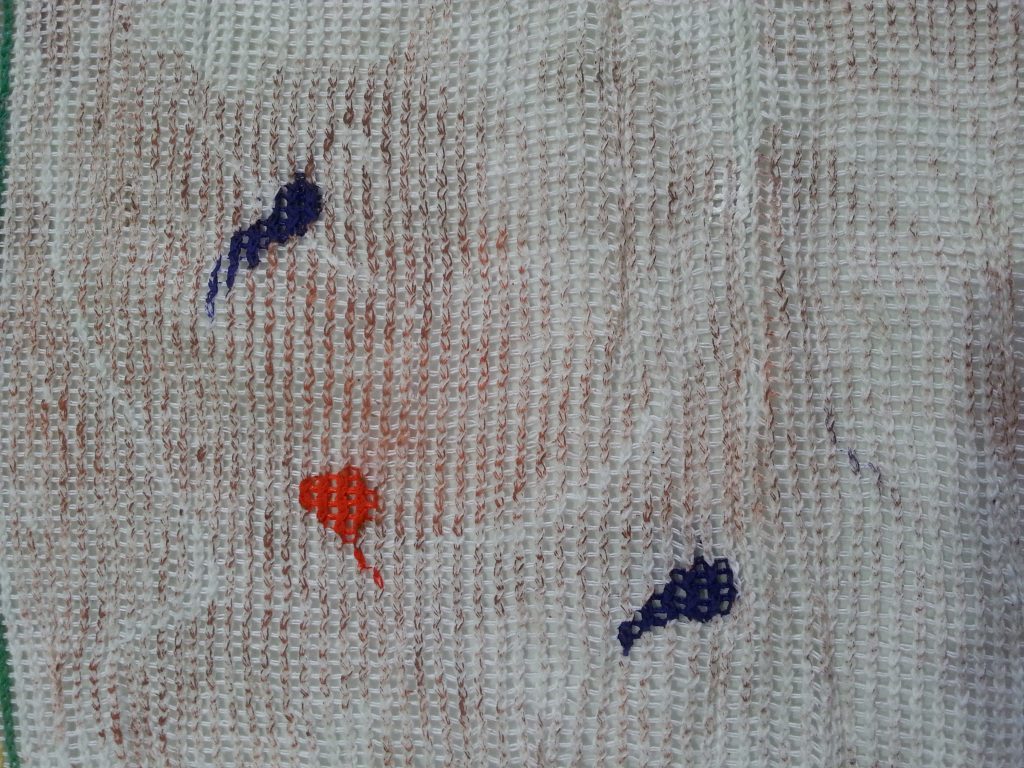
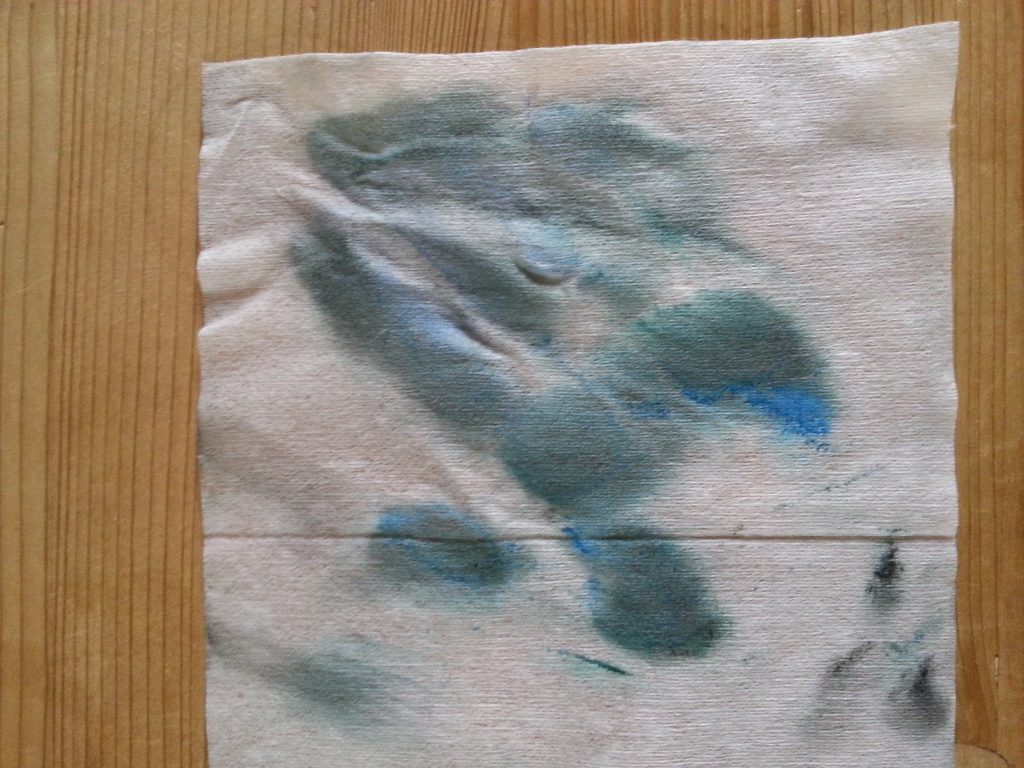
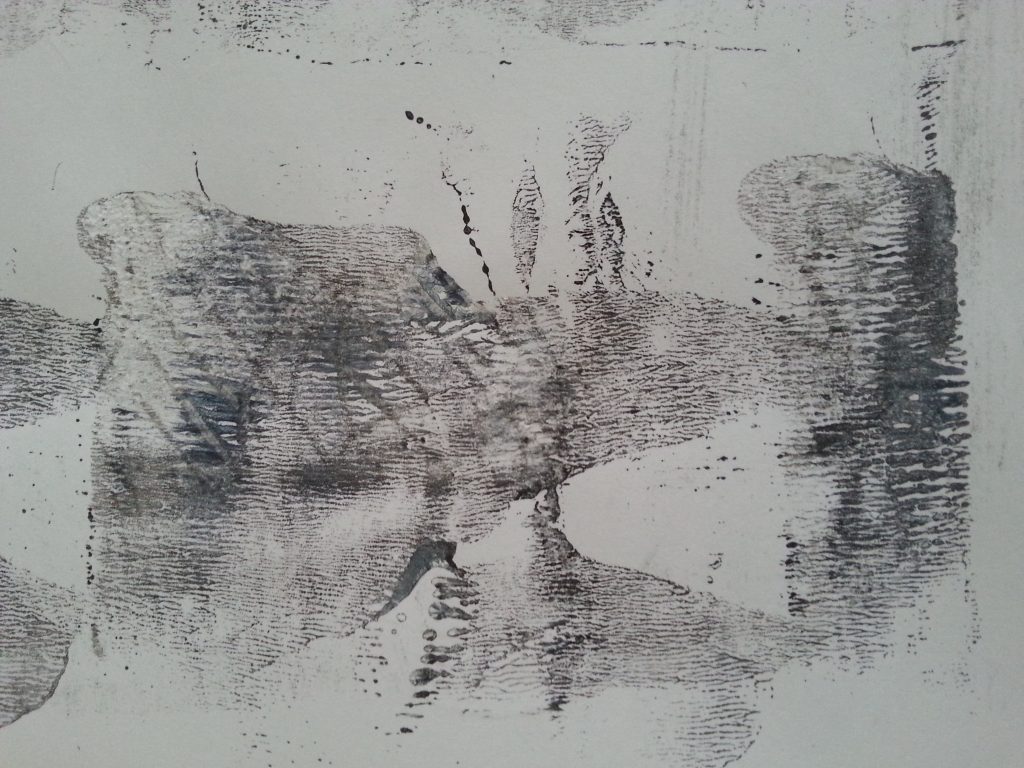
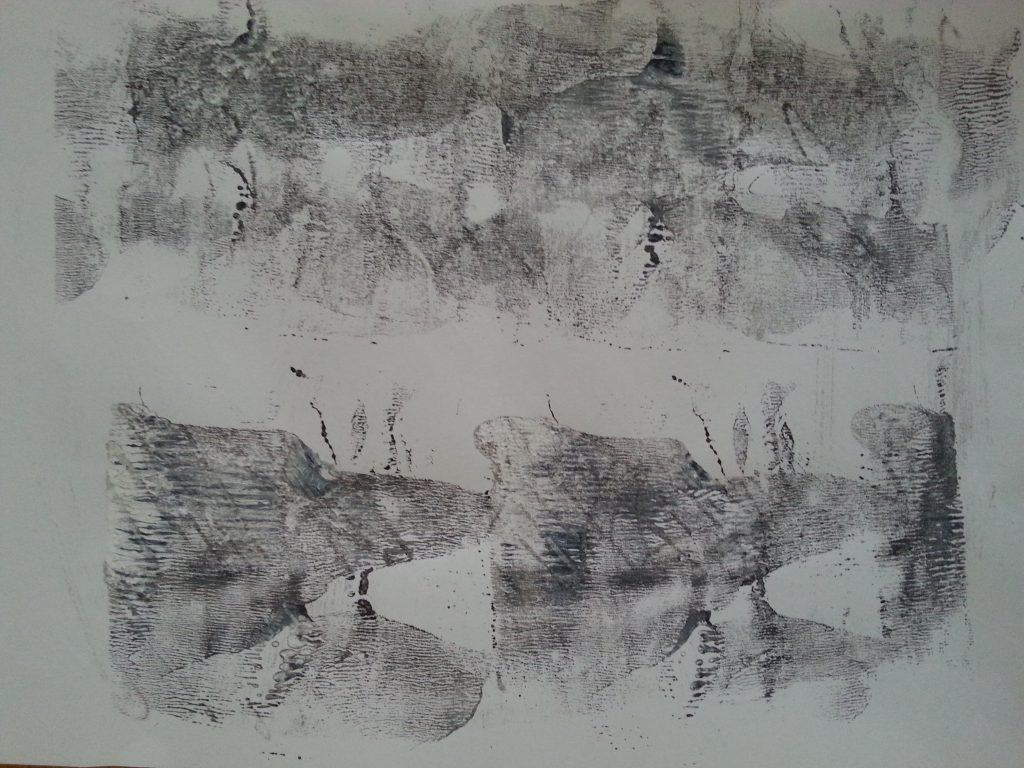
Dishcloth
Laying a cotton washcloth over the paper and brayering over the top created an impression of the weave structure in the print. The dark splotches arose where the paint did not spread as much as I had anticipated which was disappointing.
-
- MMT Assignment 4 – Monoprinting – Exercise Two – Back Drawing – Dischcloth
-

- MMT Assignment 4 – Monoprinting – Exercise Two – Back Drawing – Dischcloth
-
- MMT Assignment 4 – Monoprinting – Exercise Two – Back Drawing – Dischcloth
-
- MMT Assignment 4 – Monoprinting – Exercise Two – Back Drawing – Dischcloth
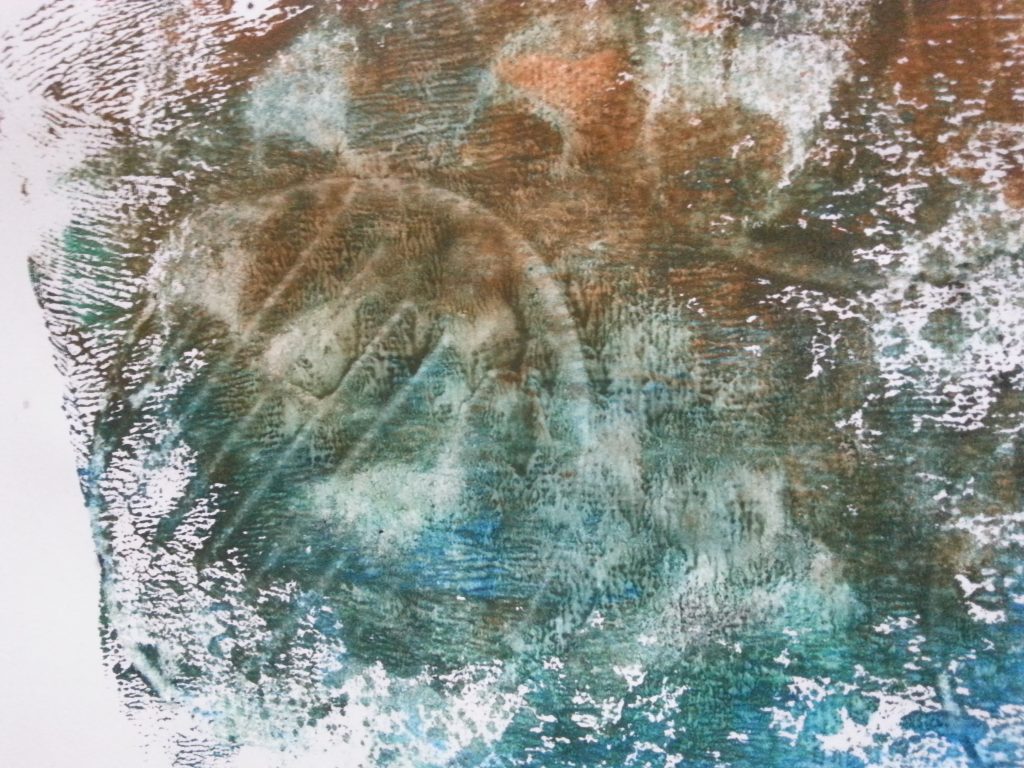
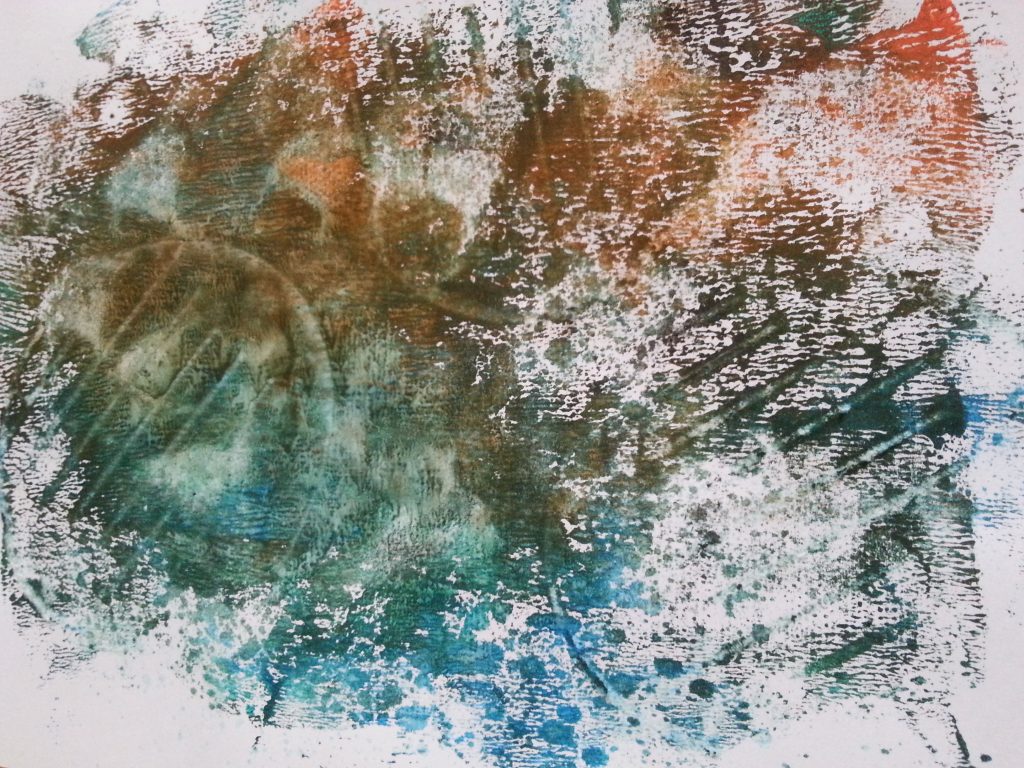
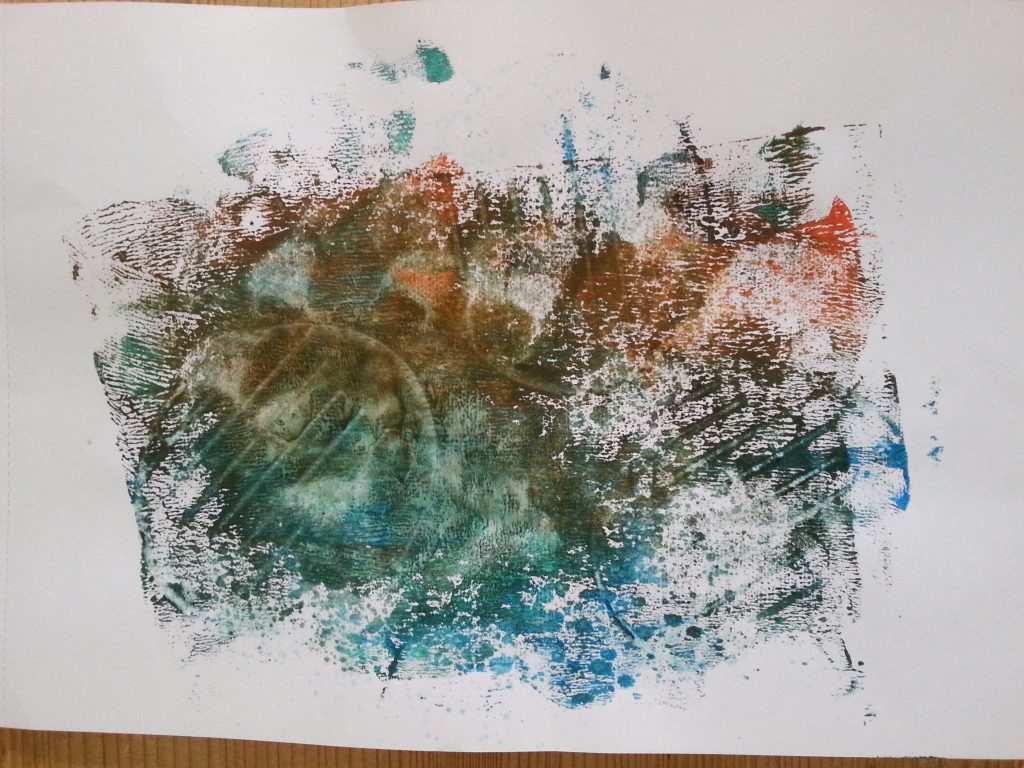
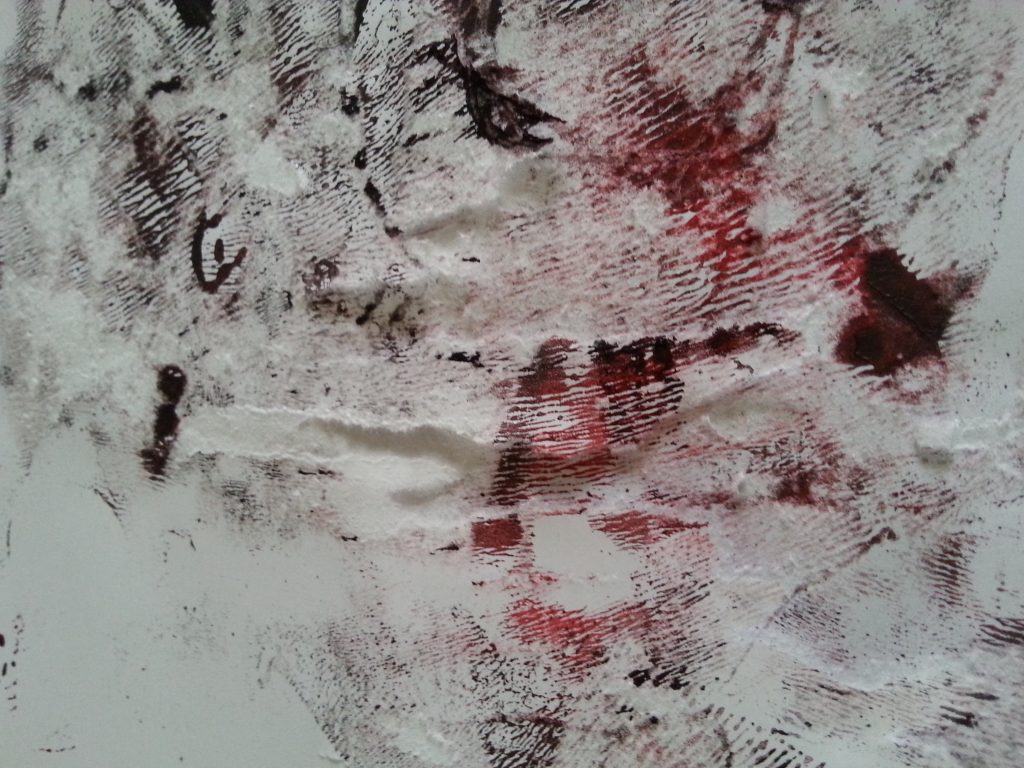
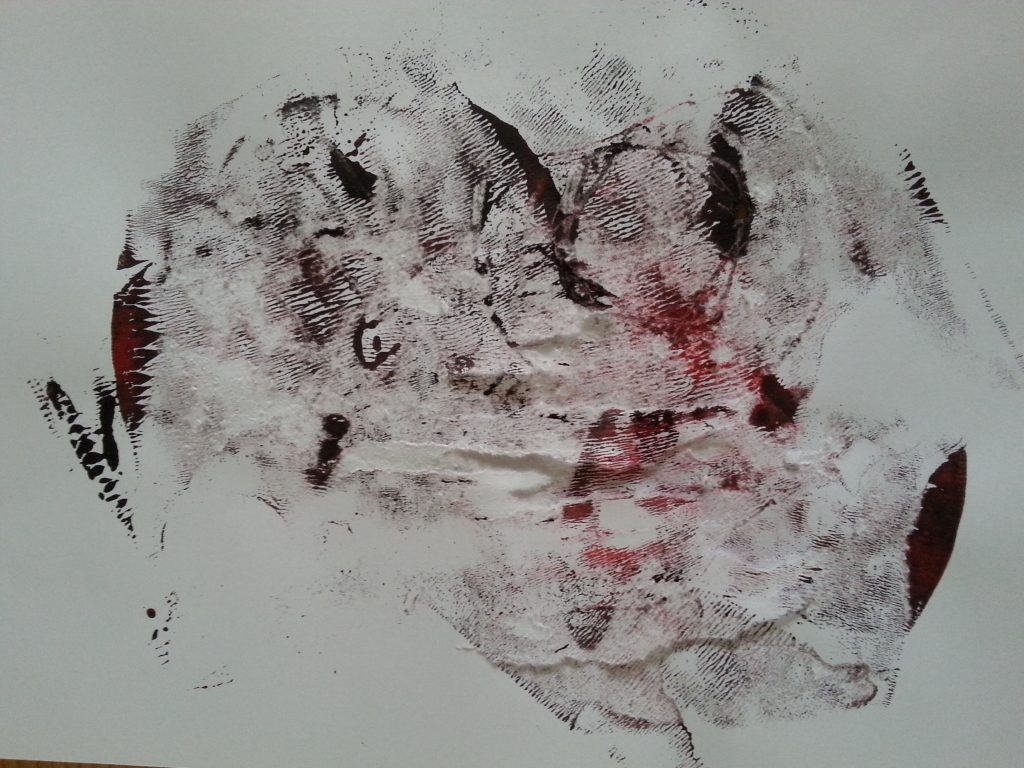
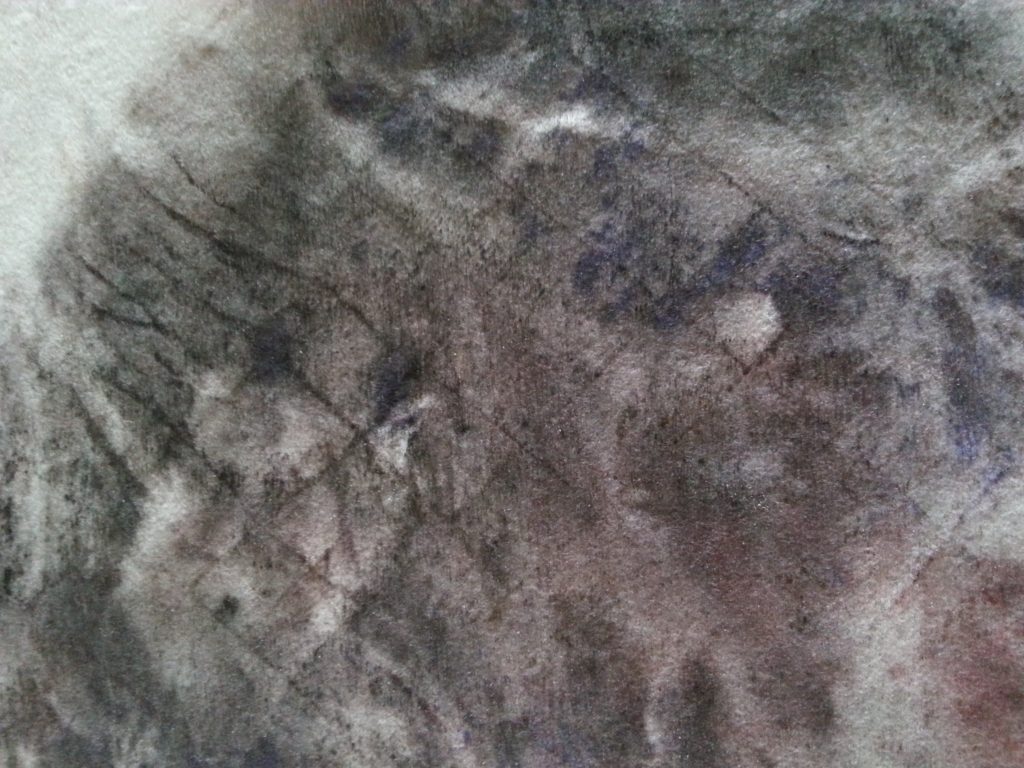
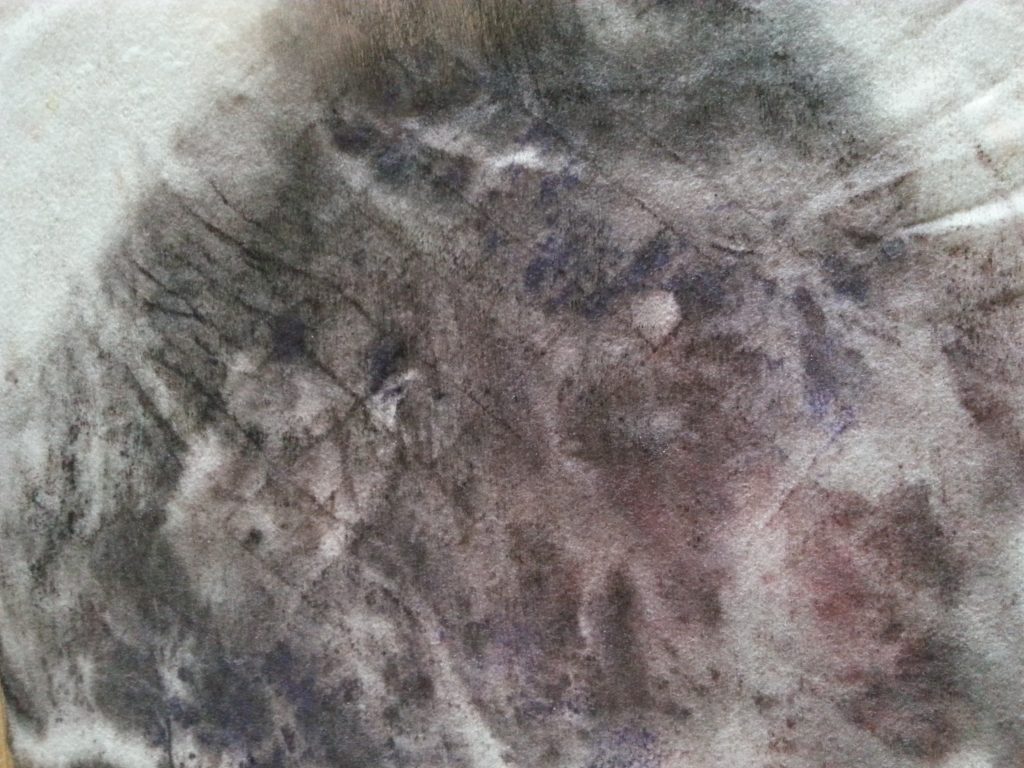
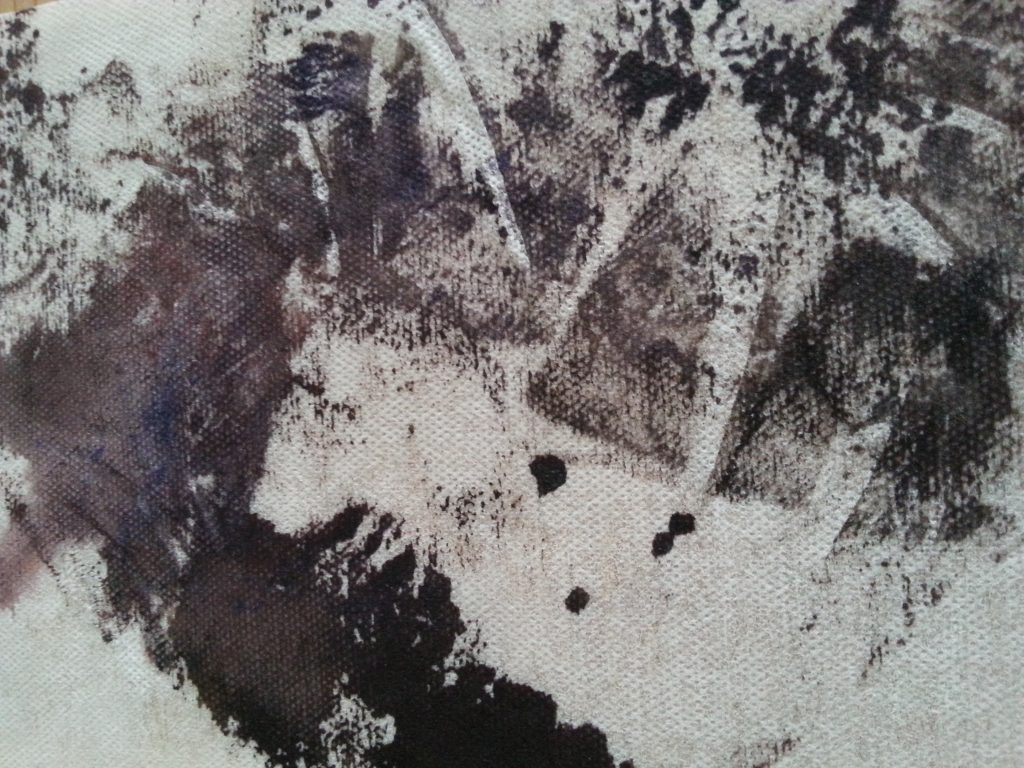
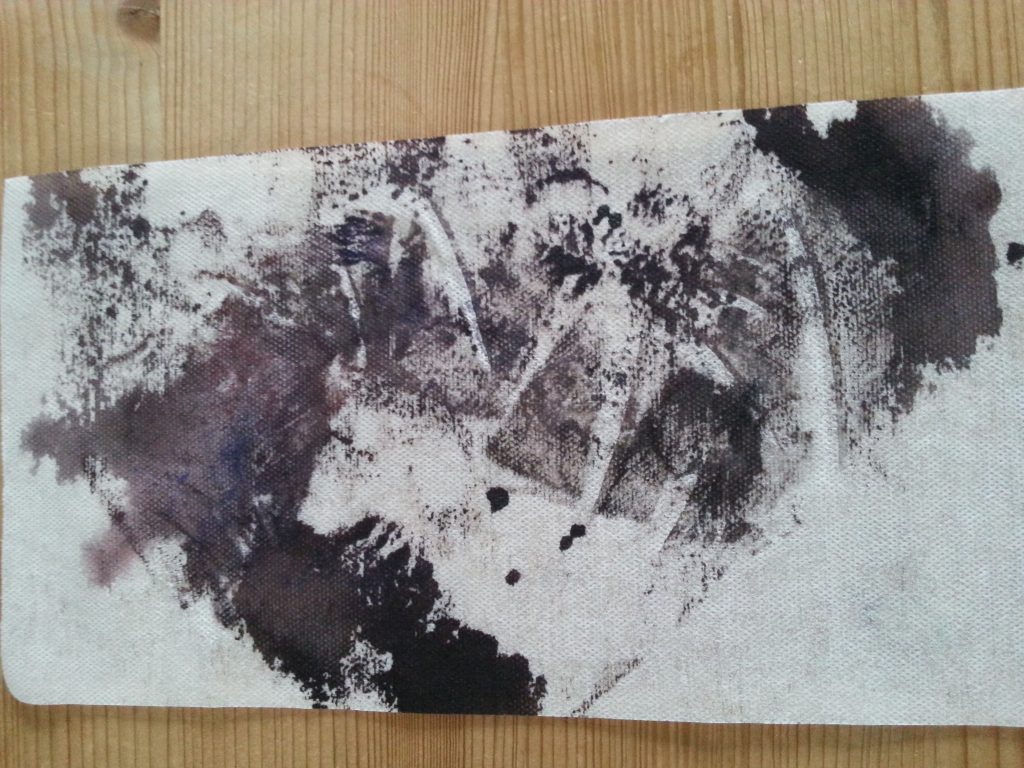
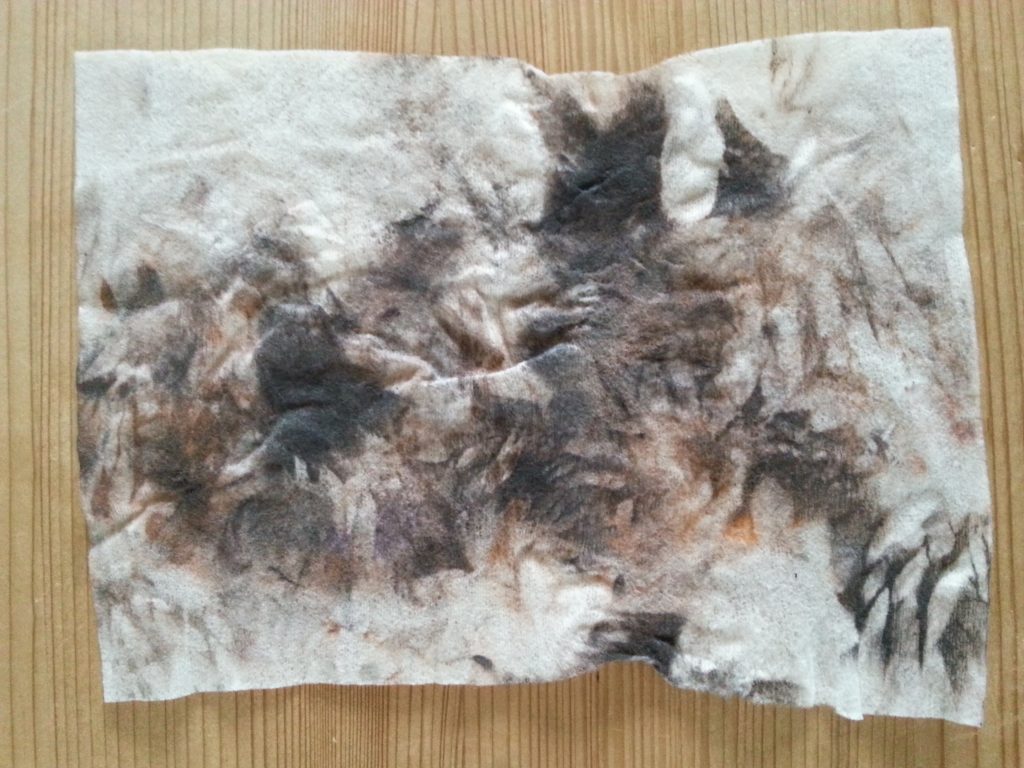
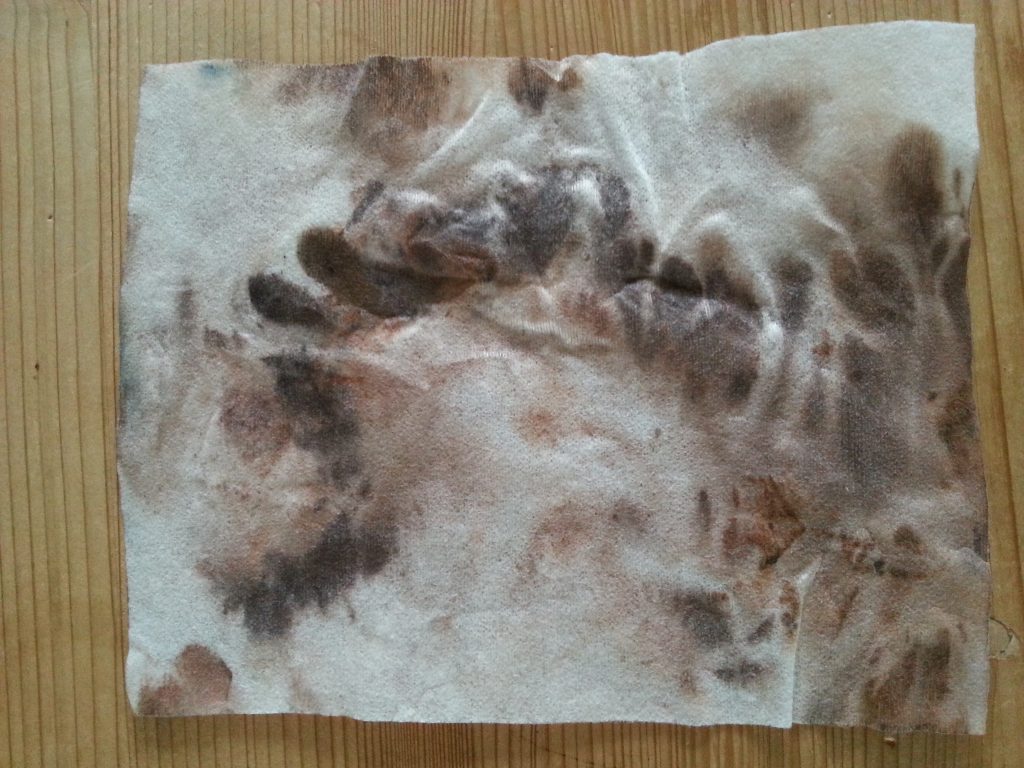
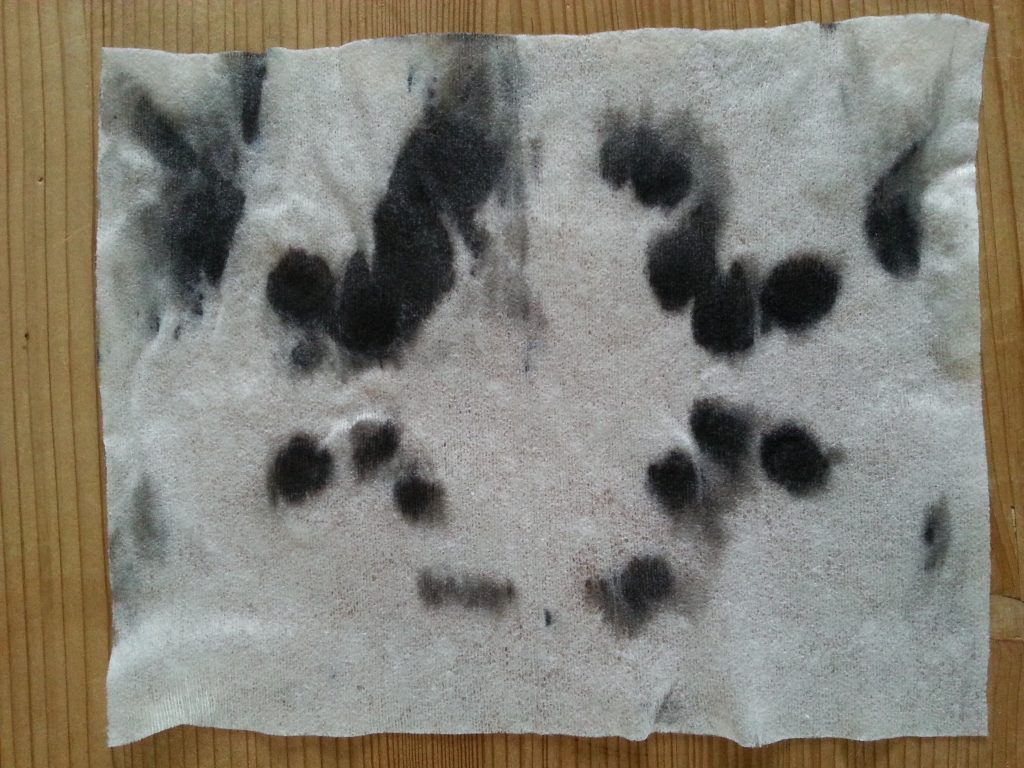
Hand-print
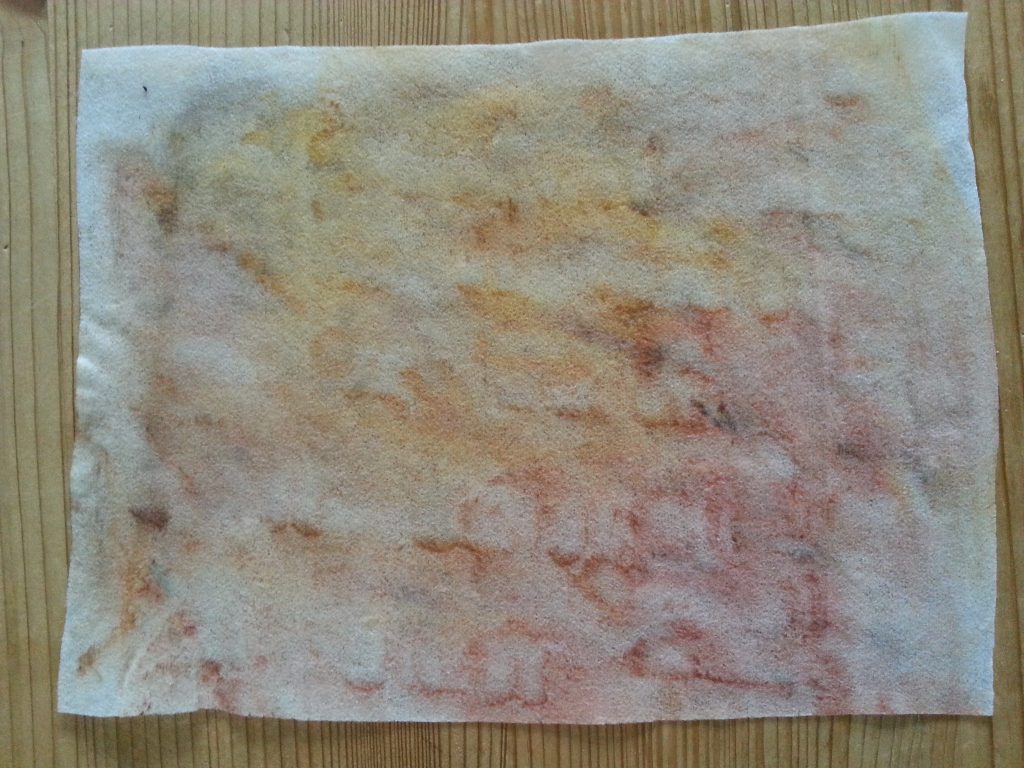
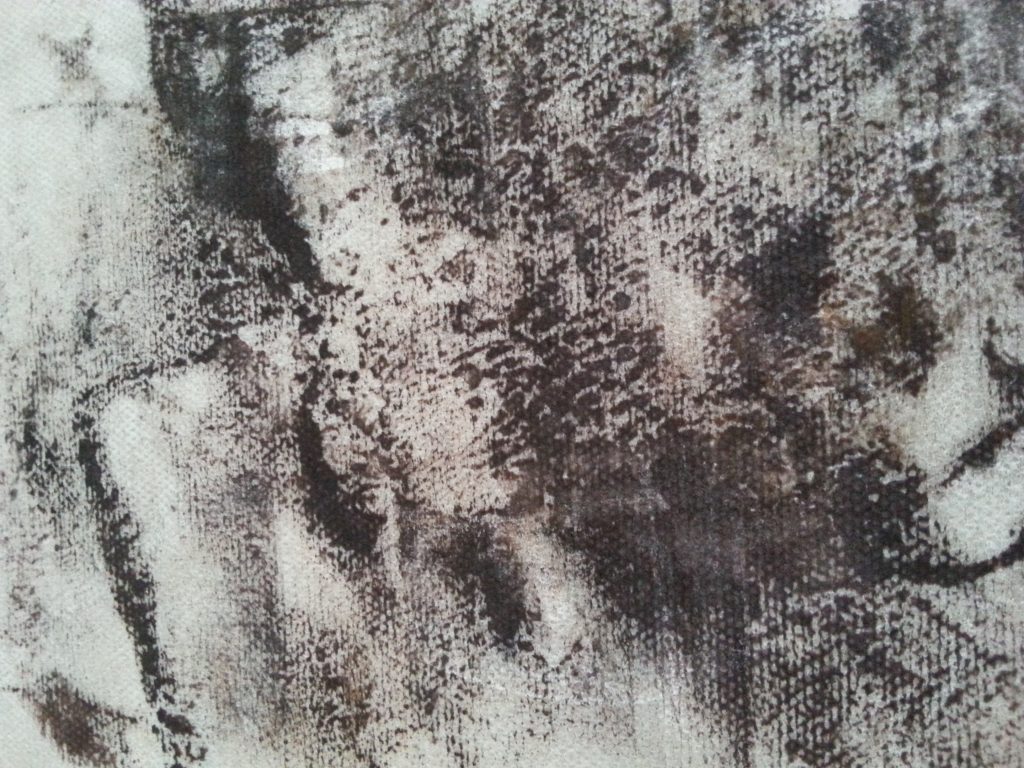
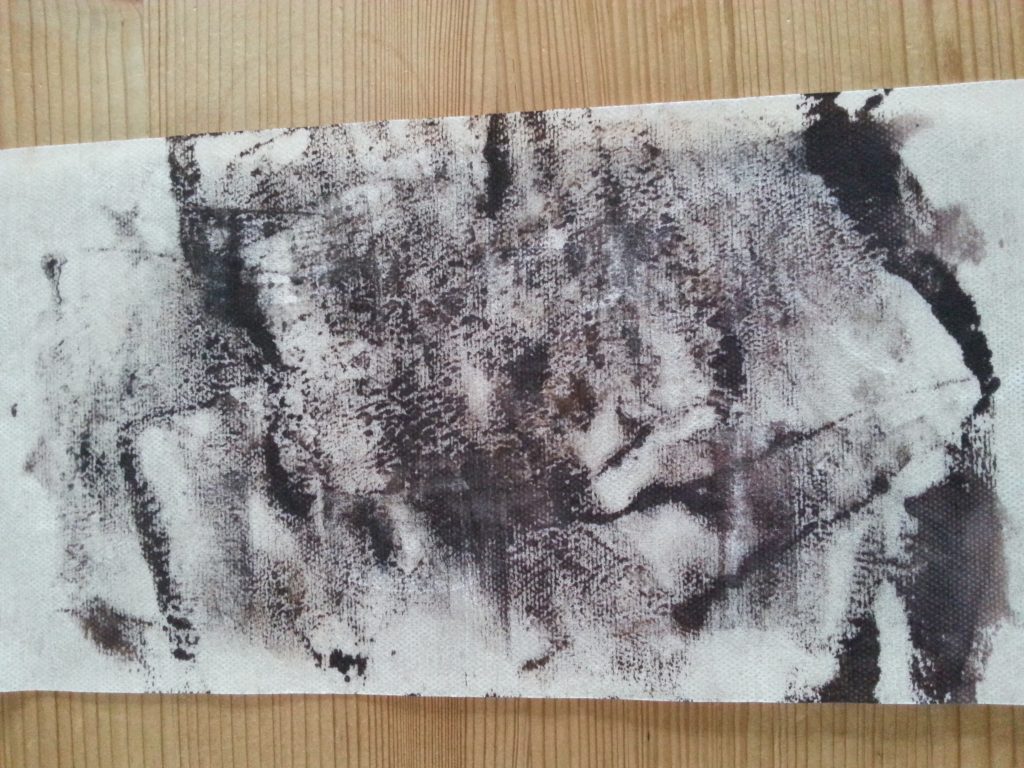
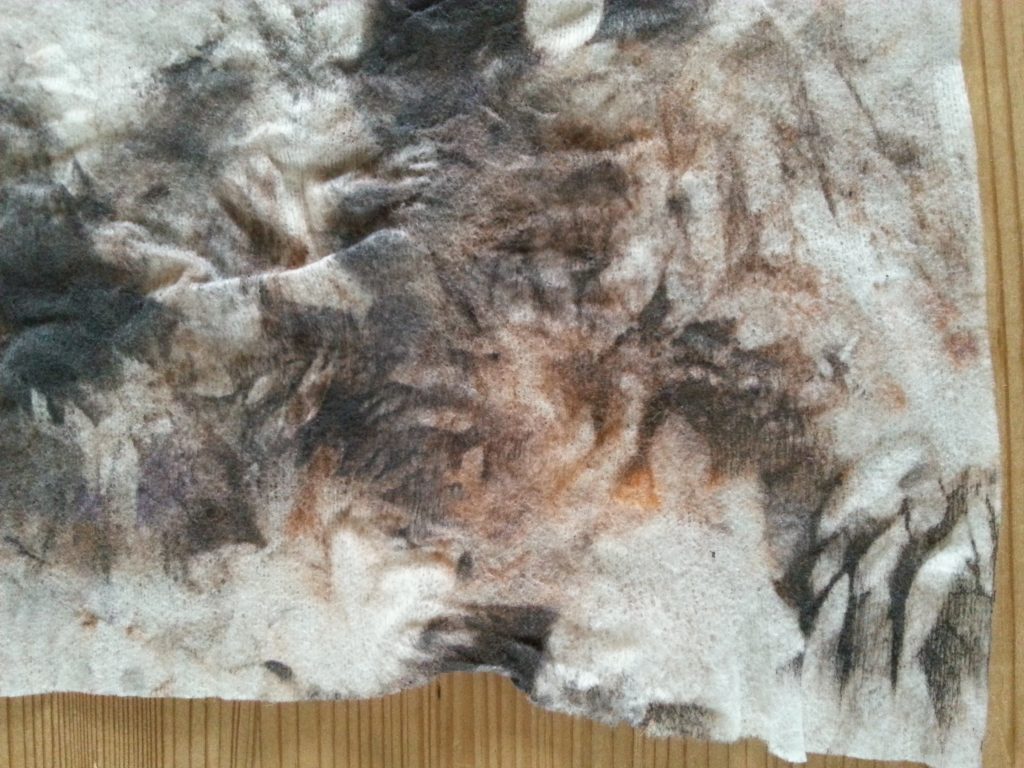
In order to experiment with colour blending and layering, I chose not to clean the plated between every print. When the ink became dry, I spritzed it with water to allow easier removal. Rather than waste the dampened ink, I used baby wipes to clean the plate. By pressing down, I found I could create good hand imprints on the wipes. The scrunched and folded wipes also produced some good prints that will be useful to work into later. The wipes retain good strength, even when dry and have a little stretch which when re-wetted should allow the fabric to be re-shaped around a former.
-
- MMT Assignment 4 – Monoprinting – Exercise Two – Back Drawing – Hand-print
-
- MMT Assignment 4 – Monoprinting – Exercise Two – Back Drawing – Hand-print
-
- MMT Assignment 4 – Monoprinting – Exercise Two – Back Drawing – Hand-print
-
- MMT Assignment 4 – Monoprinting – Exercise Two – Back Drawing – Hand-print
-
- MMT Assignment 4 – Monoprinting – Exercise Two – Back Drawing – Hand-print
-
- MMT Assignment 4 – Monoprinting – Exercise Two – Back Drawing – Hand-print
-
- MMT Assignment 4 – Monoprinting – Exercise Two – Back Drawing – Hand-print
-

- MMT Assignment 4 – Monoprinting – Exercise Two – Back Drawing – Hand-print
-
- MMT Assignment 4 – Monoprinting – Exercise Two – Back Drawing – Hand-print
-
- MMT Assignment 4 – Monoprinting – Exercise Two – Back Drawing – Hand-print
-
- MMT Assignment 4 – Monoprinting – Exercise Two – Back Drawing – Hand-print
-
- MMT Assignment 4 – Monoprinting – Exercise Two – Back Drawing – Hand-print
-
- MMT Assignment 4 – Monoprinting – Exercise Two – Back Drawing – Hand-print
-
- MMT Assignment 4 – Monoprinting – Exercise Two – Back Drawing – Hand-print
-
- MMT Assignment 4 – Monoprinting – Exercise Two – Back Drawing – Hand-print
-
- MMT Assignment 4 – Monoprinting – Exercise Two – Back Drawing – Hand-print
-
- MMT Assignment 4 – Monoprinting – Exercise Two – Back Drawing – Hand-print
Conclusion
Back drawing proved to be satisfying and largely successful. I selected a number of materials and also used finger and full handprints to create a range of shapes on the media. I printed onto a range of media, print paper, tumble dryer sheets, baby wipes, cloth, fabric with acrylic ink, using a glass plate. I also experimented with acrylic paint at varying dilutions and with using both negative and positive images.
The impressions were a good balance of being reasonably predictable and reliable enough to factor into a repeatable design but at the same time vibrant and lively. Being able to pull a negative print from some of the materials was very satisfying. It should also be possible to combine these techniques, for example, the credit card over-stamped with the rubber/foam stamps.