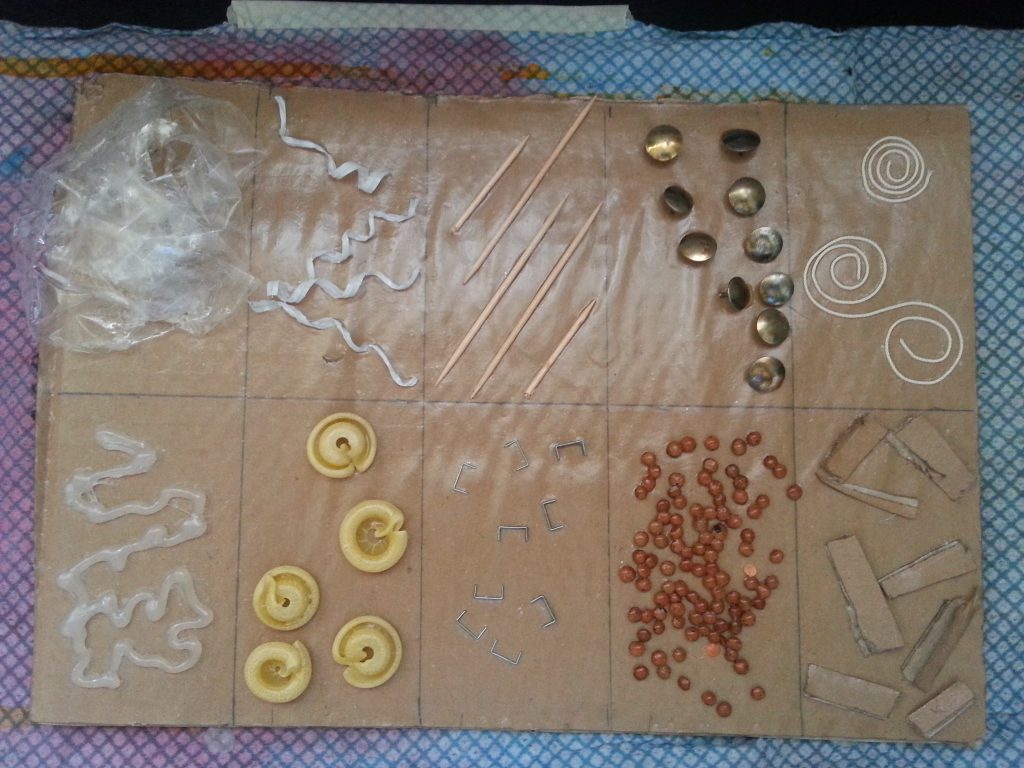
For this exercise I raided the cupboards and pantry for items that seemed would produce an interesting print. These were arranged on the cardboard ‘block’ and pva used to seal and glue in place.
The items used to print from were:
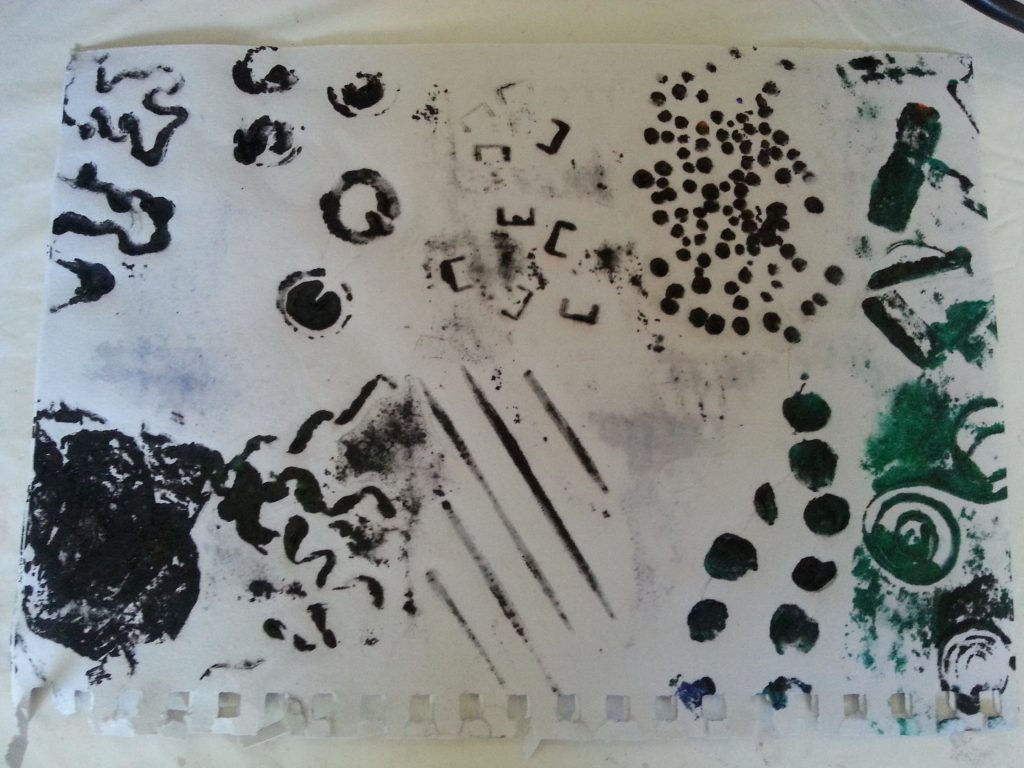
Top left to right: Scrumpled plastic, wire bread ties, toothpicks, drawing pins, string
Lower left to right: Glue gun, pasta, staples, lentils, cardboard
-
- MMT Assignment 4 – Collatype – Exercise 1 – Create a collage block
-
- MMT Assignment 4 – Collatype – Exercise 1 – Create a collage block
-
- MMT Assignment 4 – Collatype – Exercise 1 – Create a collage block
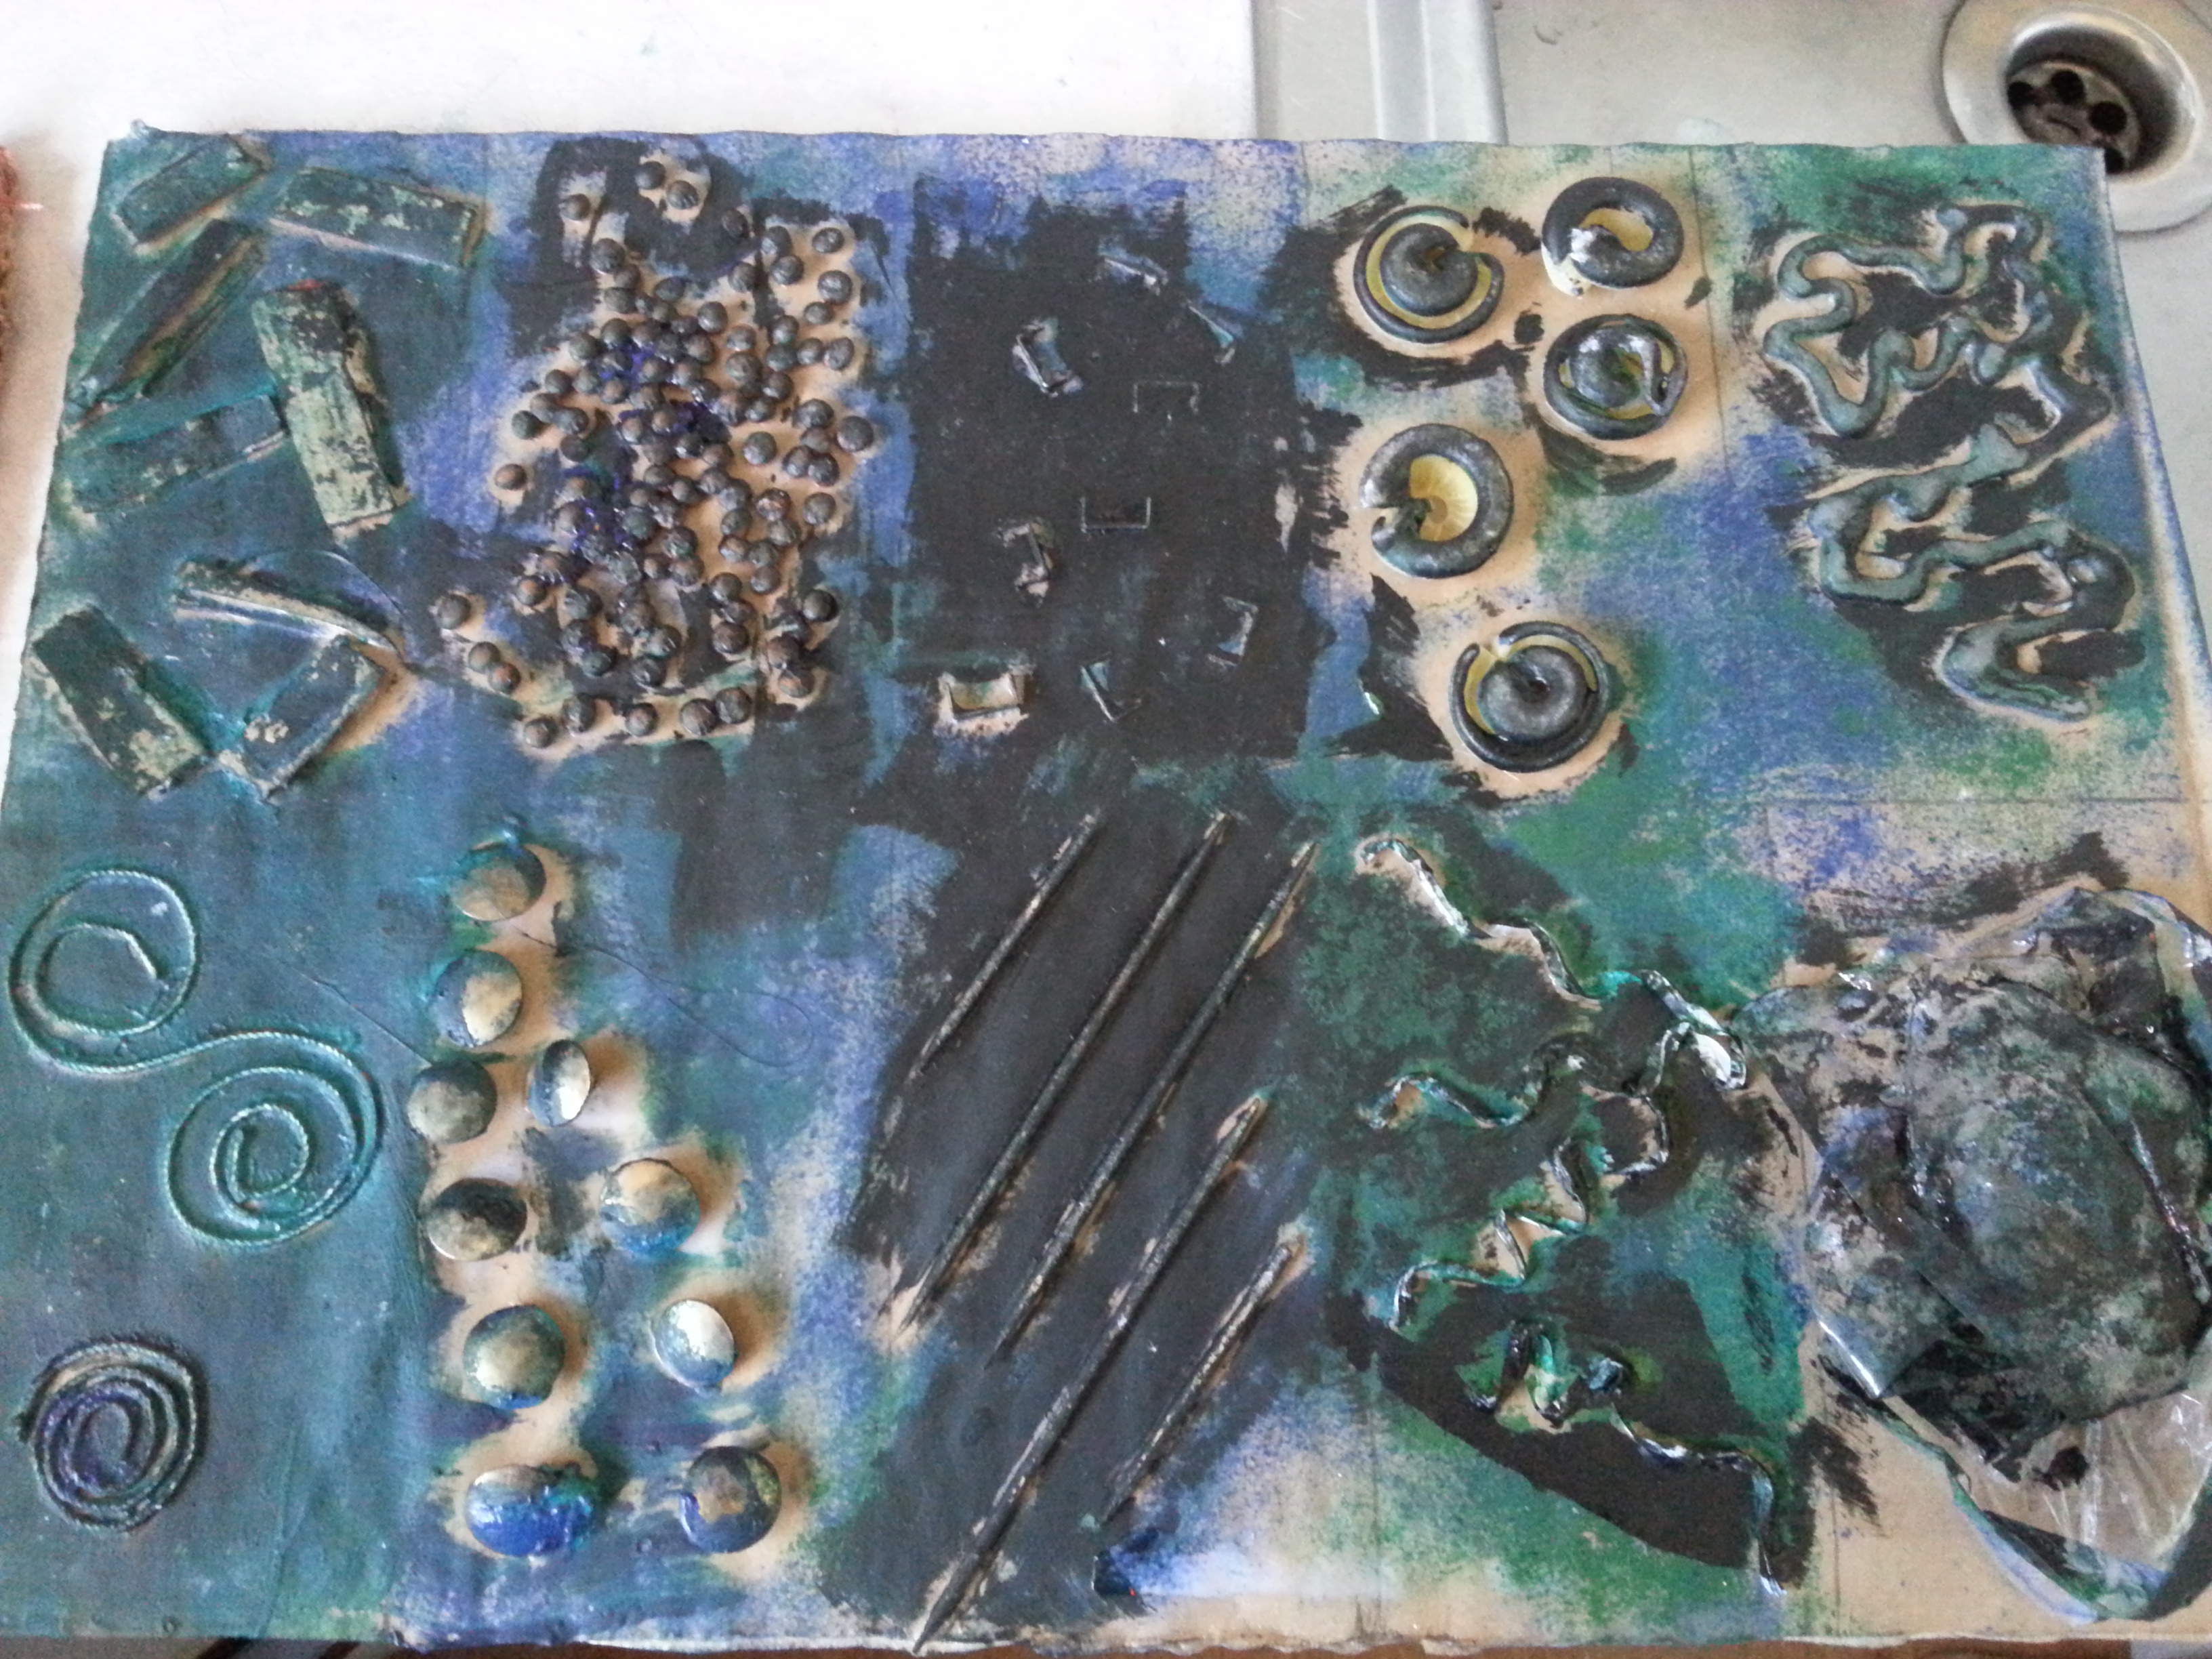
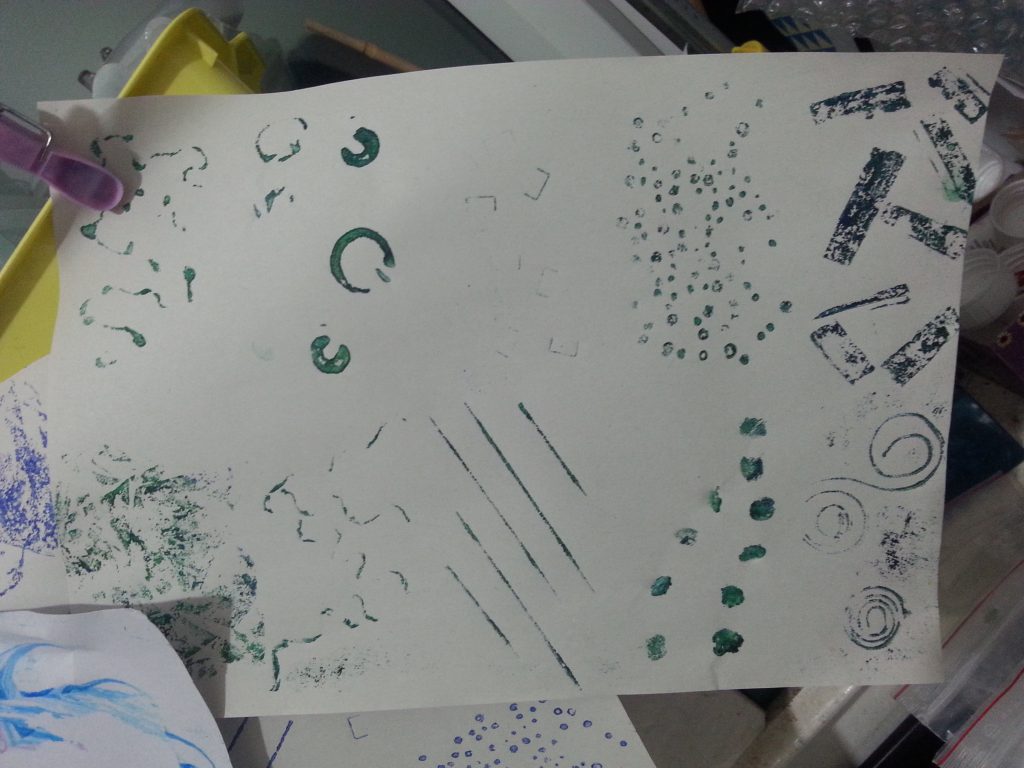
The print was taken on a piece of cartridge paper using acrylic ink.
Conclusion
The output of the print was not as good as I had anticipated. There is clearly a need for the print items to be only raised from the surface to a small extent and to be quite flat across their surface. Hence the ties, for example, did not take much ink due to the much higher, adjacent pasta. The variable height of the pasta due to its shape meant that only the ‘peaks’ of the shape took up any ink and few of the more interesting details are visible.
The string and cardboard, being quite level and with only a small elevation, were quite successful as was the plastic, which no doubt flattened as pressure was applied.
Overall, only a modest achievement.
Follow-up
As a result of the disappointing results I did further research and also sought feedback from fellow students. Suggestions were to change for a softer paper, to dampen the paper and to change the ink.
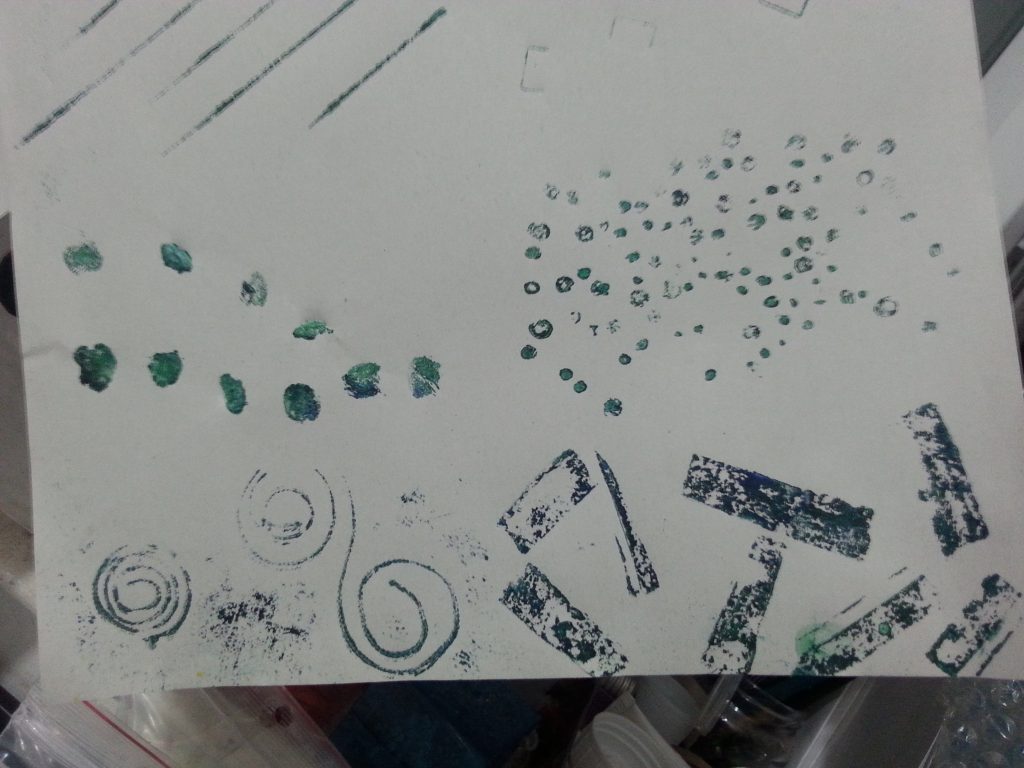
I therefore changed for a much softer, better quality paper with a more absorbent ‘fluffy’ surface. I wasn’t able to change the inks but I did dampen the paper. When pressing the print I also considered the way in which soft layers are placed over a print in professional printing studios and adapted this by laying additional paper on top of the print paper and a soft towel over the paper. I then brayered firmly but carefully over the towel. The aim was to encourage the damp paper to ‘shape’ around the pattern items without breaking the pieces or allowing the paper to tear. I also used more paint and spritzed the paint before applying the paper.
Conclusion (2)
The resulting print was far more satisfactory – a much clearer impression from the print pieces and no damage to the paper or breakage of the pieces. This was a much more pleasing result and useful information to take forward into the next exercises and future prints.
MMT Assignment 4 – Collatype – Exercise 1 – Create a collage block
Final Conclusion, reflections and thoughts for future projects
This initial exercise raised some valuable points in relation to obtaining a good quality print. Attention to the relative levels and print-facing surface of the collage pieces is very important. Using an appropriate paper, treating the paper as required and paying careful attention to pulling the print are also crucial to success. With the right combination it should be possible to produce prints with relatively good predictability and to plan somewhat for the final result.