
Bubble wrap
-
- Bubble wrap
-
- Bubble wrap
-
- Bubble wrap
-
- Bubble wrap
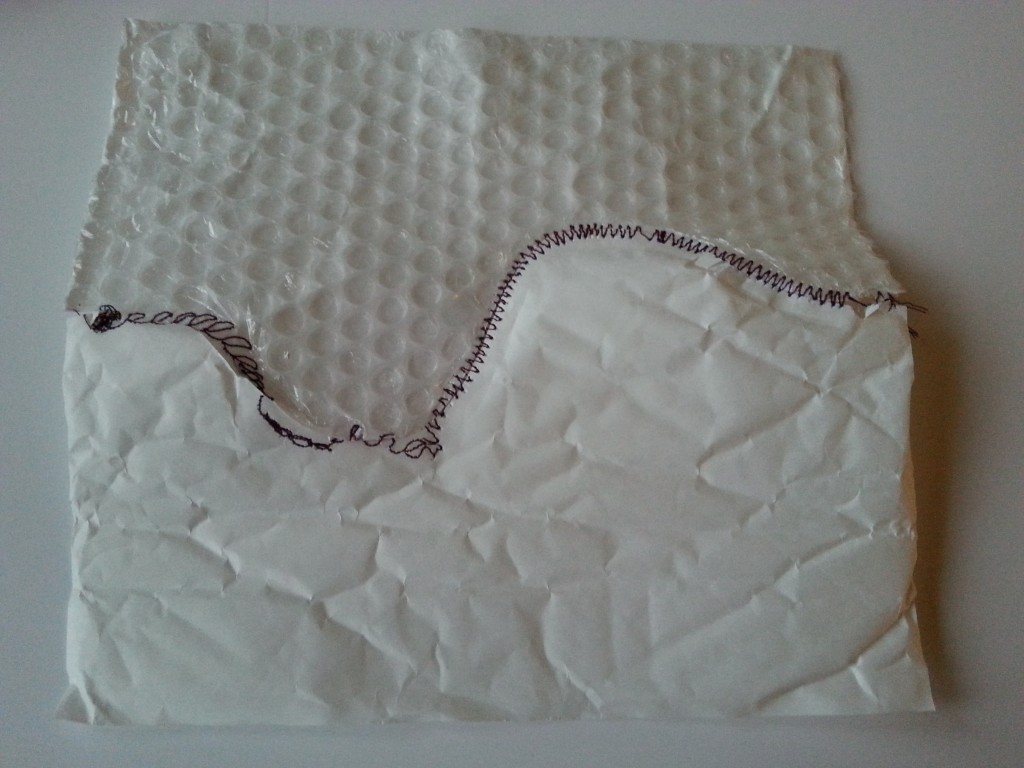
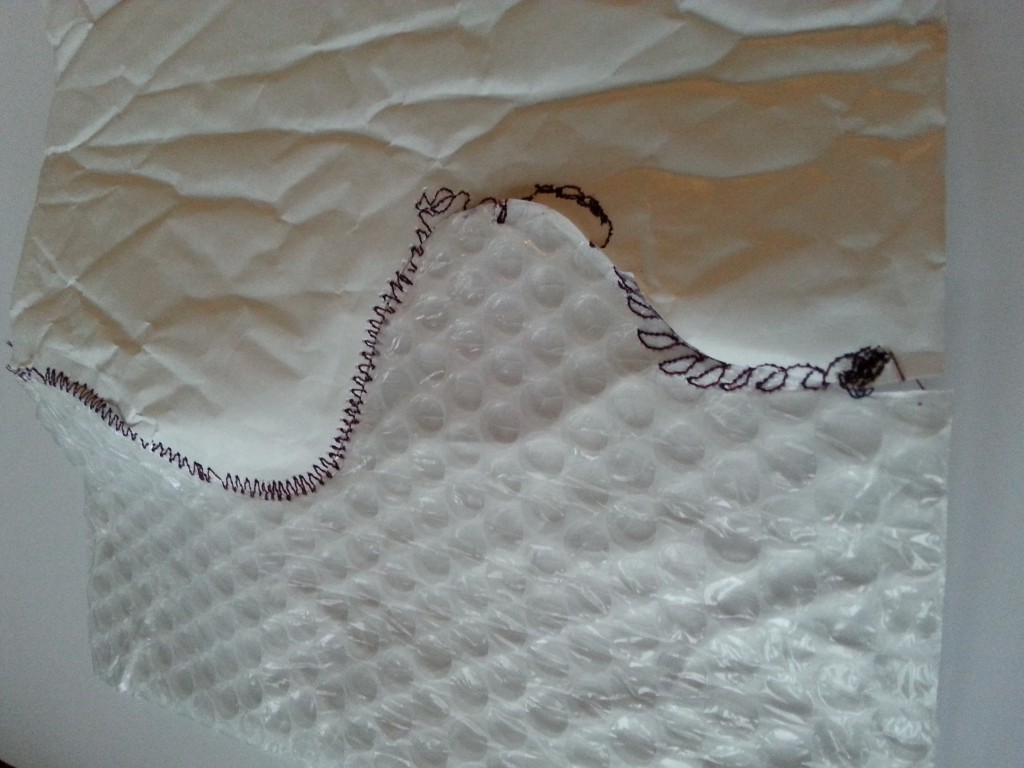
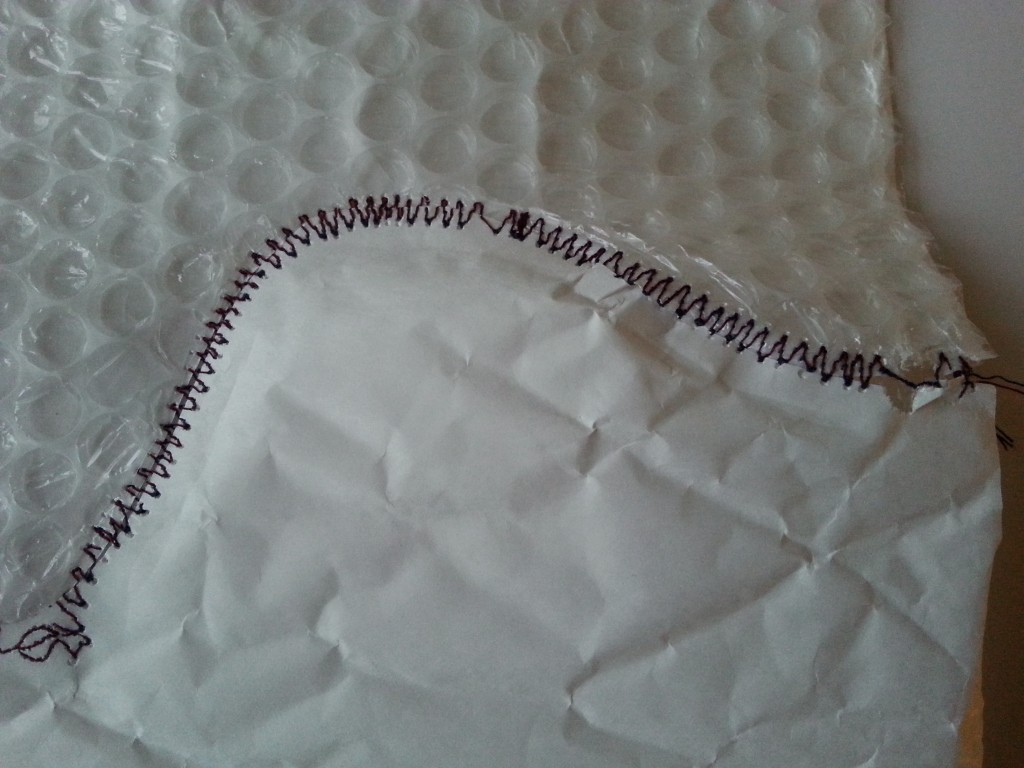
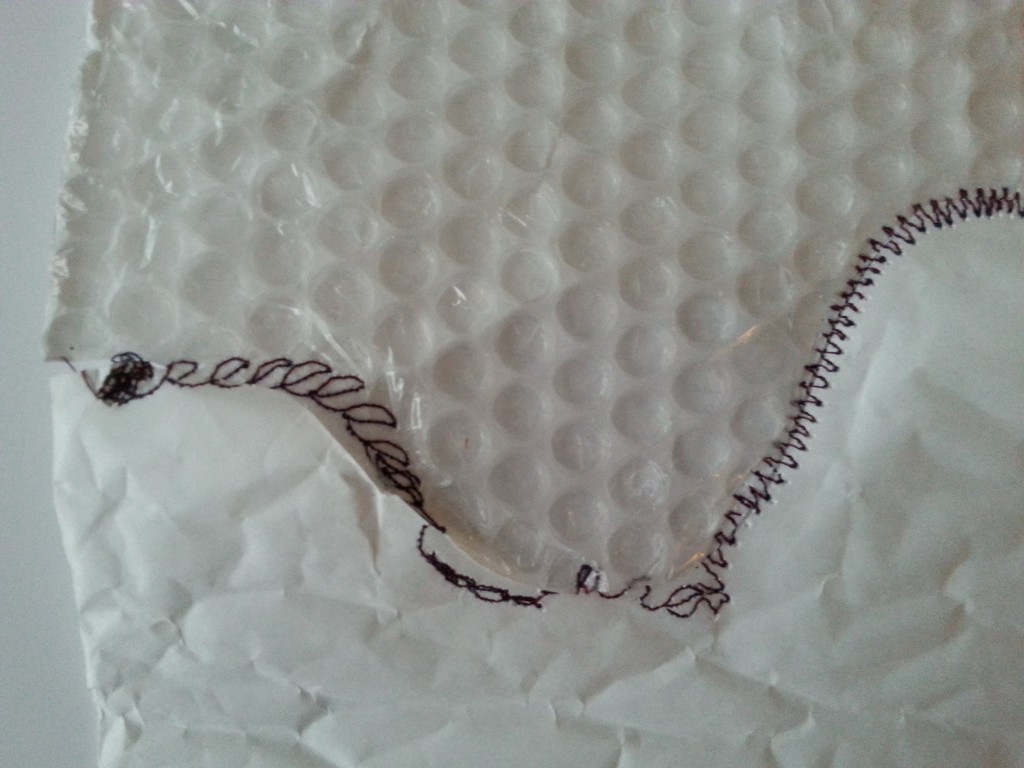
I find bubble wrap a fascinating material to work with. It has exciting texture, is mouldable and pliable and is also useful for rubbings, print, as wadding and for stitching into.
Here I have taken the bubble side and married it up with the paper side to achieve a textural contrast with a simple curved shape. I planned to use a fancy machine-stitch, however, this proved difficult as the bubbles became trapped under the presser foot. This proved untidy and unsatisfactory (images upper and lower right). I changed to a simpler, wide zigzag and this was much more successful (lower left).
I like the contrasting textures in this piece – it would be interesting to incorporate the stuffed bubbles as used in Assignment One and perhaps to add colour with printing onto the plain paper section and some form of spray paint for the bubble area?
Bubble wrap and metallic crepe paper
-
- Bubble wrap and crepe paper
-
- Bubble wrap and crepe paper
-
- Bubble wrap and crepe paper
-
- Bubble wrap and crepe paper reverse
-
- Bubble wrap and crepe paper reverse
-
- Bubble wrap and crepe paper reverse
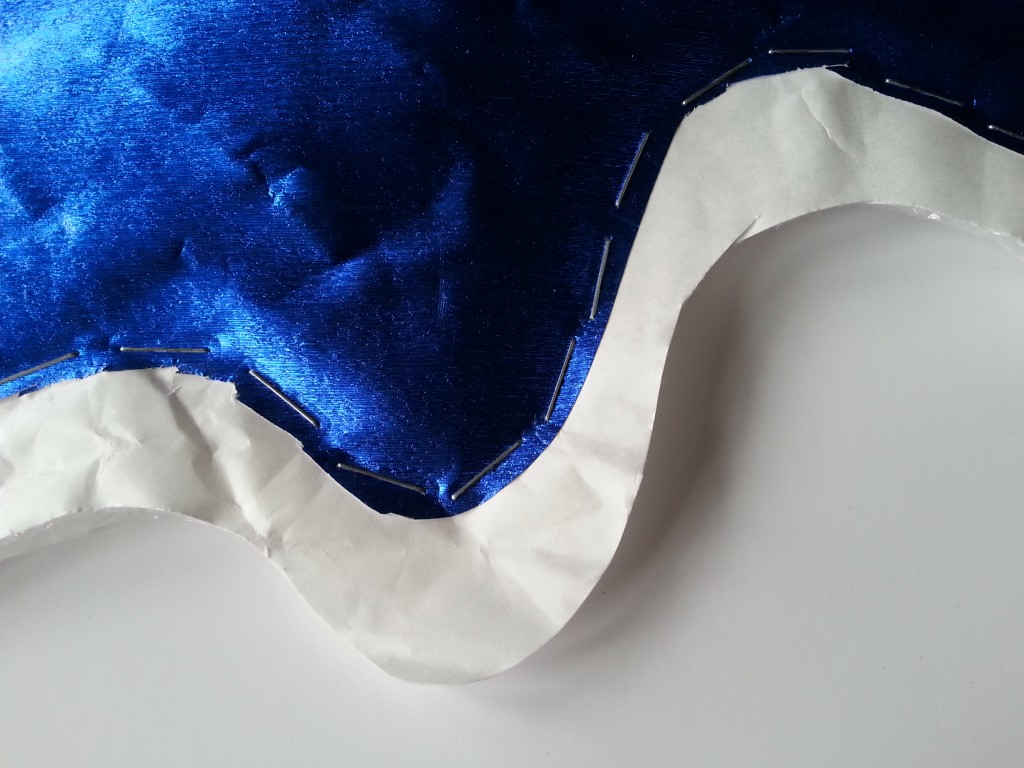
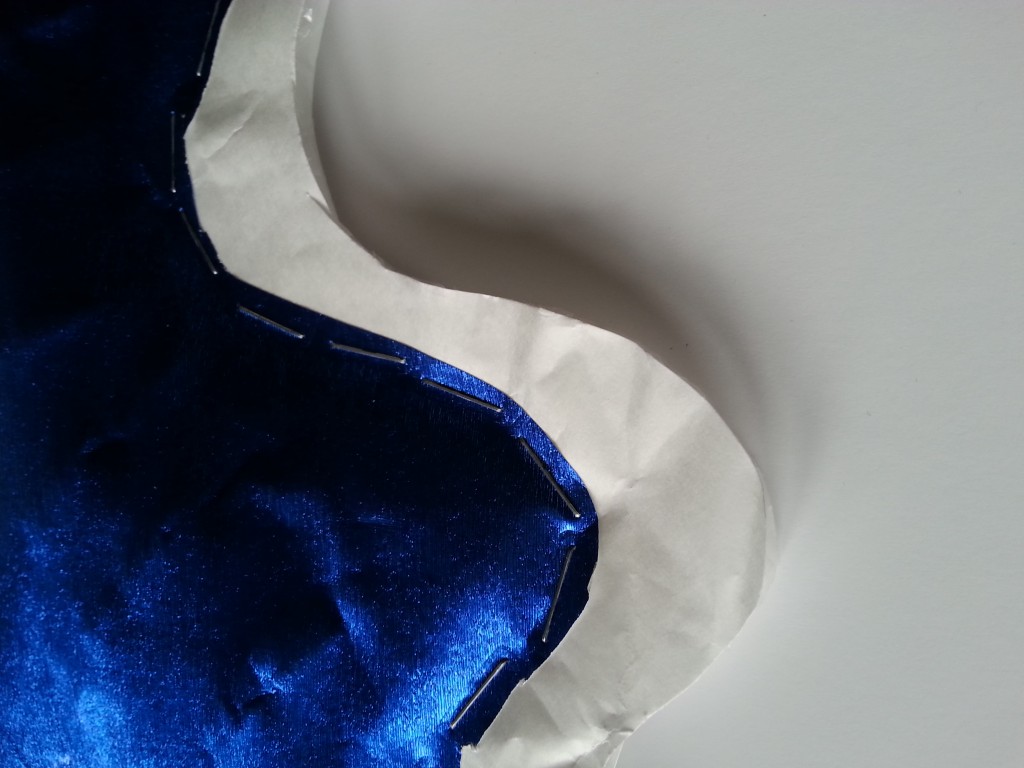
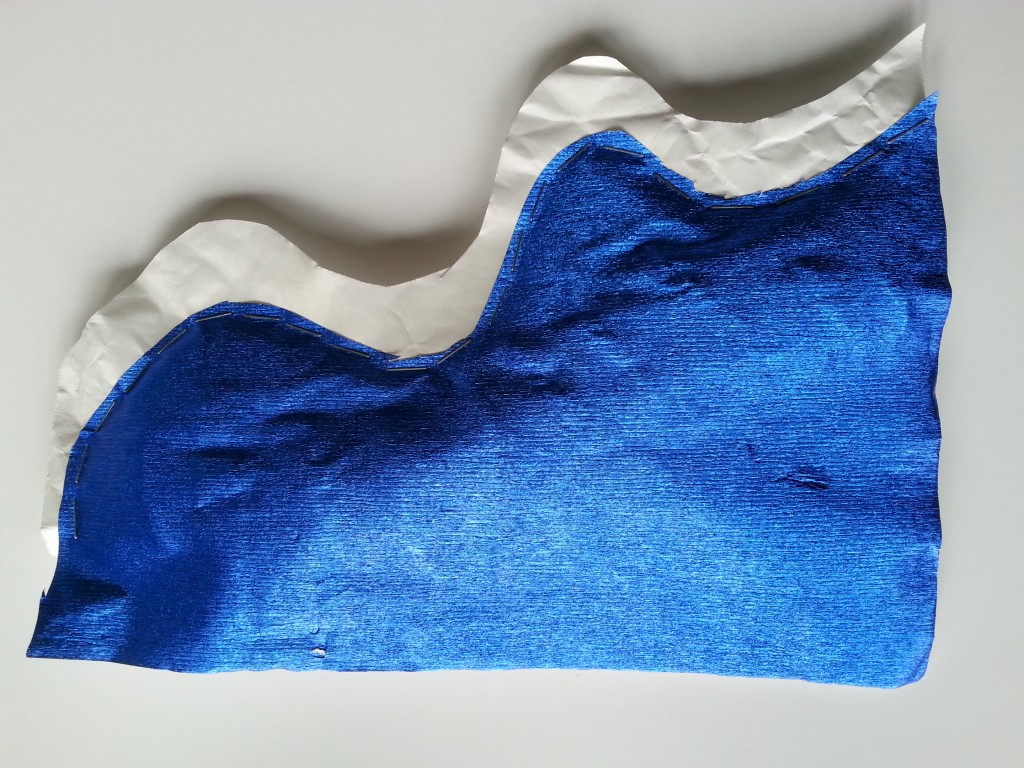
The crepe paper used in this sample is thin and has the characteristic stretchiness of crepe paper that allows it to be shaped an moulded. I cut matching curves in the paper and bubble wrap (with paper on both sides) and used staples to join the two together with the curves aligned but overlapping.
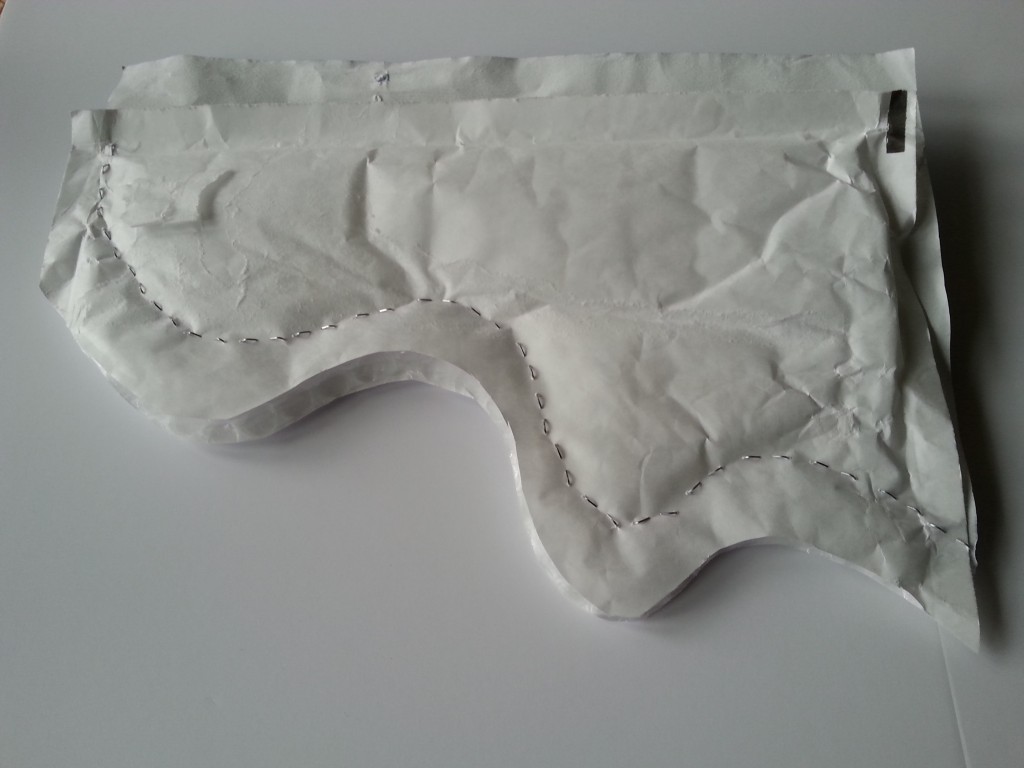
The closely placed staples make the crepe paper shape to the slightly padded surface of the bubble wrap. The staples give good texture on the reverse and the edges where the wrap is cut are pushed out, rather like a pie crust. This sample could be further enhanced by stitching and painting/printing.
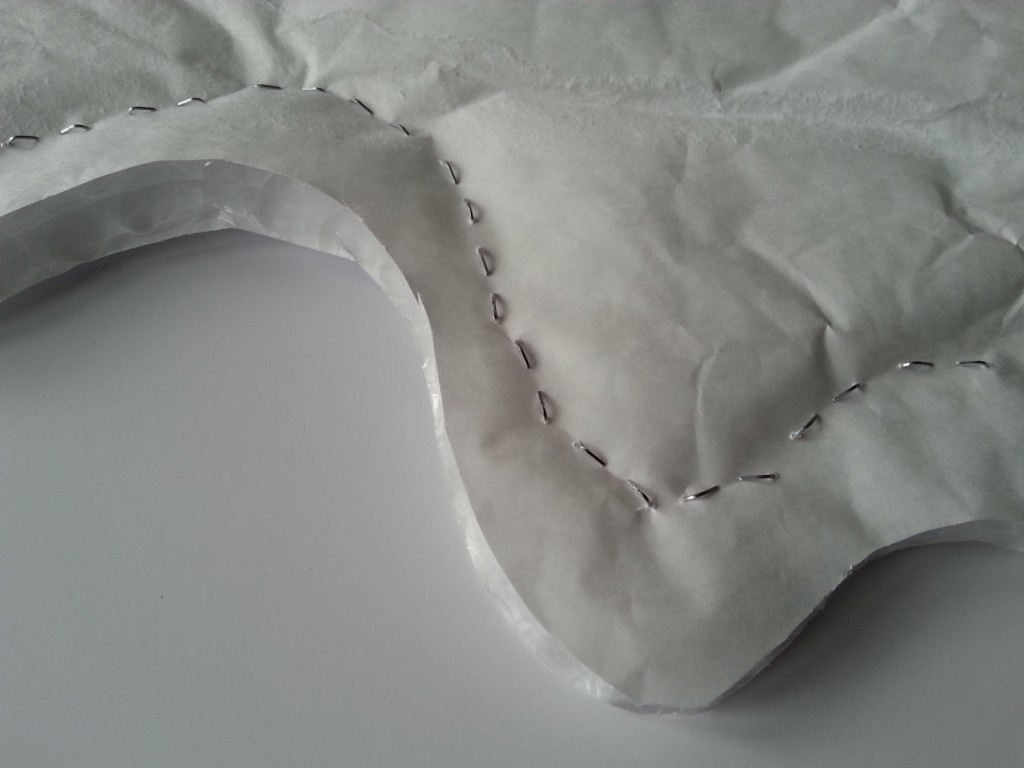
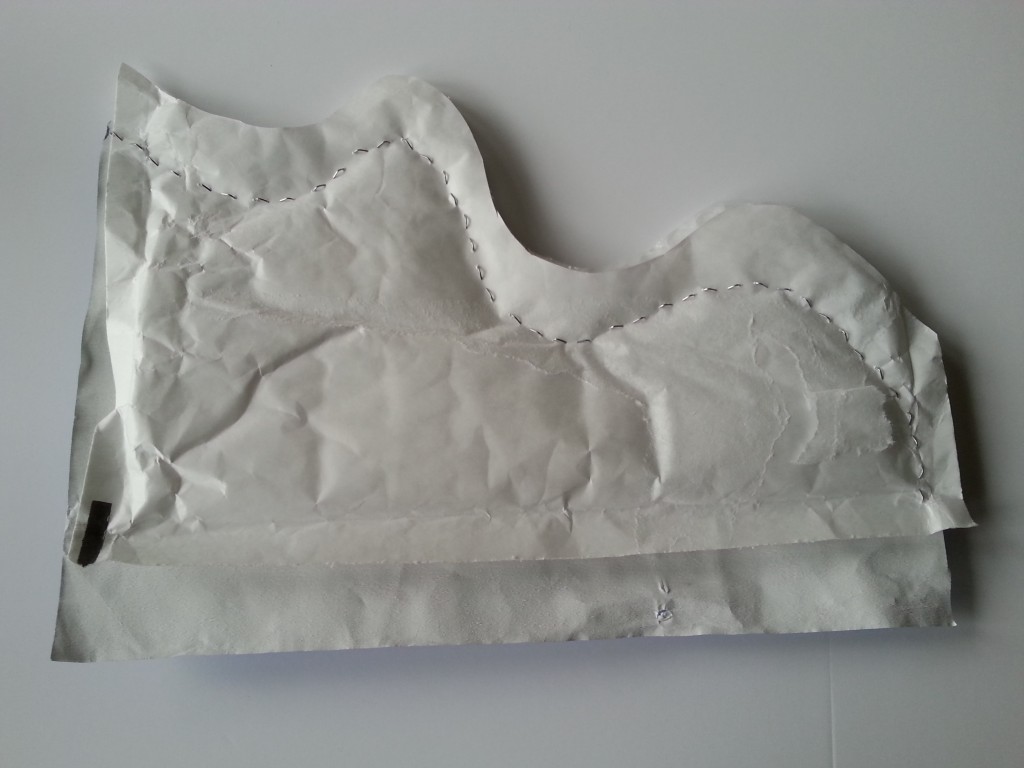
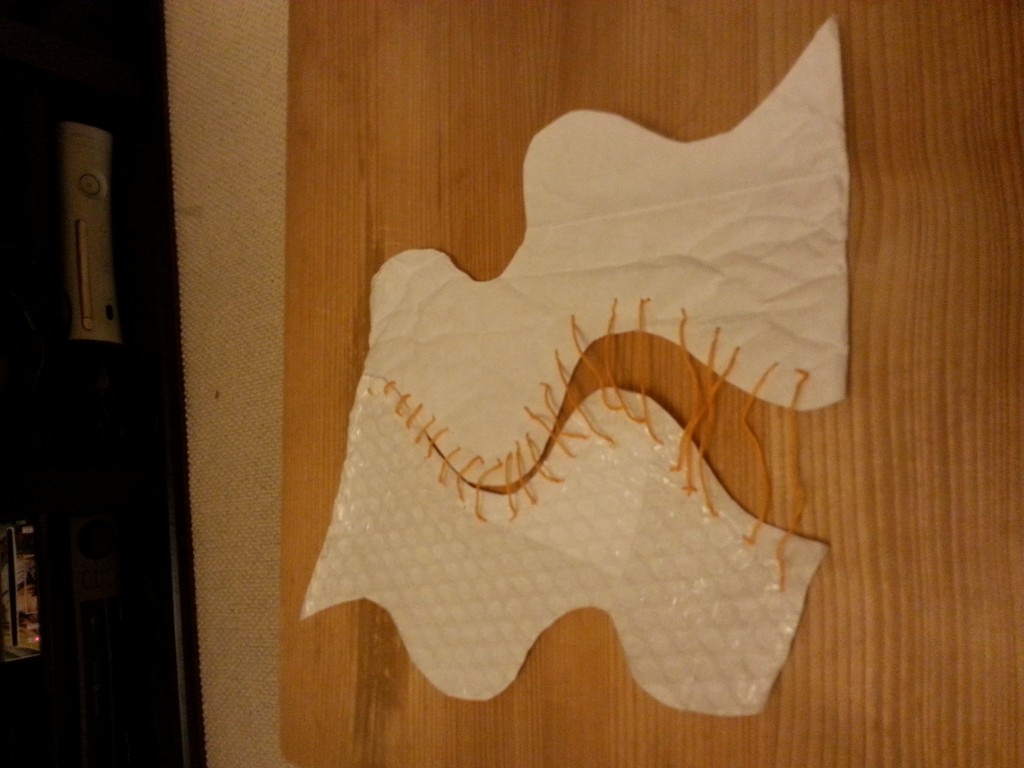
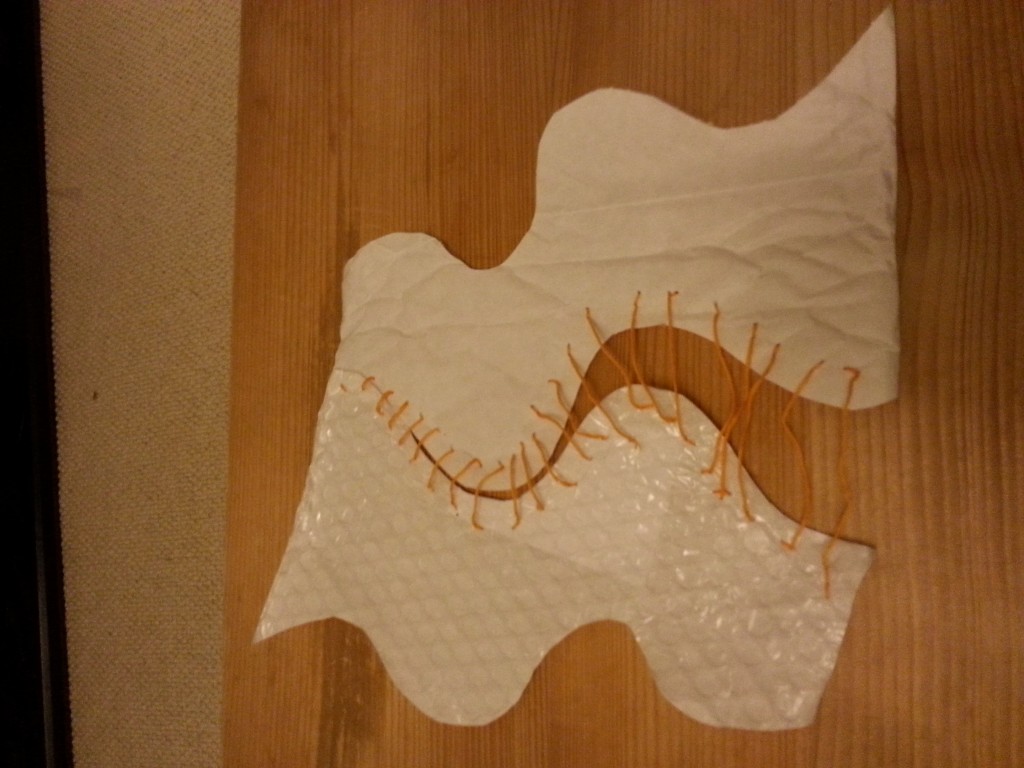
Stitched bubble wrap
-
- Bubble wrap stitched with embroidery thread
-
- Bubble wrap stitched with embroidery thread
-
- Bubble wrap stitched with embroidery thread
-
- Bubble wrap stitched with embroidery thread
-
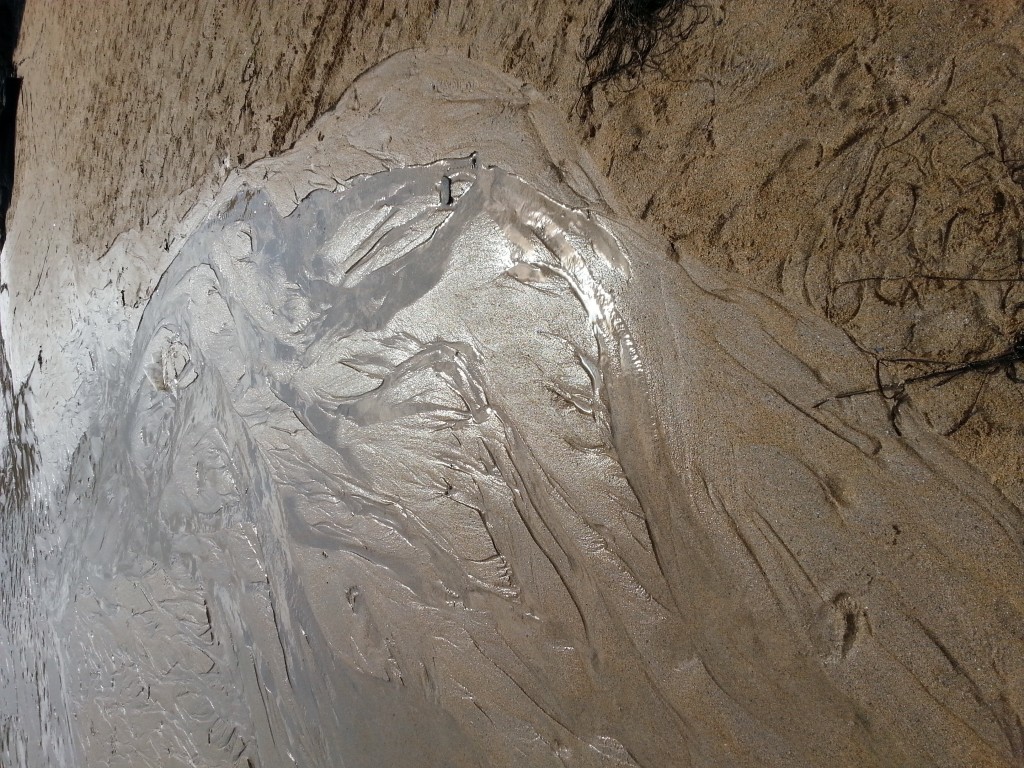
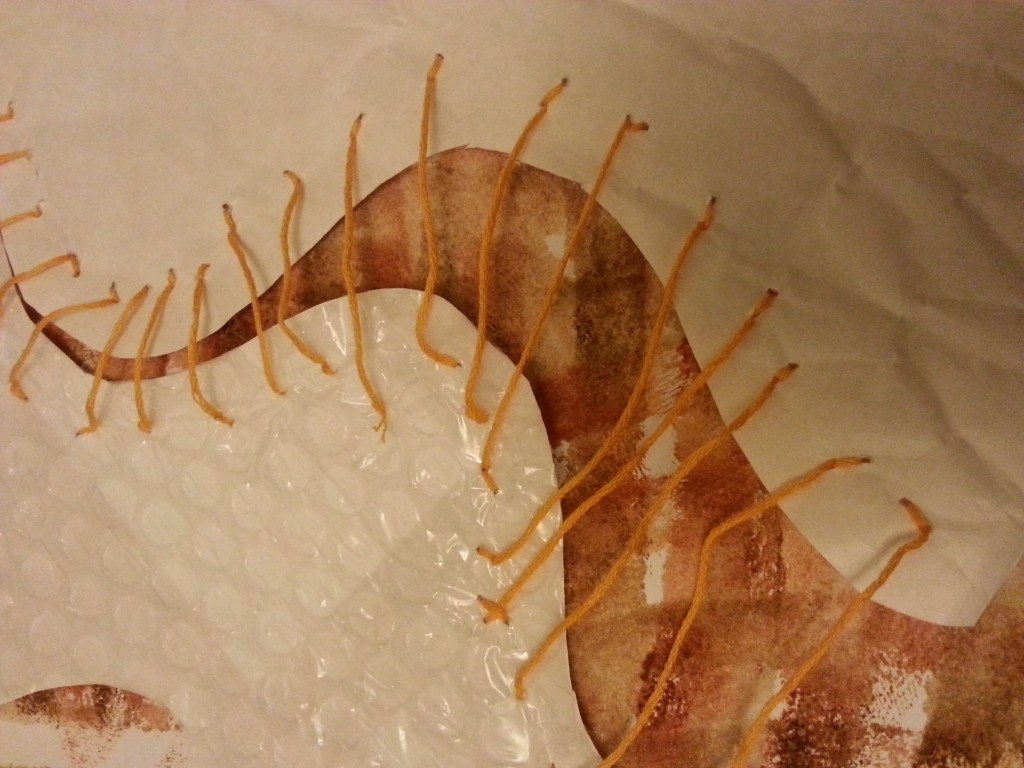
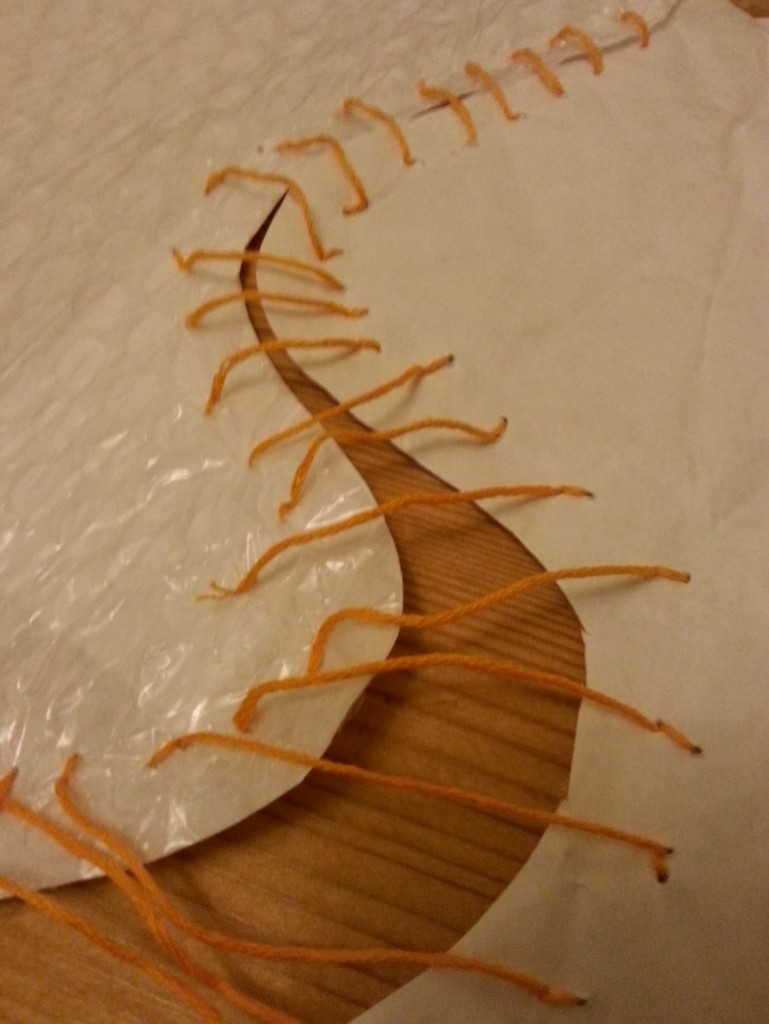
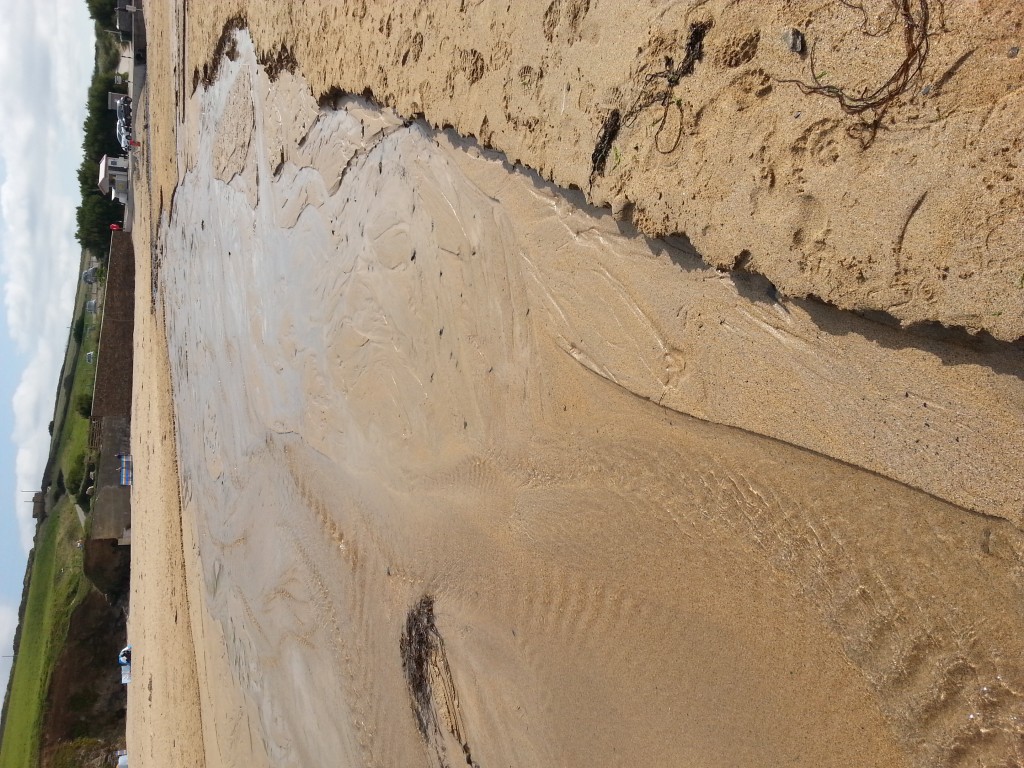
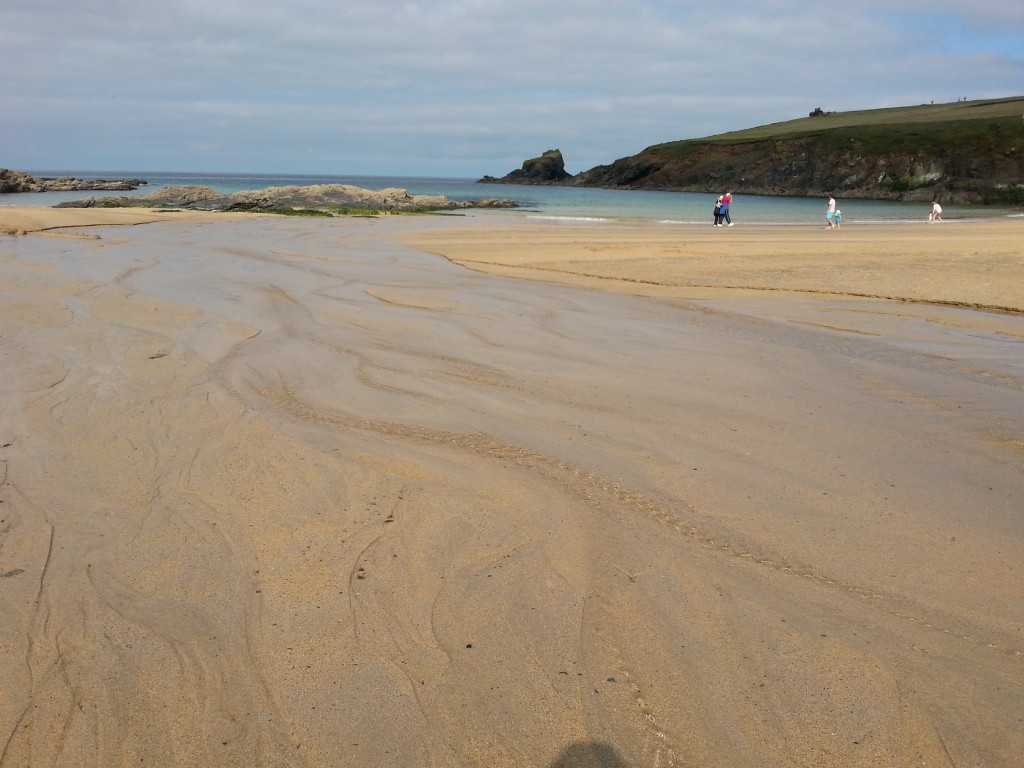
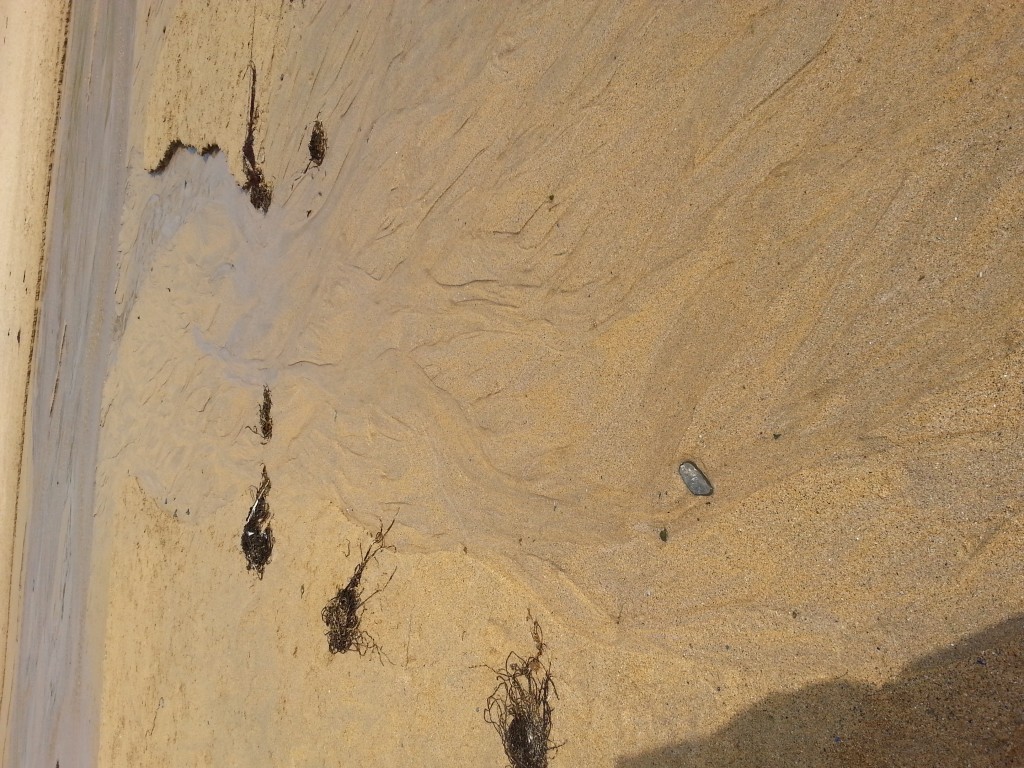
- Tide going out leaving curved channels
-
- Tide going out leaving curved channels
-
- Tide going out leaving curved channels
-
- Tide going out leaving curved channels
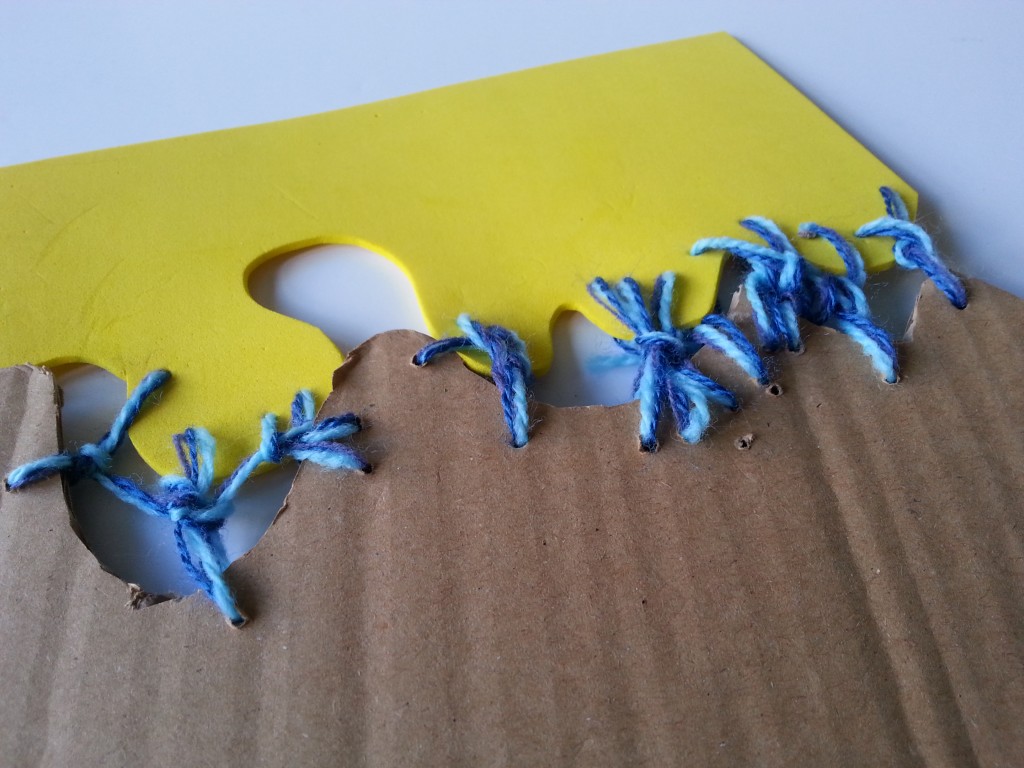
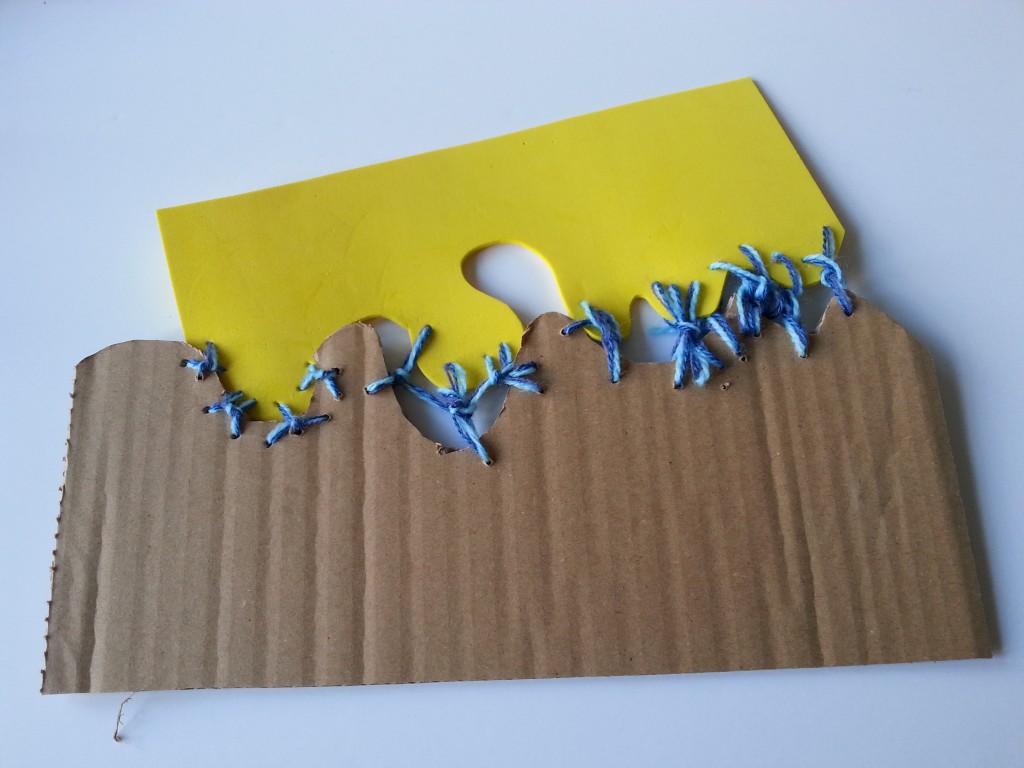
For this sample, I extended the bubble wrap sample technique, this time creating a space between the pieces and using anchor stranded embroidery thread to stitch the samples together. By leaving an increasingly large gap between the pieces, this created a very pleasing shape that reminds me of water rippling down a sandy beach. Placing a painted sand-coloured background behind the pieces enhances the effect.
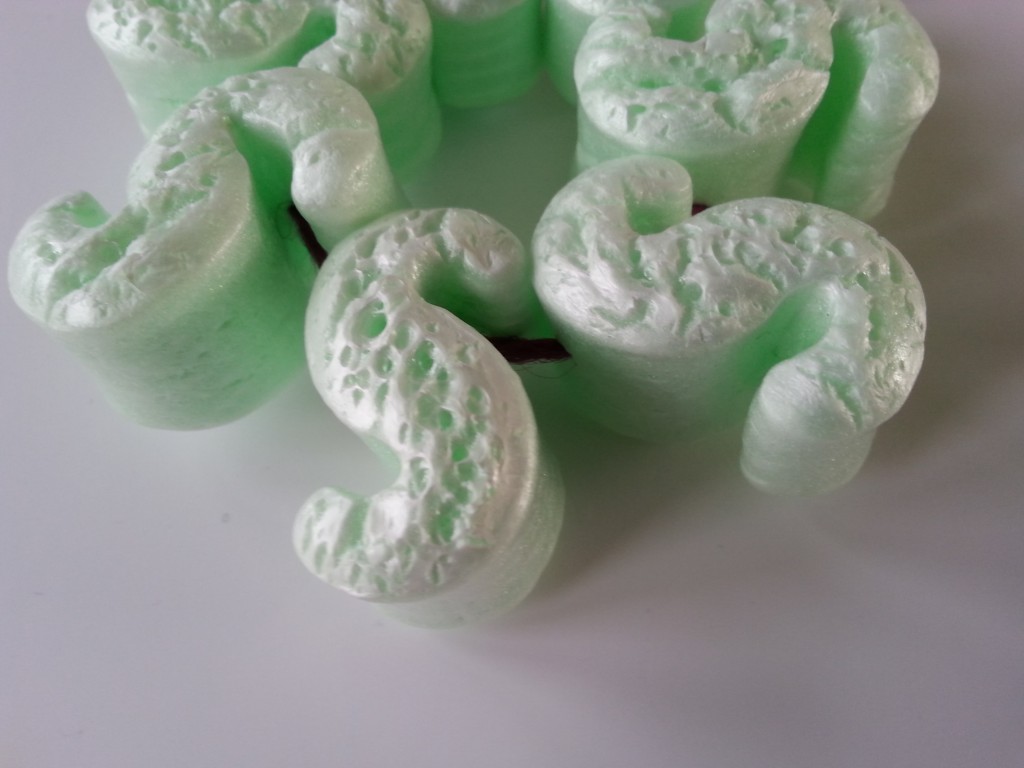
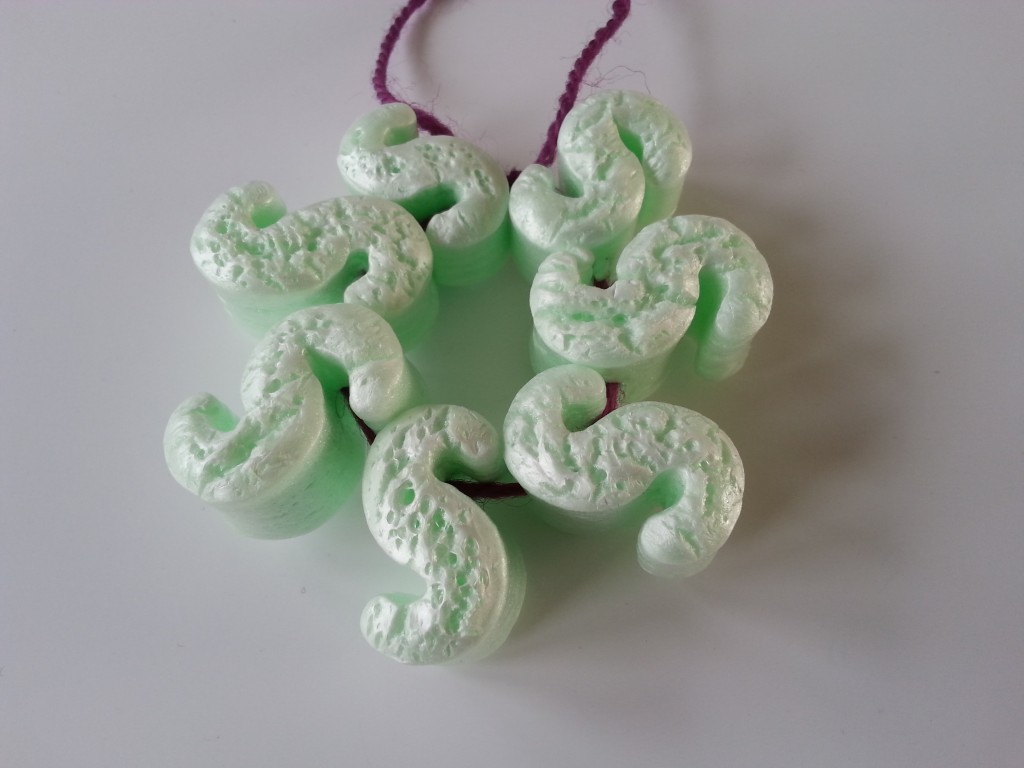
Packing pellets and hand-dyed yarn
-
- Packing pellets and yarn
-
- Packing pellets and yarn
The shapes of these packing pellets lent themselves naturally to consideration of their possibilities for creating joined curved shapes. Here I have used hand-dyed yarn to stitch through the shapes, forming them into a circle. The nature of the shapes gives the piece a tribal feel, the circle having the look of an Inca or Peruvian sun symbol.
These pellets are biodegradable so not very long-lasting (they dissolve if they get wet!) so to extend this exercise might require switching to the less environmentally friendly but more long-lasting polystyrene shapes if I wanted to use them for painting, printing etc.
Cardboard, funky foam and yarn
-
- Cardboard, funky foam and yarn
-
- Cardboard, funky foam and yarn
I cut curves in the cardboard and funky foam, making different curves in each. I then used 3 strands of yarn to stitch the two together, adjusting the stitch width and stitch style to create textural variety. The pliability of the foam sheet makes it easier to mould to the curves of the cardboard, adding a 3-dimensional quality to the piece as well.
Cardboard and fabric with metallic stitching
-
- Cardboard, fabric and metallic thread
-
- Cardboard, fabric and metallic thread
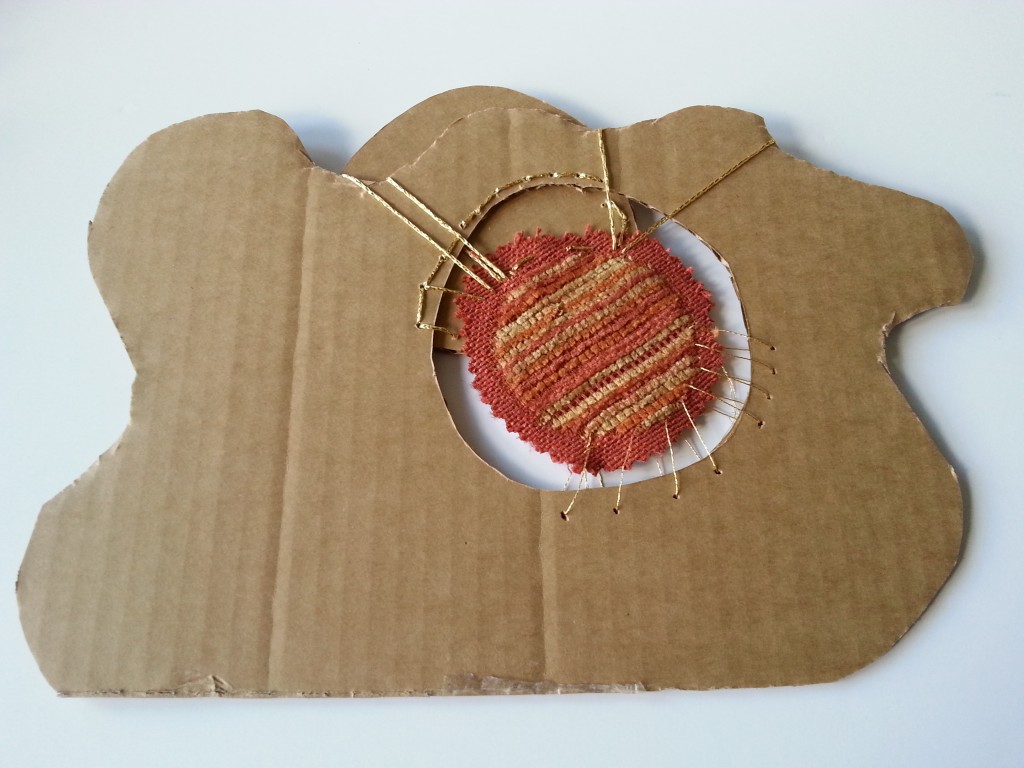
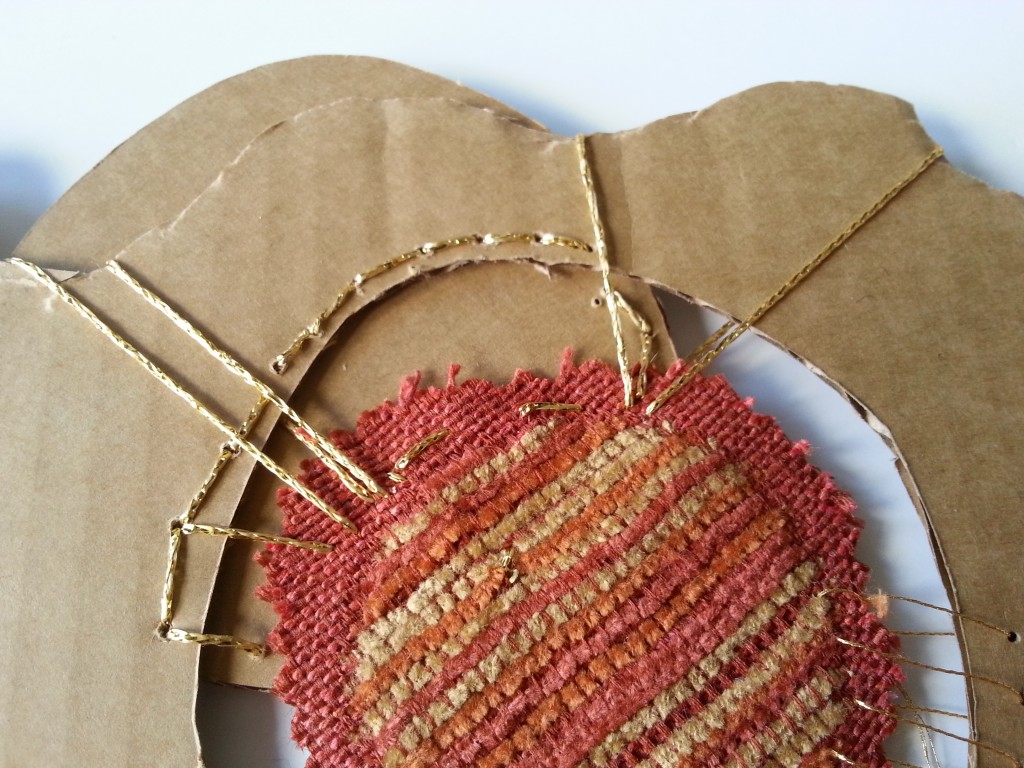
I used a piece of cardboard to a random curved shape, cut out an oval shape in the centre and filled the shape with a piece of cotton chenille fabric with the cut-out beneath. I stitched the fabric in place with metallic threads, a fine embroidery thread and a thicker goldfingering. The stitching was a combination of backstitch and long stitches. I added the cut-out piece below the fabric to create extra depth and to produce additional shapes.
Funky foam, cardboard and staples
-
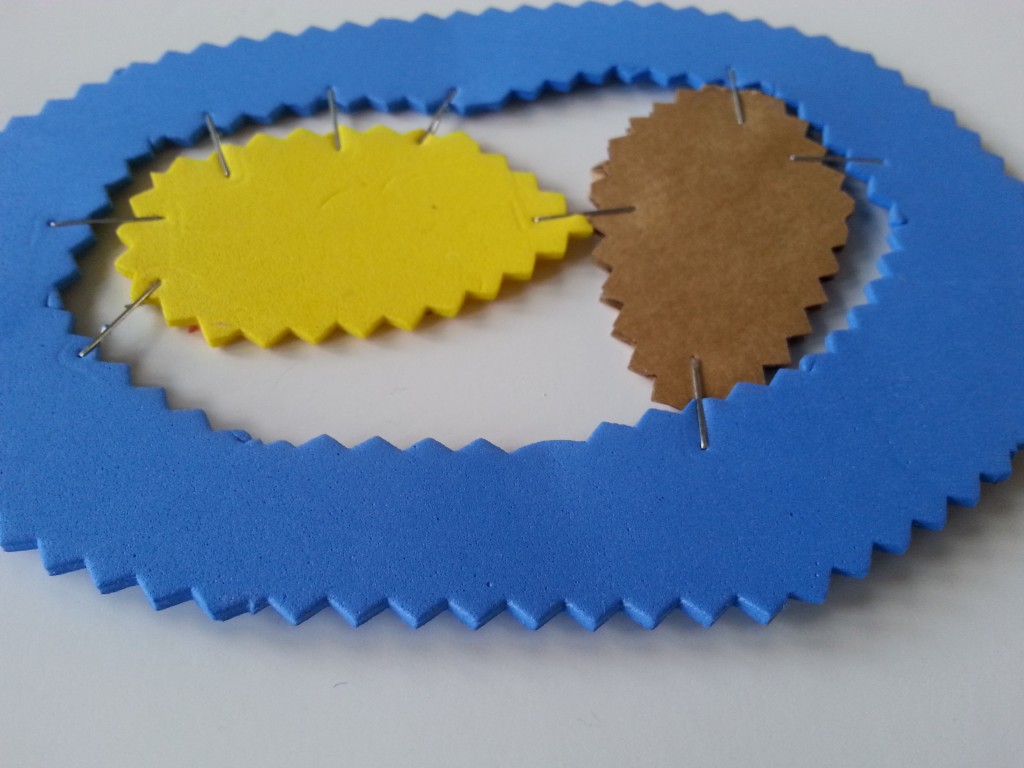
- Funky foam and cardboard with staples
-
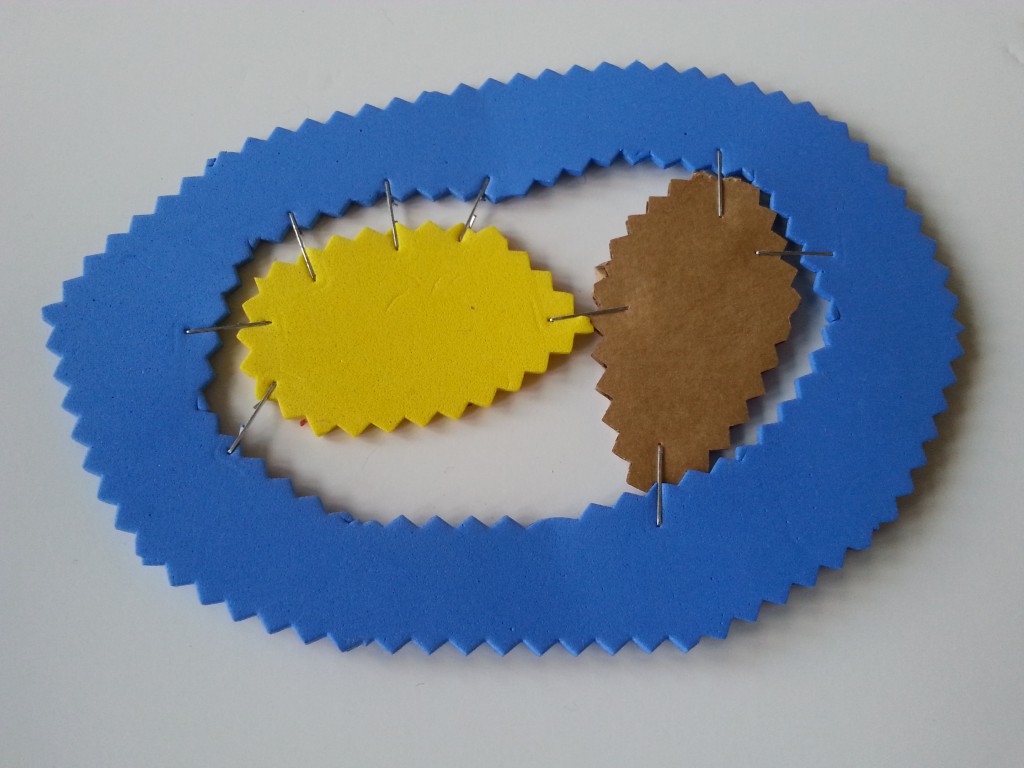
- Funky foam and cardboard with staples
For this piece I chose funky foam and cardboard cut out with pinking shears. I used staples to join the pieces to the outer foam and the inner foam to the cardboard. The staples sink into the foam which creates additional texture and the pinked edges create the impression of a tooth-edged leaf.